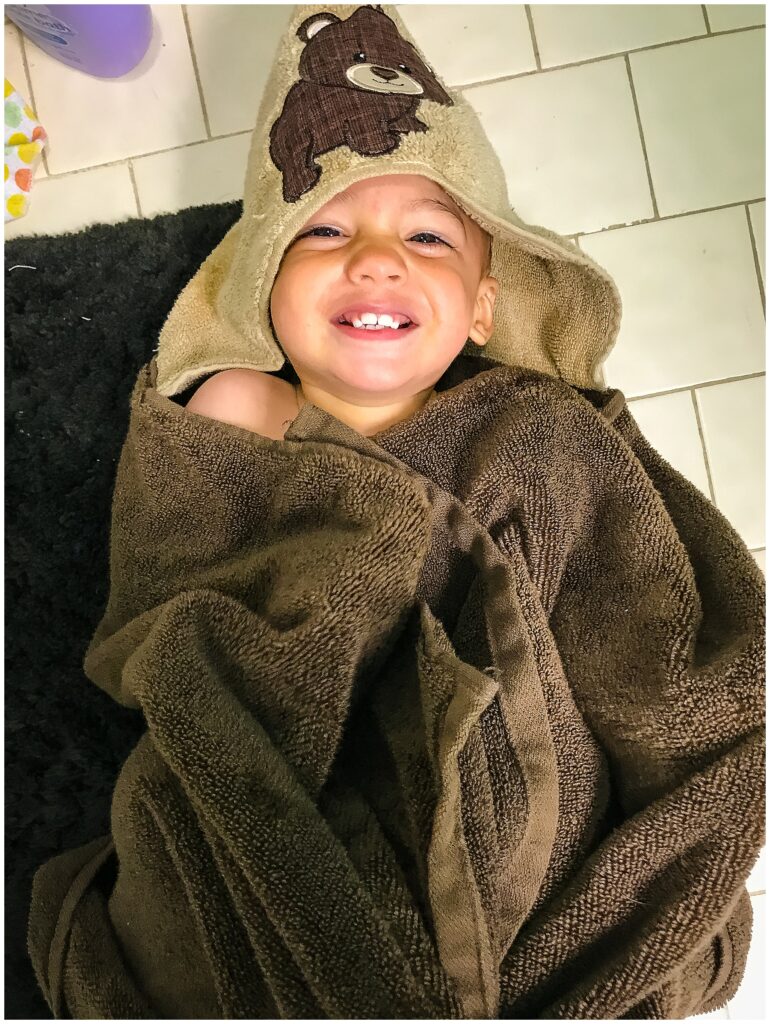
You’ve seen the CUTE hooded towels kids are running around with these days and if you’ve looked them up online you’ve seen the not so cute prices people/stores are charging for them. Fun Fact!! If you have a sewing machine and can sew a straight line you can make one yourself for a fraction of the price! I love using these for my kiddos from everything from bath time (even for a newborn), the pool, the beach, and every where in between.
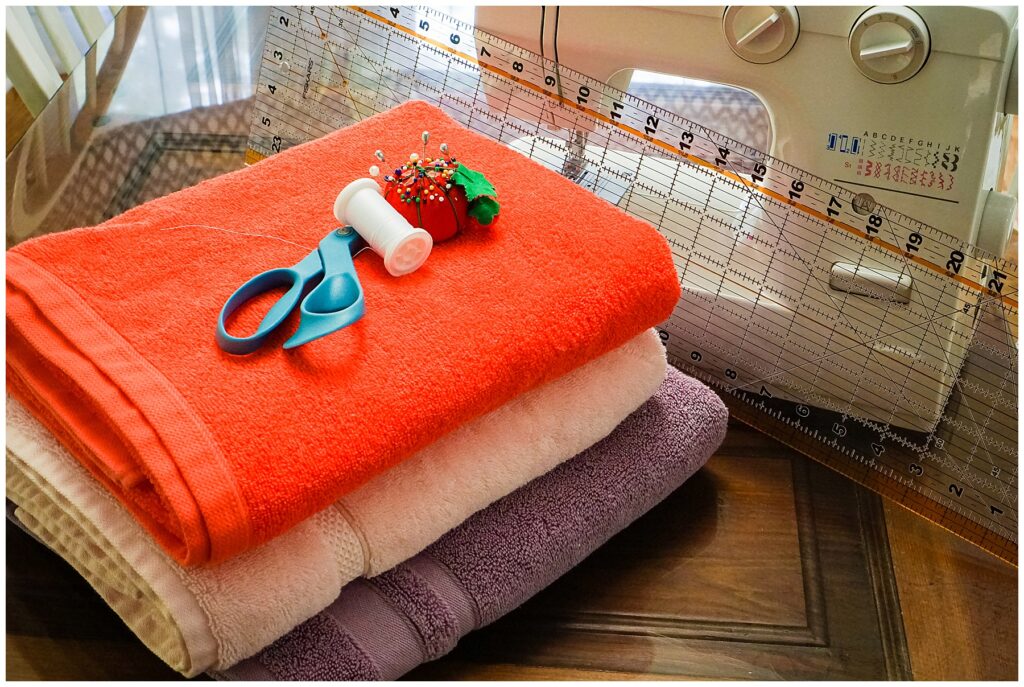
What you need to make a Hooded Towel
- 2-3 full size bath towels (2 if you only want to make 1 hooded towel and 3 if you want to go ahead and make a set…just make a set, it doesn’t really take more time and you will use it!) I like these from Target, they are $3.99 and come in a nice selection of colors
- scissors
- ruler
- pins
- sewing machine
- thread
- iron (optional)
Things to do before you start making your hooded towel
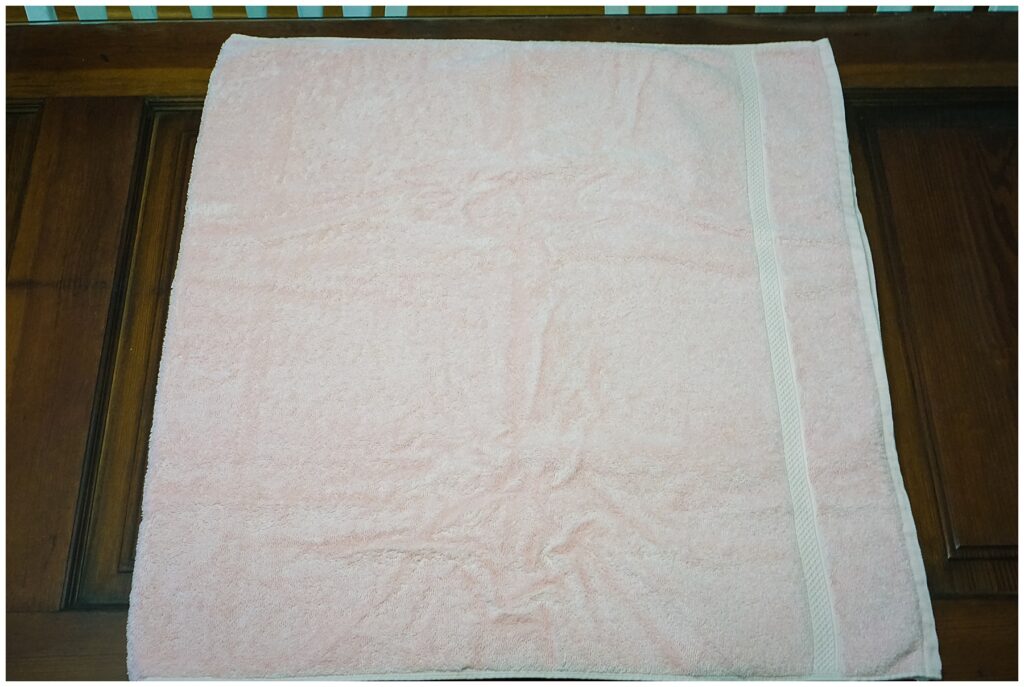
The basic prep for making a hooded towel is easy and really optional if you don’t want to mess with it especially if you aren’t using bright colored towels. The first part of prep is to wash and dry the towels. The second part involves ironing. Take the towel you plan on using as the main towel, fold the towel in half “hamburger” style, then iron a crease down the fold. This will give you an exact center point when you go to attach your hood. It’s optional because you could just eyeball it when you get to that step.
How to start your hooded towel
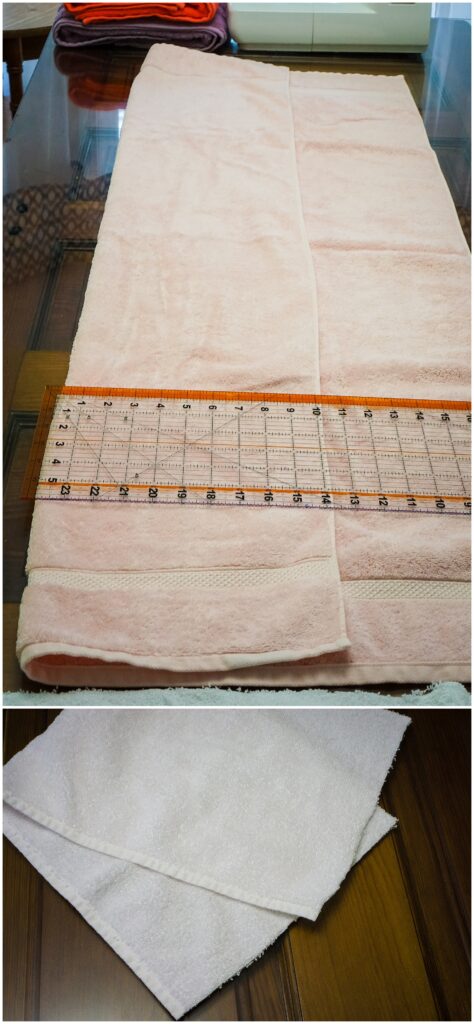
Once you’ve done the prep work, or decided not to do the prep, start by laying the towel you will use as the hood out on a large flat surface. I use my kitchen table so I don’t have to crawl all over the floor. Fold the bottom of the towel up 10″ “hotdog” style and use your ruler to measure all the way across to ensure you have a straight fold. After checking your measurements, cut the towel down the fold. When you are done, cut the side edges off leaving 3 unfinished sides and 1 finished side. Repeat this process with the other side of the towel.
Sewing the Hood for your Hooded Towel
The next step is to pin the hood and sew it up. Take the towel piece you’ve cut for the hood and fold it “hamburger” style. Use the pins to pin the long side together starting at the fold and working toward the open end. Once you have pinned all the way down get to your sewing machine and sew it up. After sewing, remove the pins (if you don’t remove them as you sew) and turn the towel to create a hood. Trim the ends to make them even, if needed.
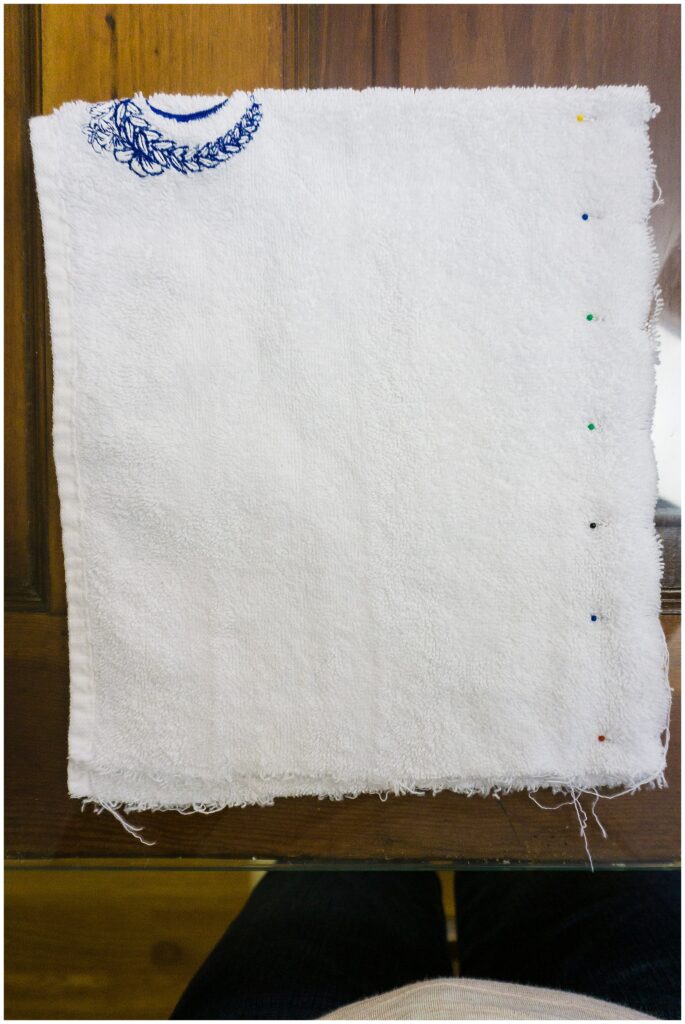
Sewing the hood onto the full size towel
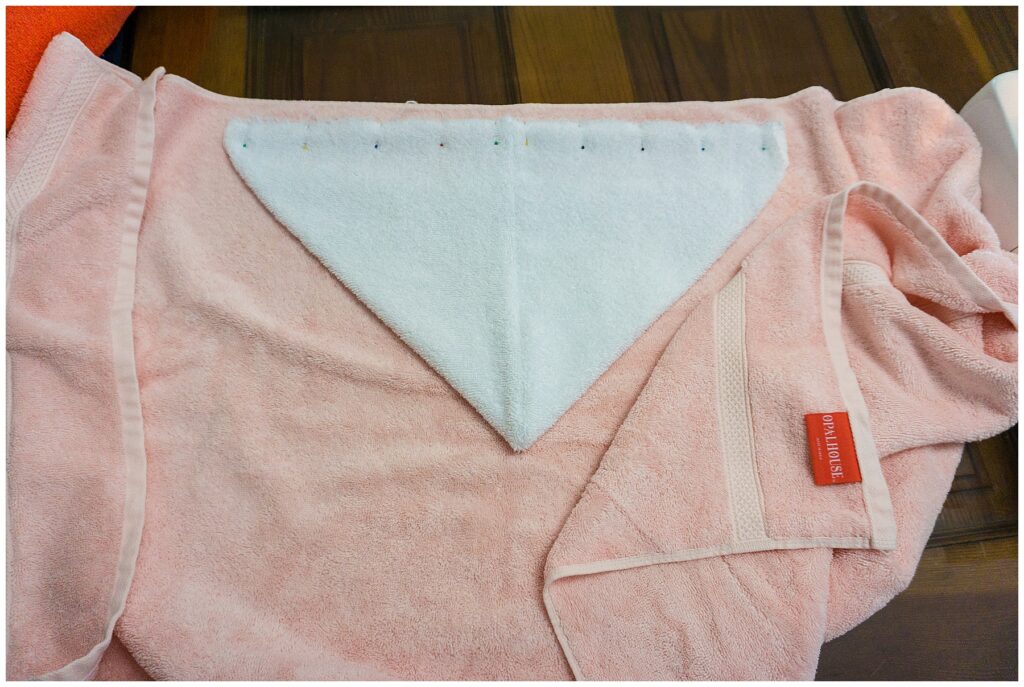
Now it’s time to sew the hood onto the other towel. Find the center point of the big towel, making sure the tags are on the inside bottom, and lay your hood face down on the towel, about an inch down from the top, making sure the line up the back of the hood lines up with the center line of the towel. Pin the hood to the towel and sew the hood onto the towel.
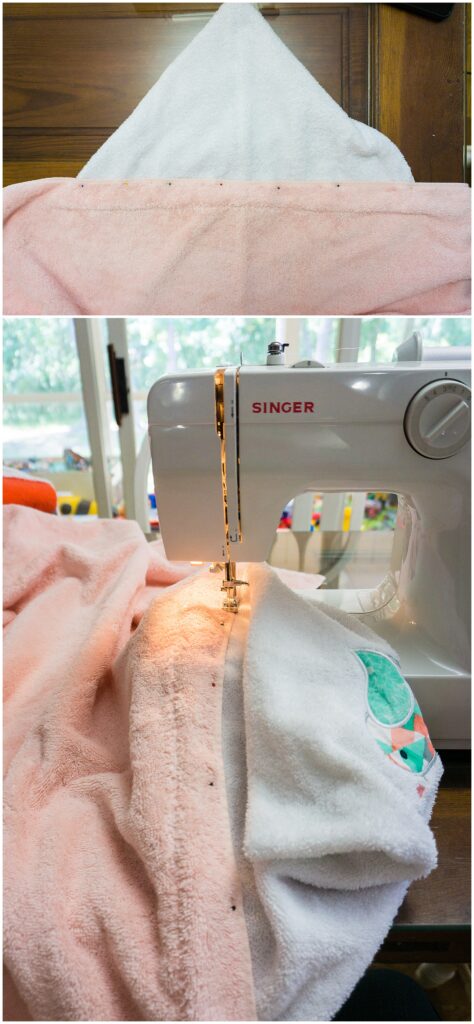
Once you’ve sewn the hood onto the towel turn the hood up and pin the towel to the hood, you can iron this here also to make it nice and flat but I rarely do that. After you pin the towel and hood together, sew it up and you are finished! Sewing the towel this way creates a more finished look and hides all the raw edges.
Folding a Hooded Towel
Last but not least is folding the towel. If you are giving this to someone as a gift go with the “fancy” rolled fold if you are keeping it for yourself fold it anyway you see fit. For the rolled fold, lay the towel face up on a large surface (again I use the kitchen table), fold the bottom third up, then fold that up again to meet the top of the towel. Roll the towel up from each side until it meets in the middle and tie it up with a ribbon. Now fold the hood over the rolled portion and adjust it as needed to make it presentable!
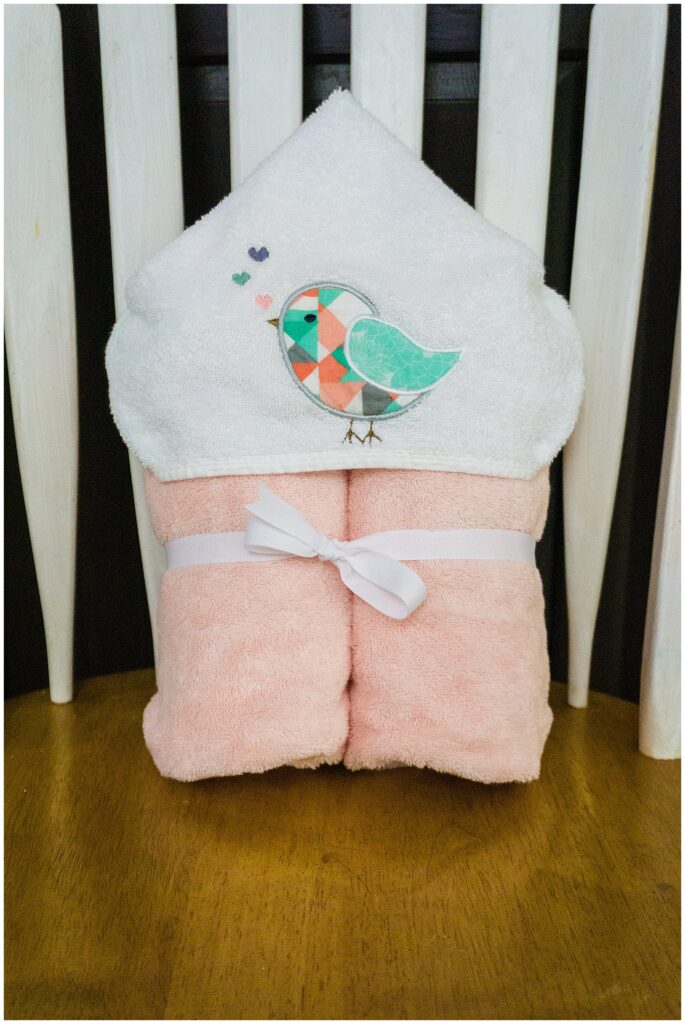 The finished product! This one is going to a friend as a baby shower gift.
Want to see more DIY Tutorials?
Be the first to comment