


I never thought I would be a bow person… I insisted I wouldn’t become a bow person… I’d always thought of those babies with the moms whose mottos centered around the “bigger the bow the closer to Jesus” mentality and I just couldn’t. Then, at 25 or so weeks pregnant around 3 am I got on Etsy and it was all downhill from there. So many options, so many sizes, so many bows, before I knew it the packages started to arrive.
My original 3 am musings for bows stemmed around finding the perfect bows for my upcoming family trip and now I have several favorite bow shops (who would’ve thought!) like Think Pink Bows, and lil ama. Eventually though, my crafty self appliqued a dress for my little girl and wanted a bow that matched perfectly so I started googling.
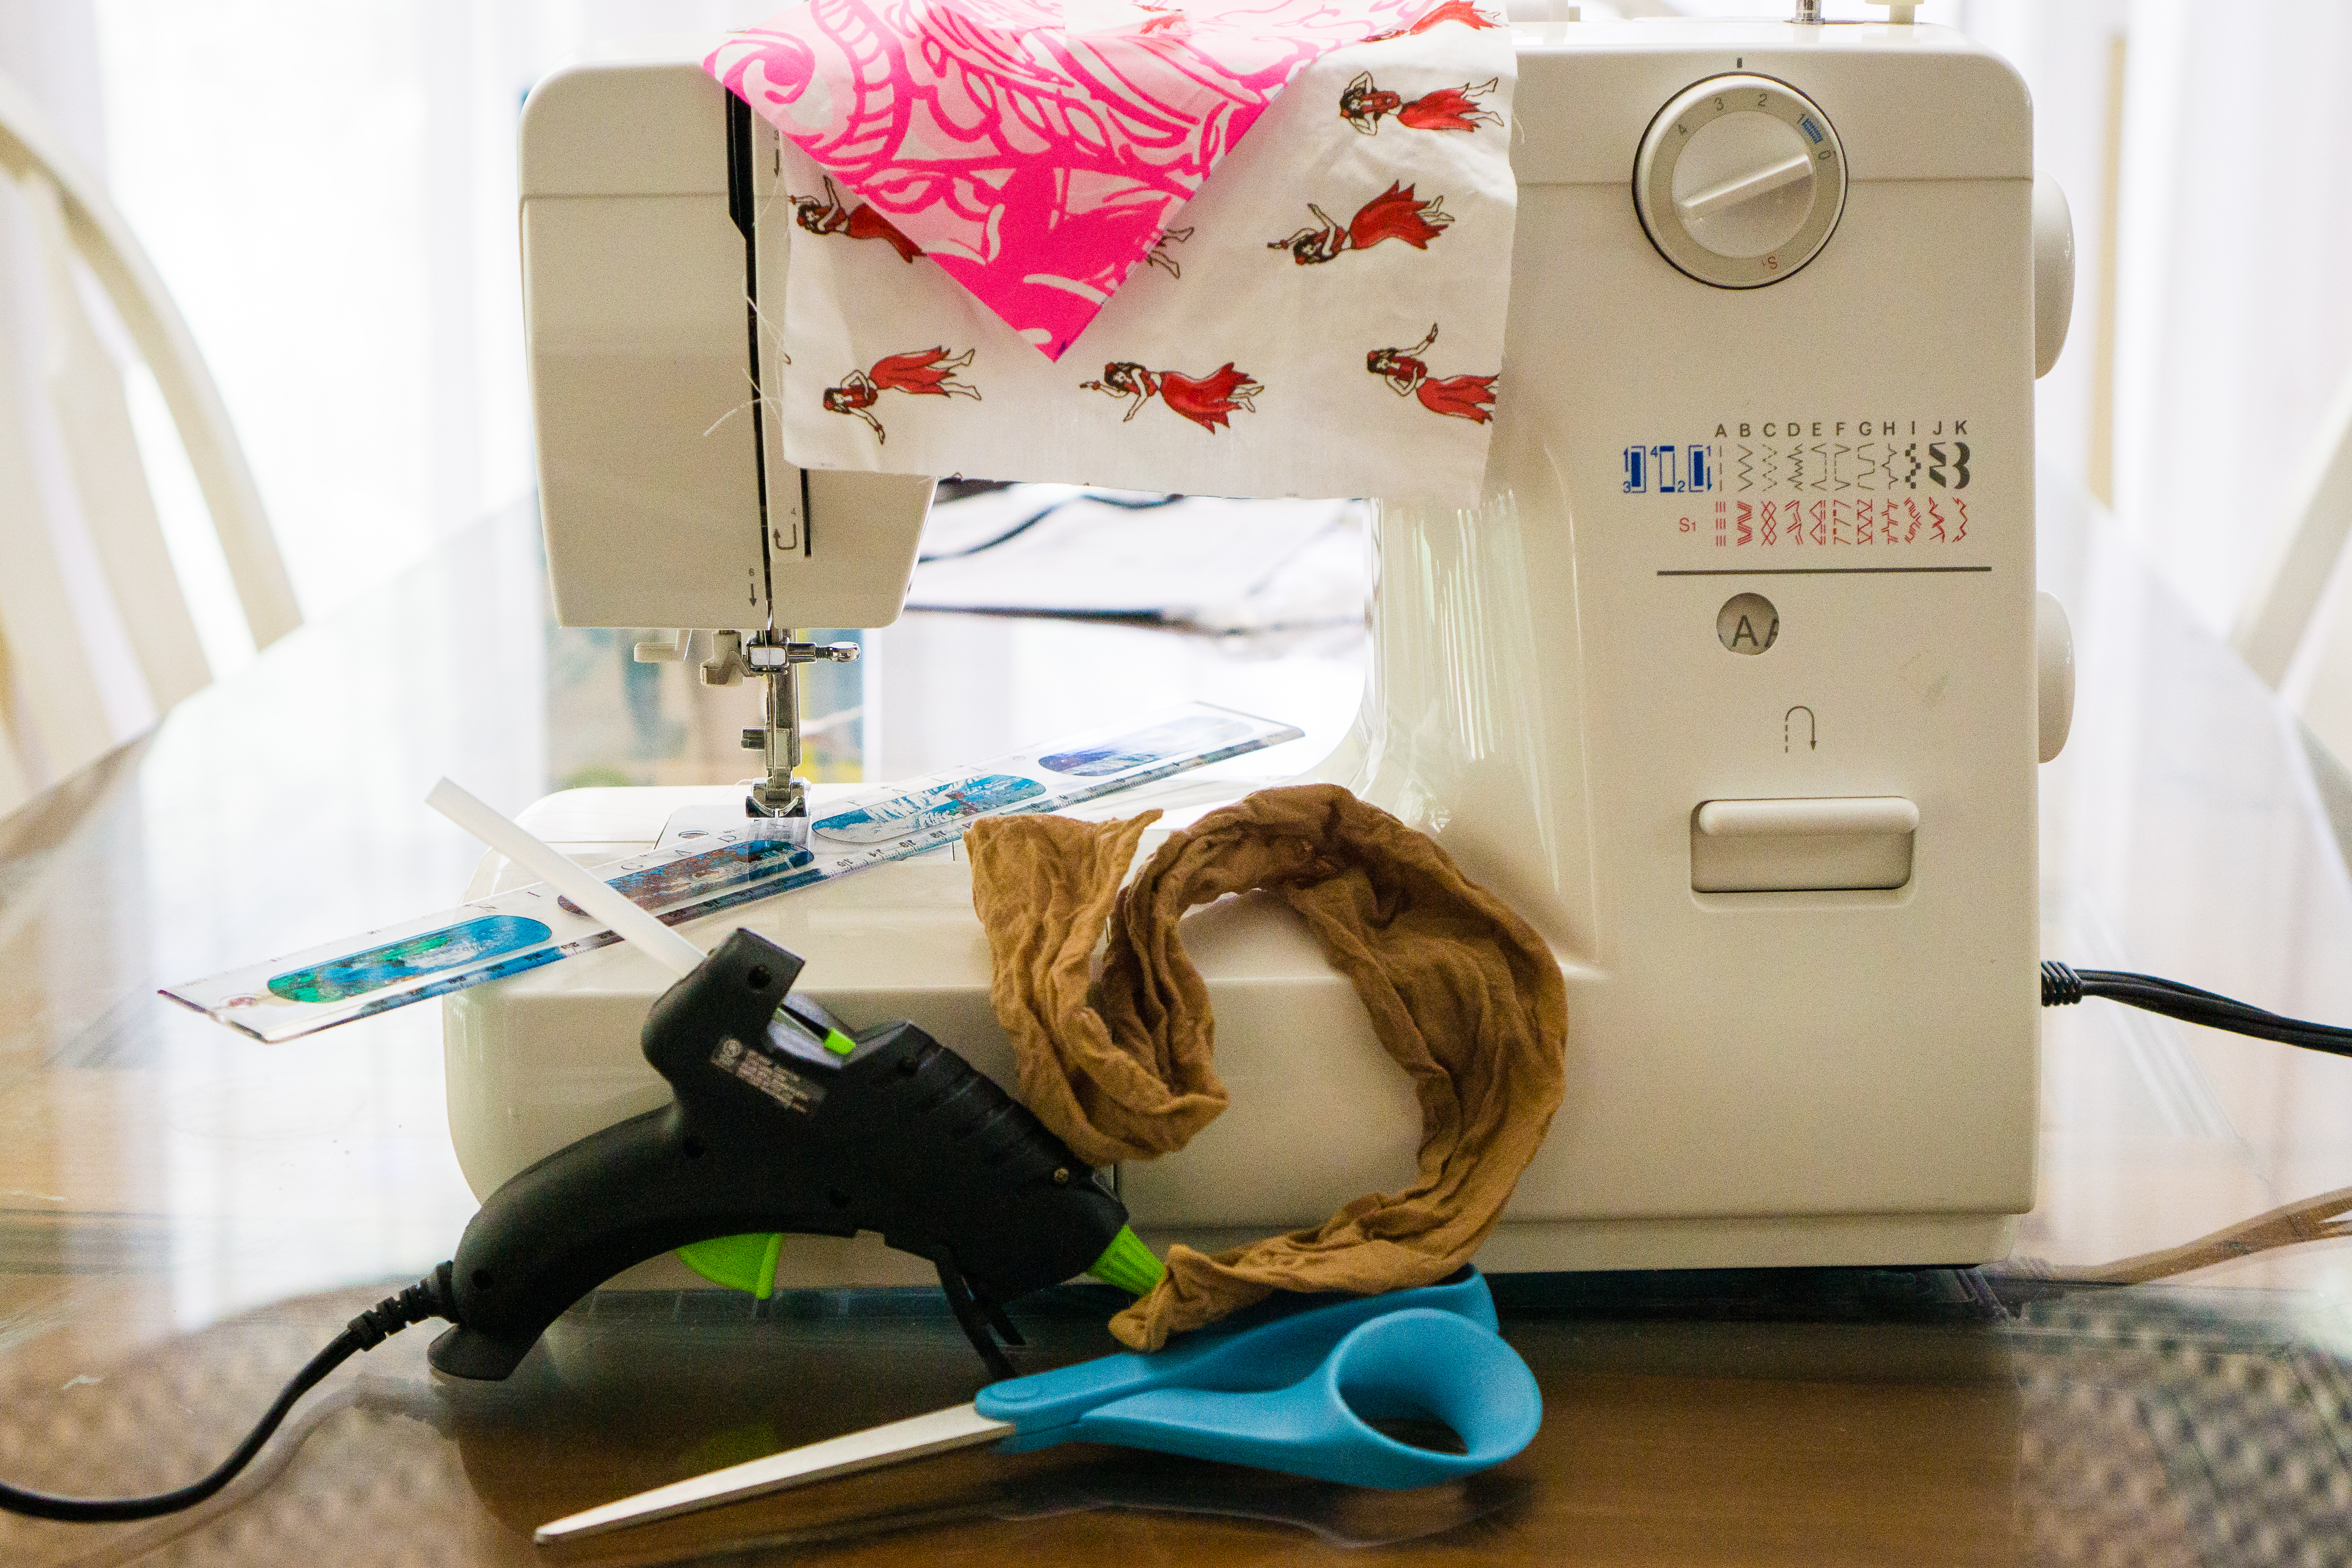
What you need
- pantyhose (or go grab on of those try on socks at a department store)
- scissors
- ruler
- safety pin
- straight pins
- sewing machine
- material – recommend no smaller than a 6″ x 5″ piece
- hot glue gun
- iron (optional)
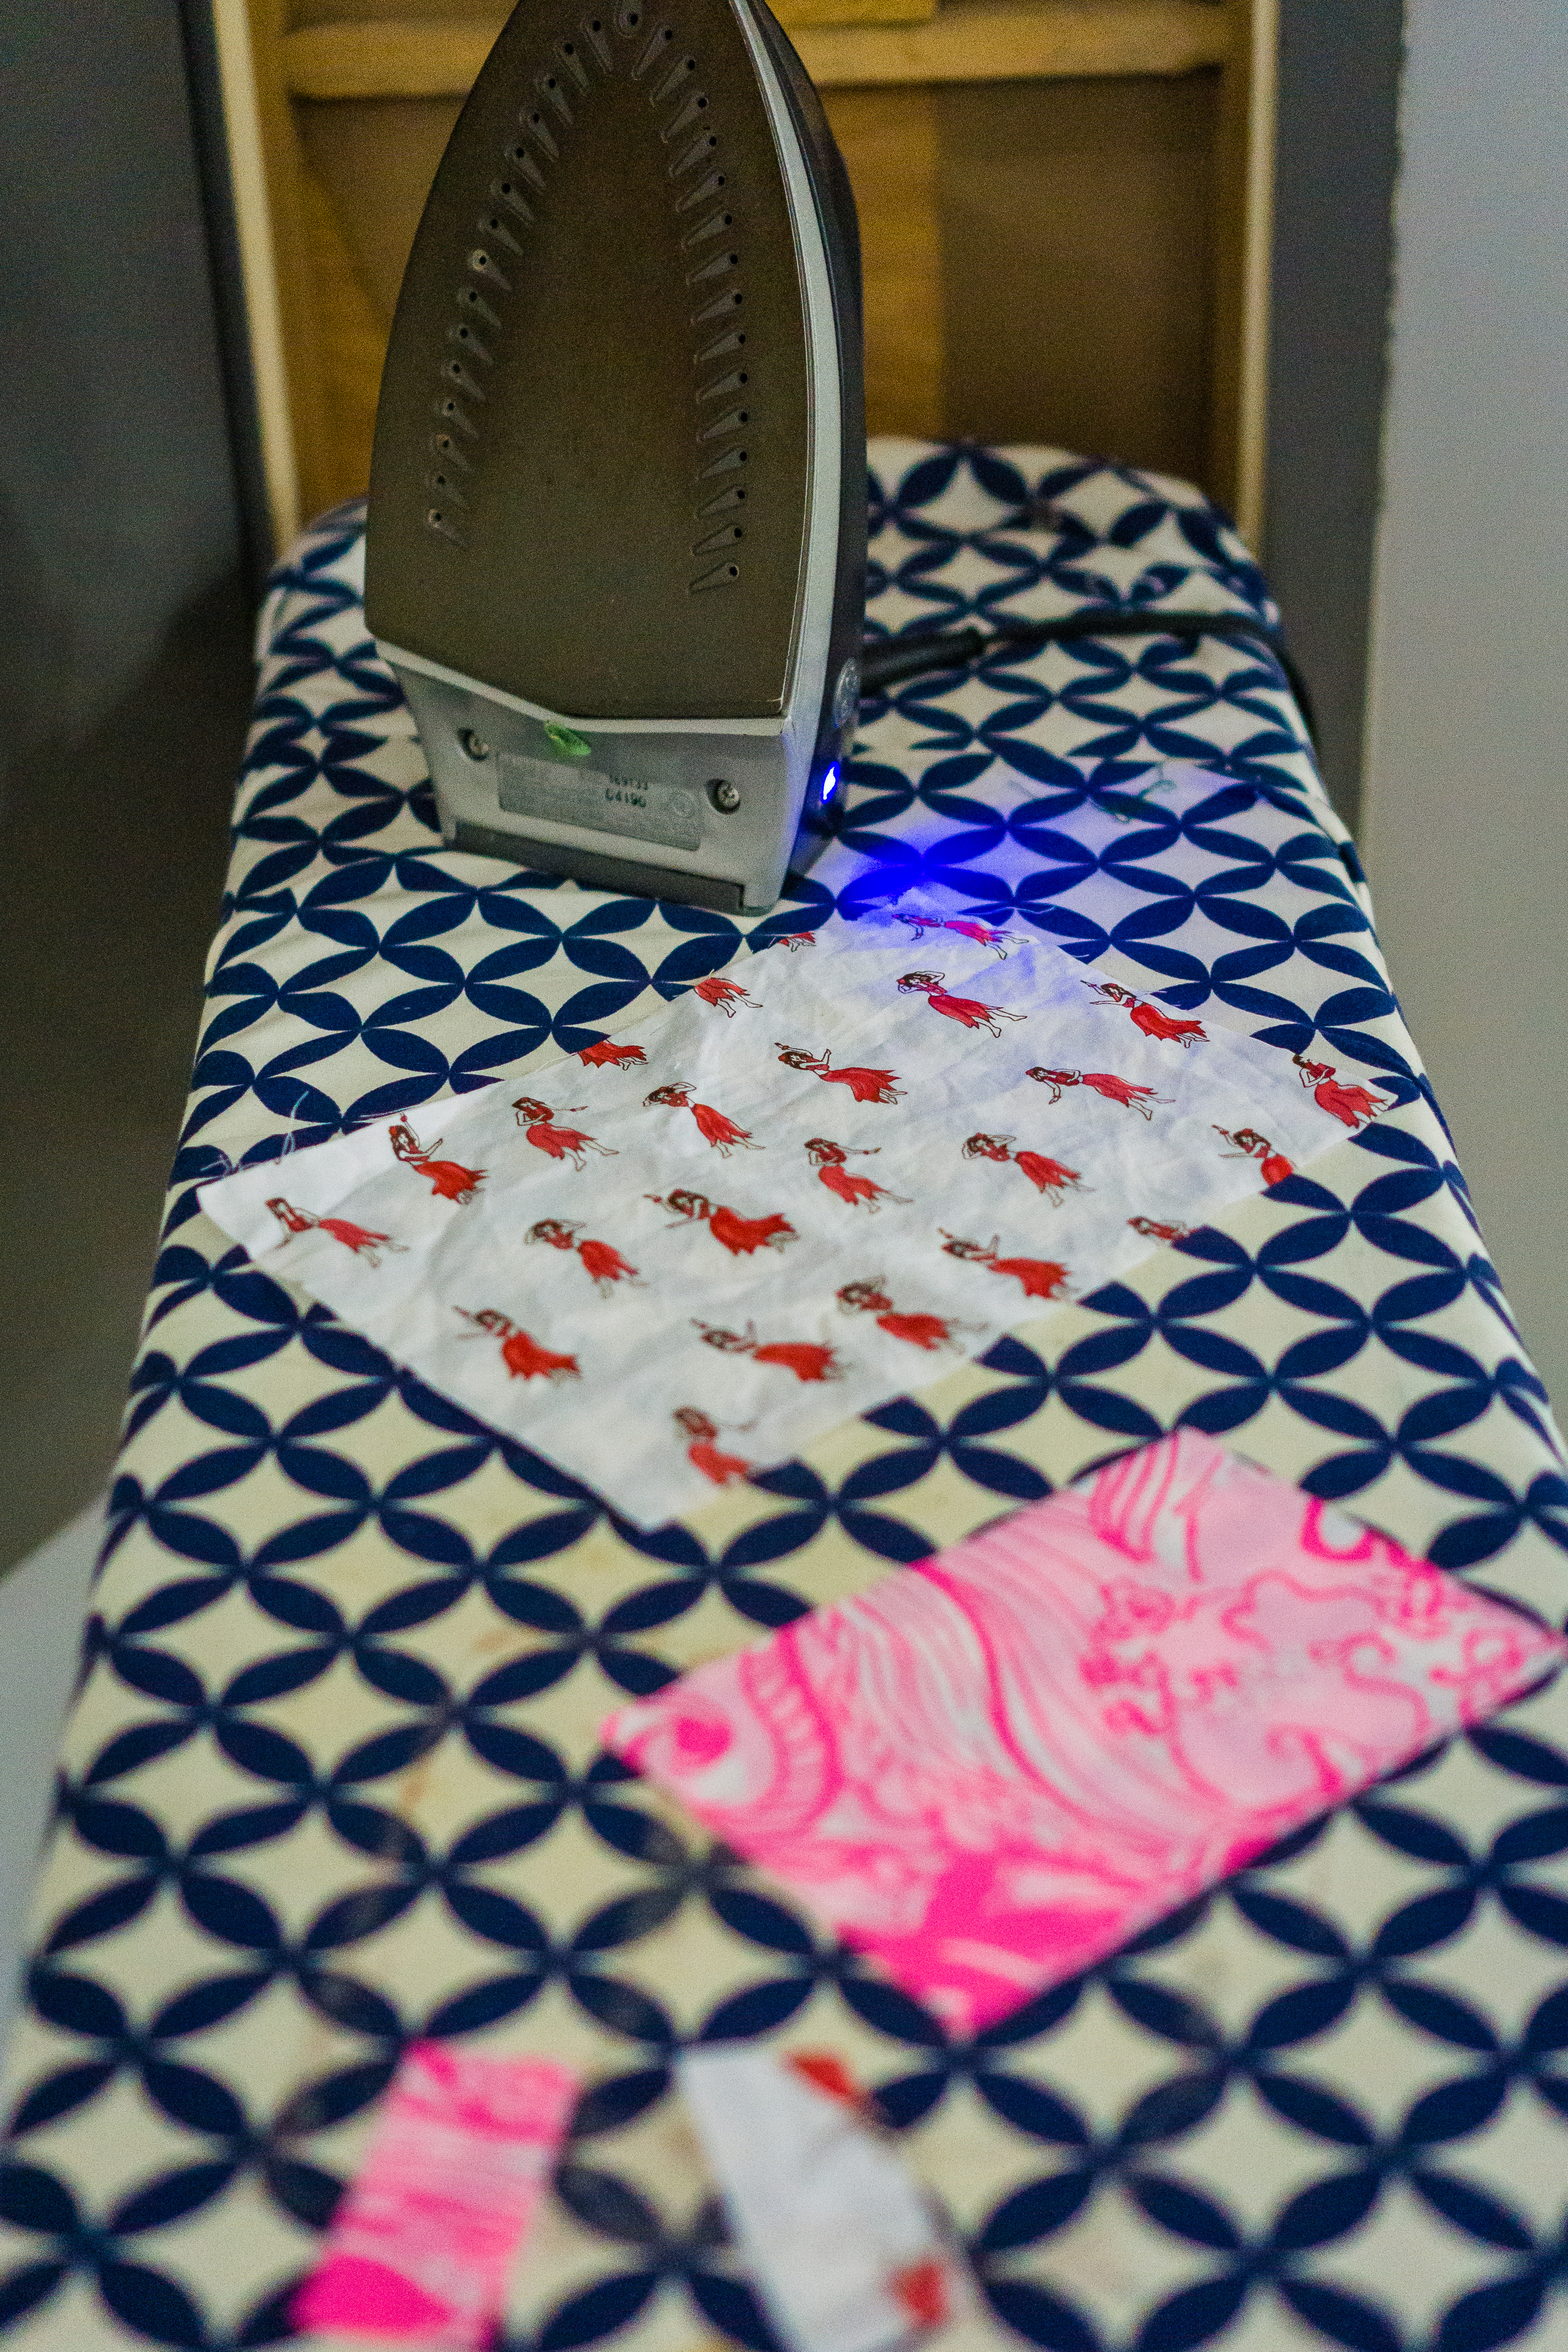
Prep Work:
If you’re feeling like a perfectionist go ahead and iron your material, if not, skipping the iron isn’t a big deal. Personally, I think if you are making a larger bow you probably want to use the iron but for a smaller one skipping is fine.
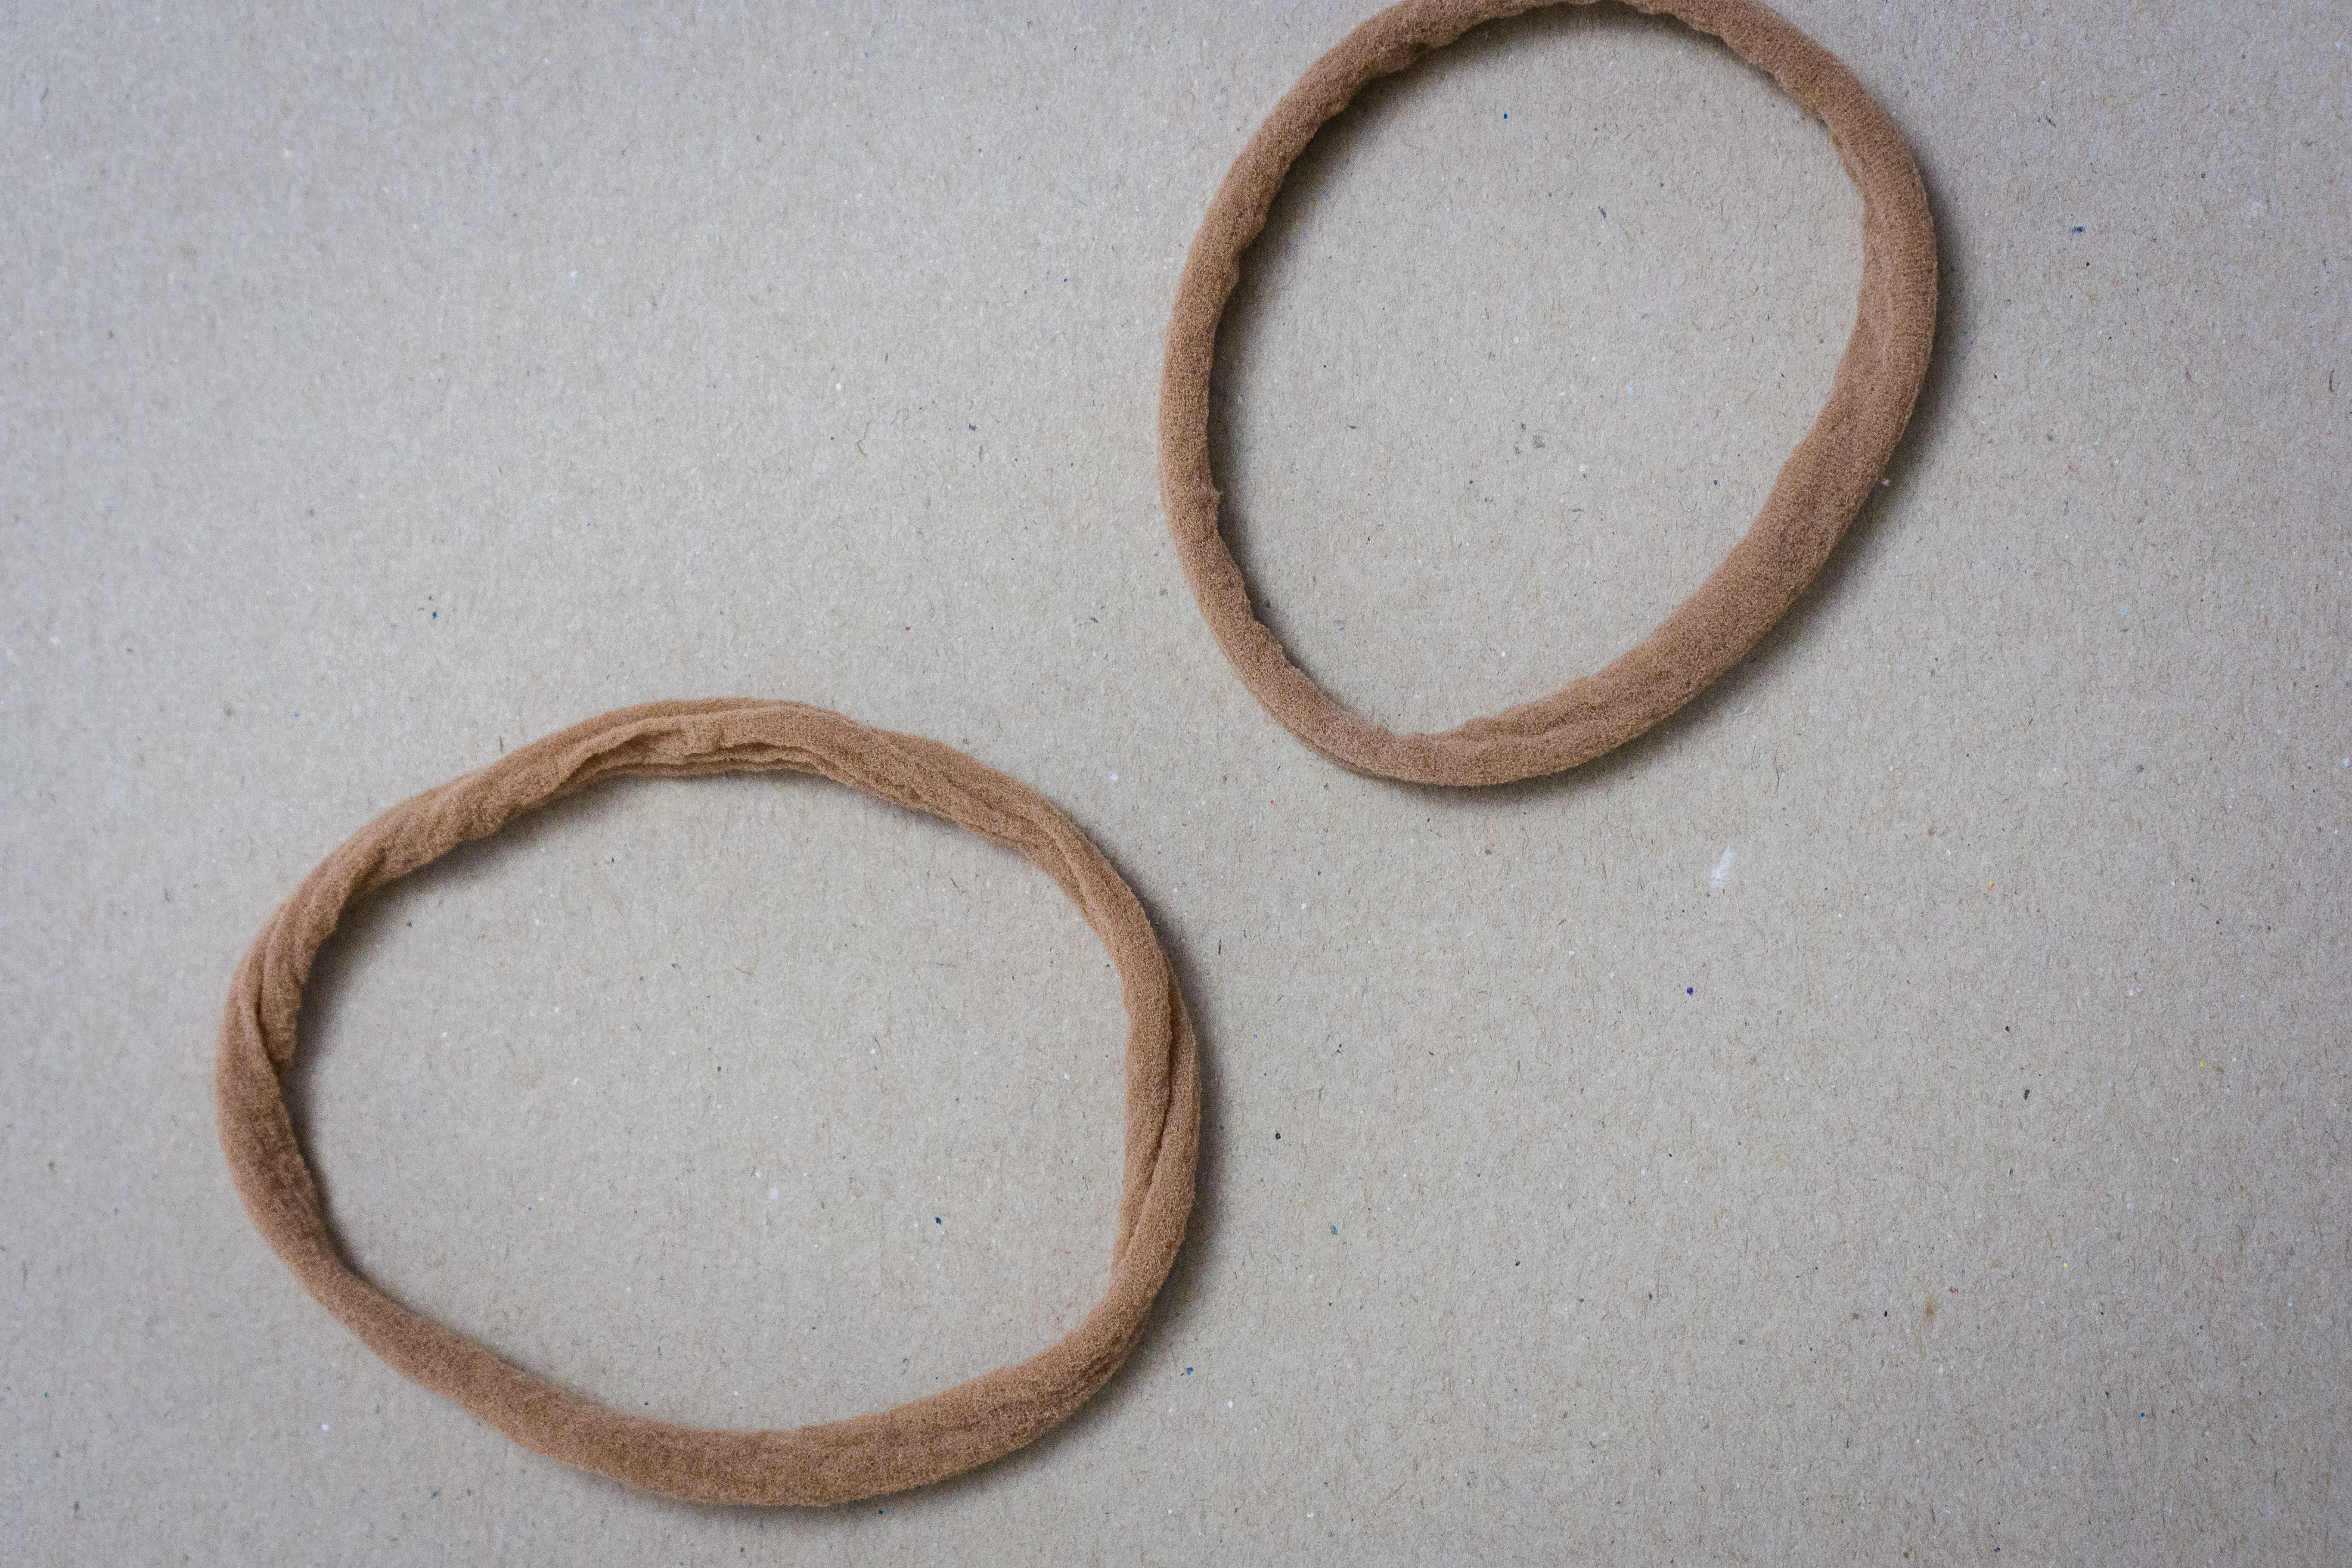
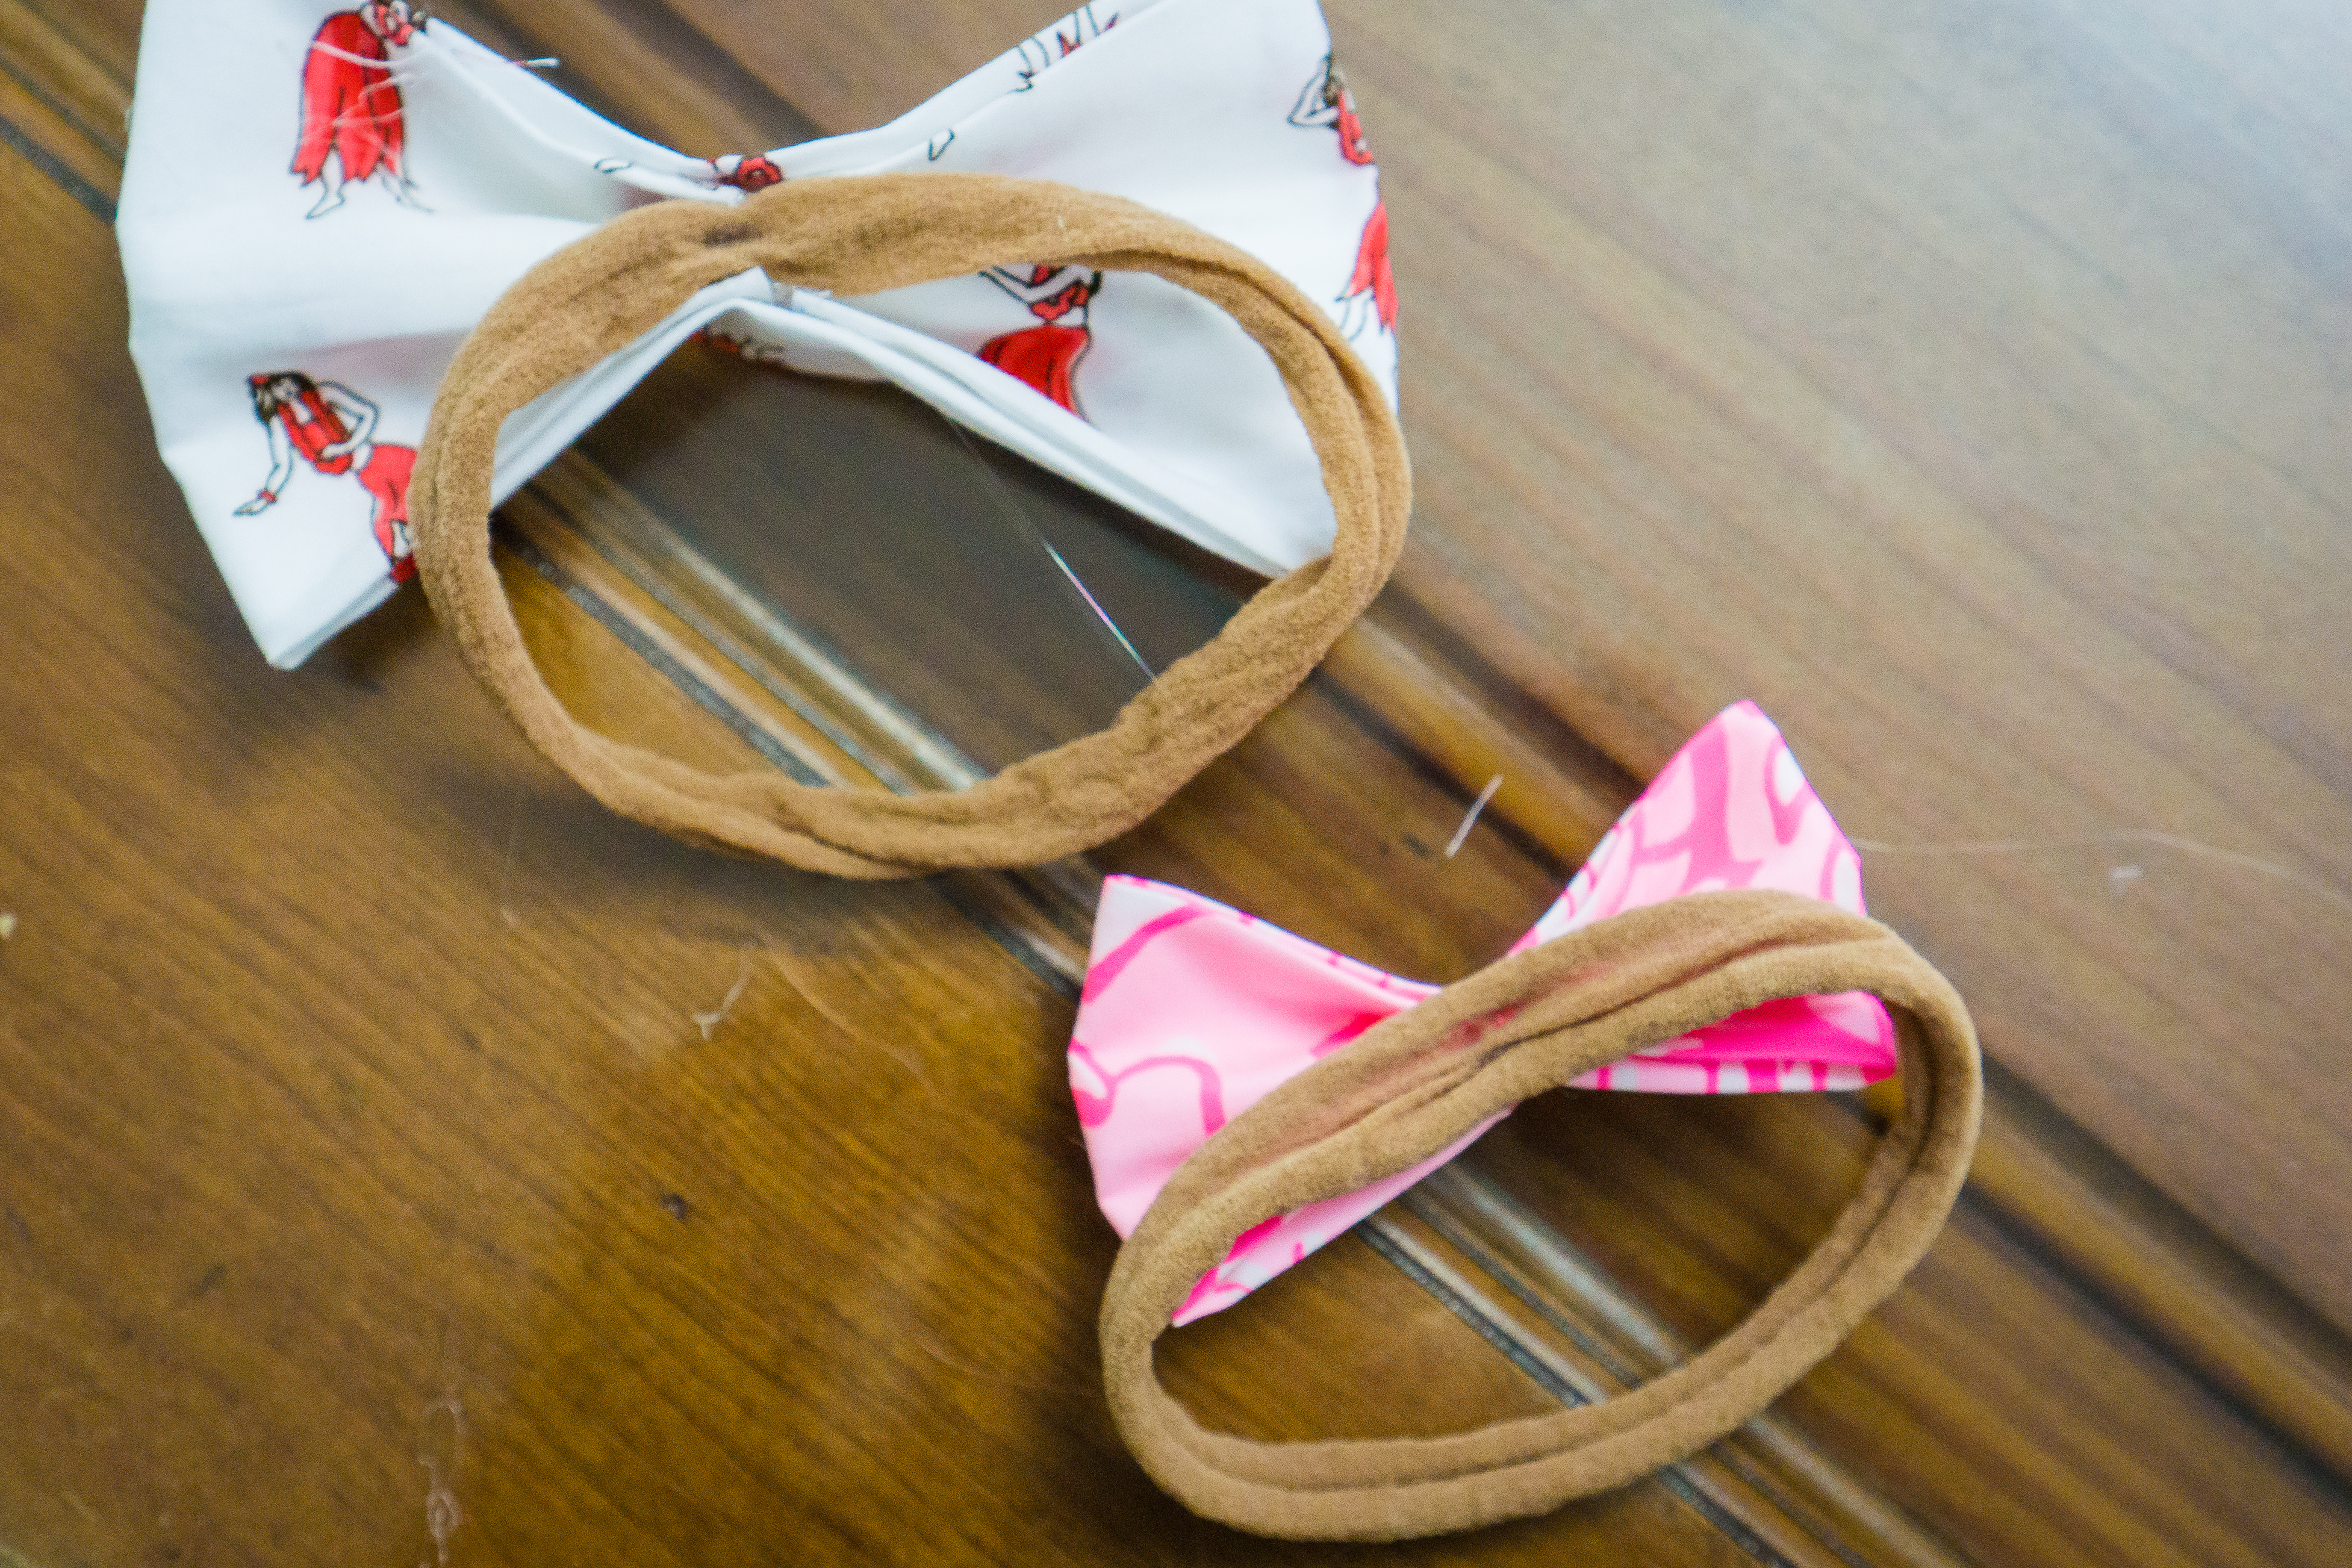
Once you’ve done the prep work, or decided not to do the prep, start by straightening out your pantyhose. Cut the top off one leg then cut a 2″ thick section. Roll the section in your hands until it rolls like a headband. The higher up on the leg you cut the larger the band, seems logical but I mention this because the foot/toe section really doesn’t make a good size band.
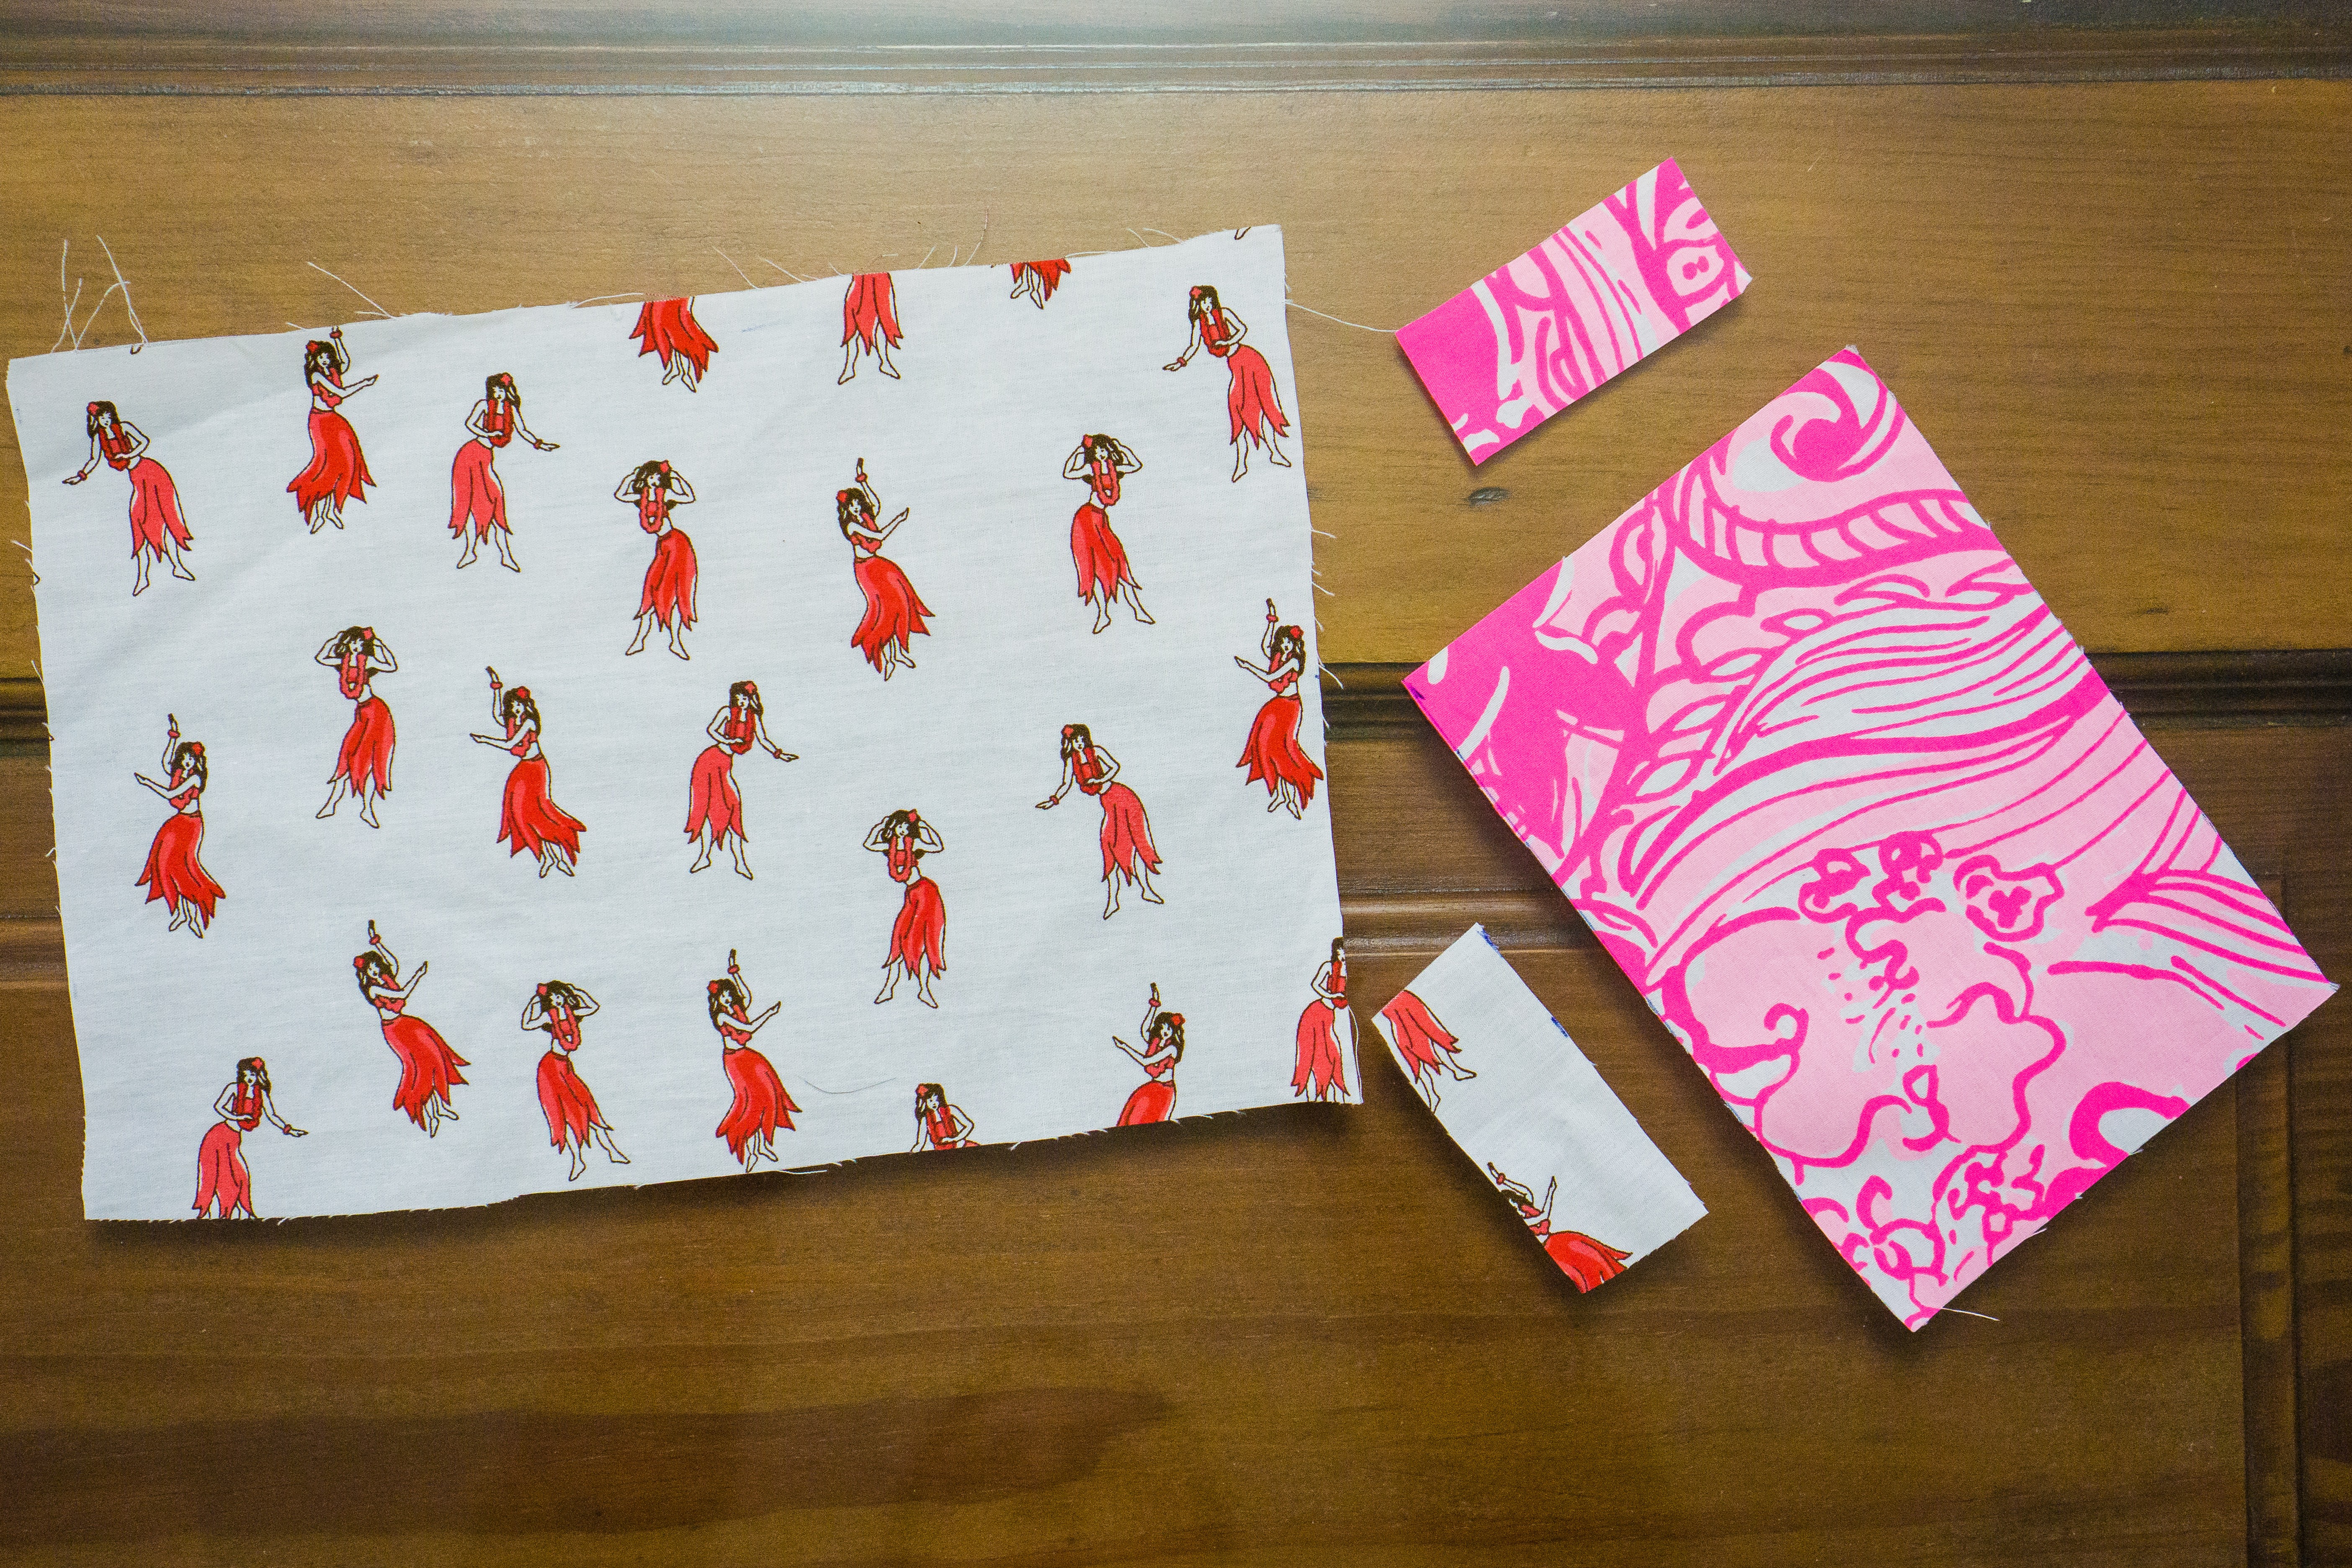
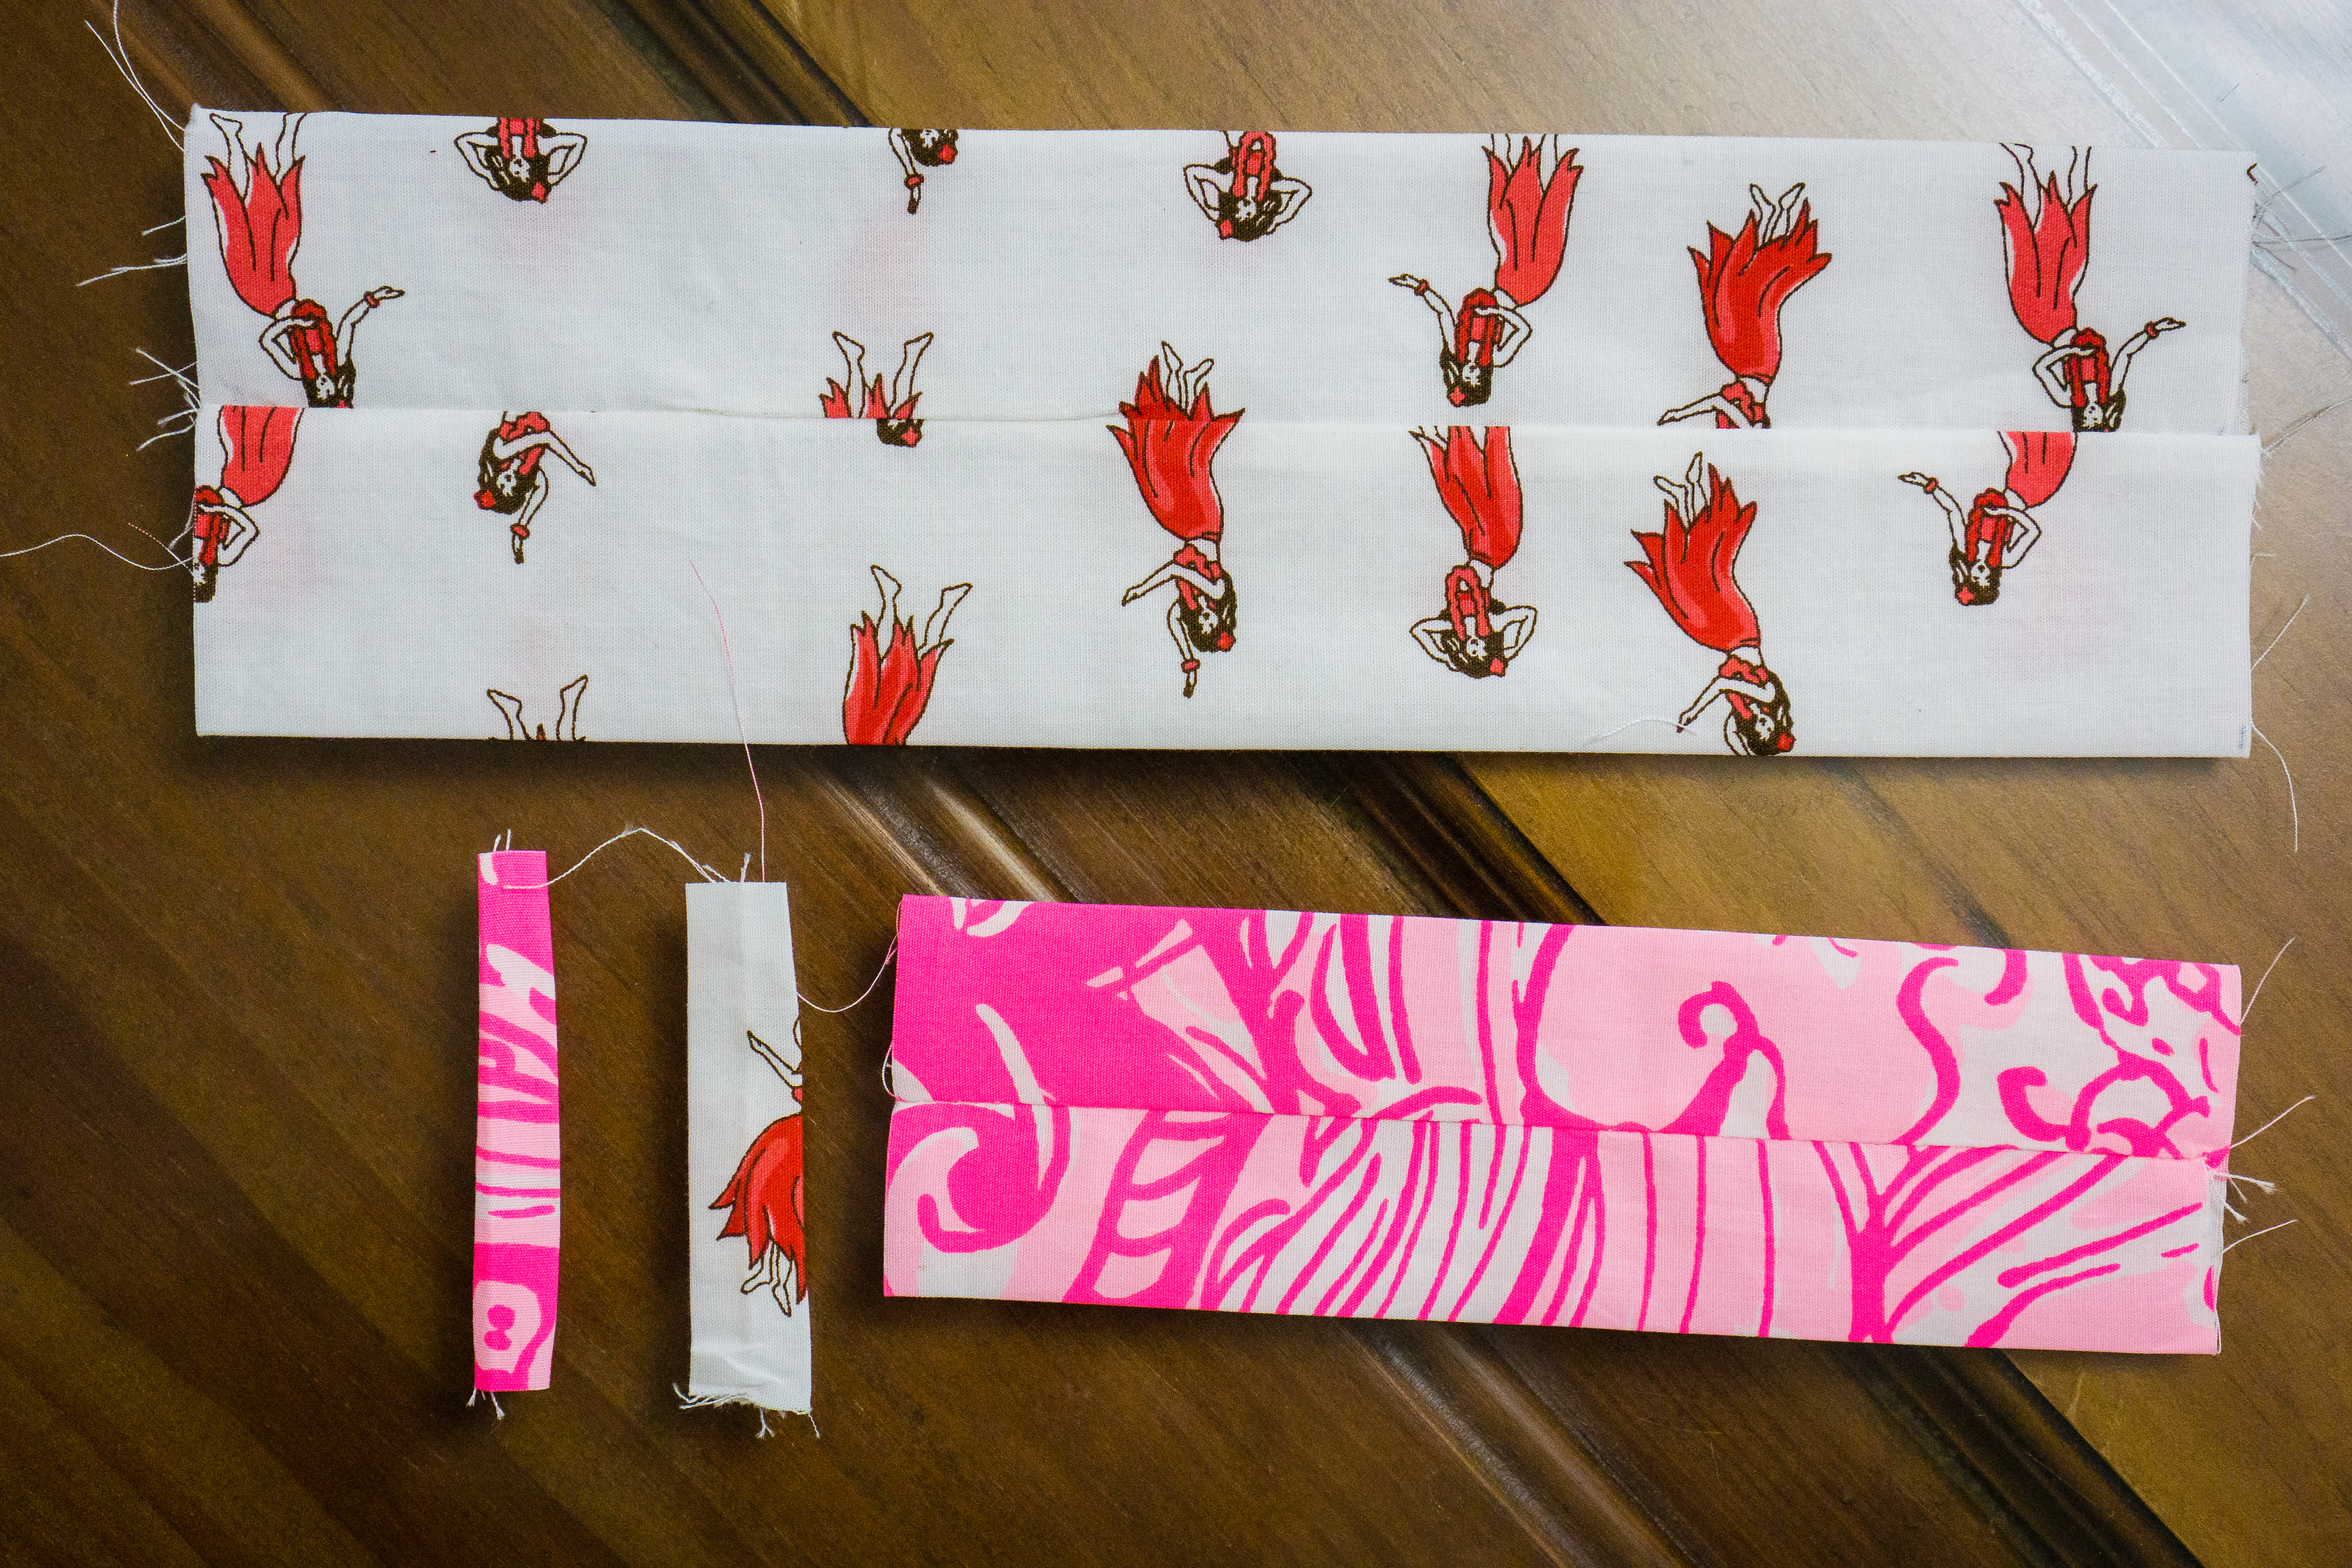
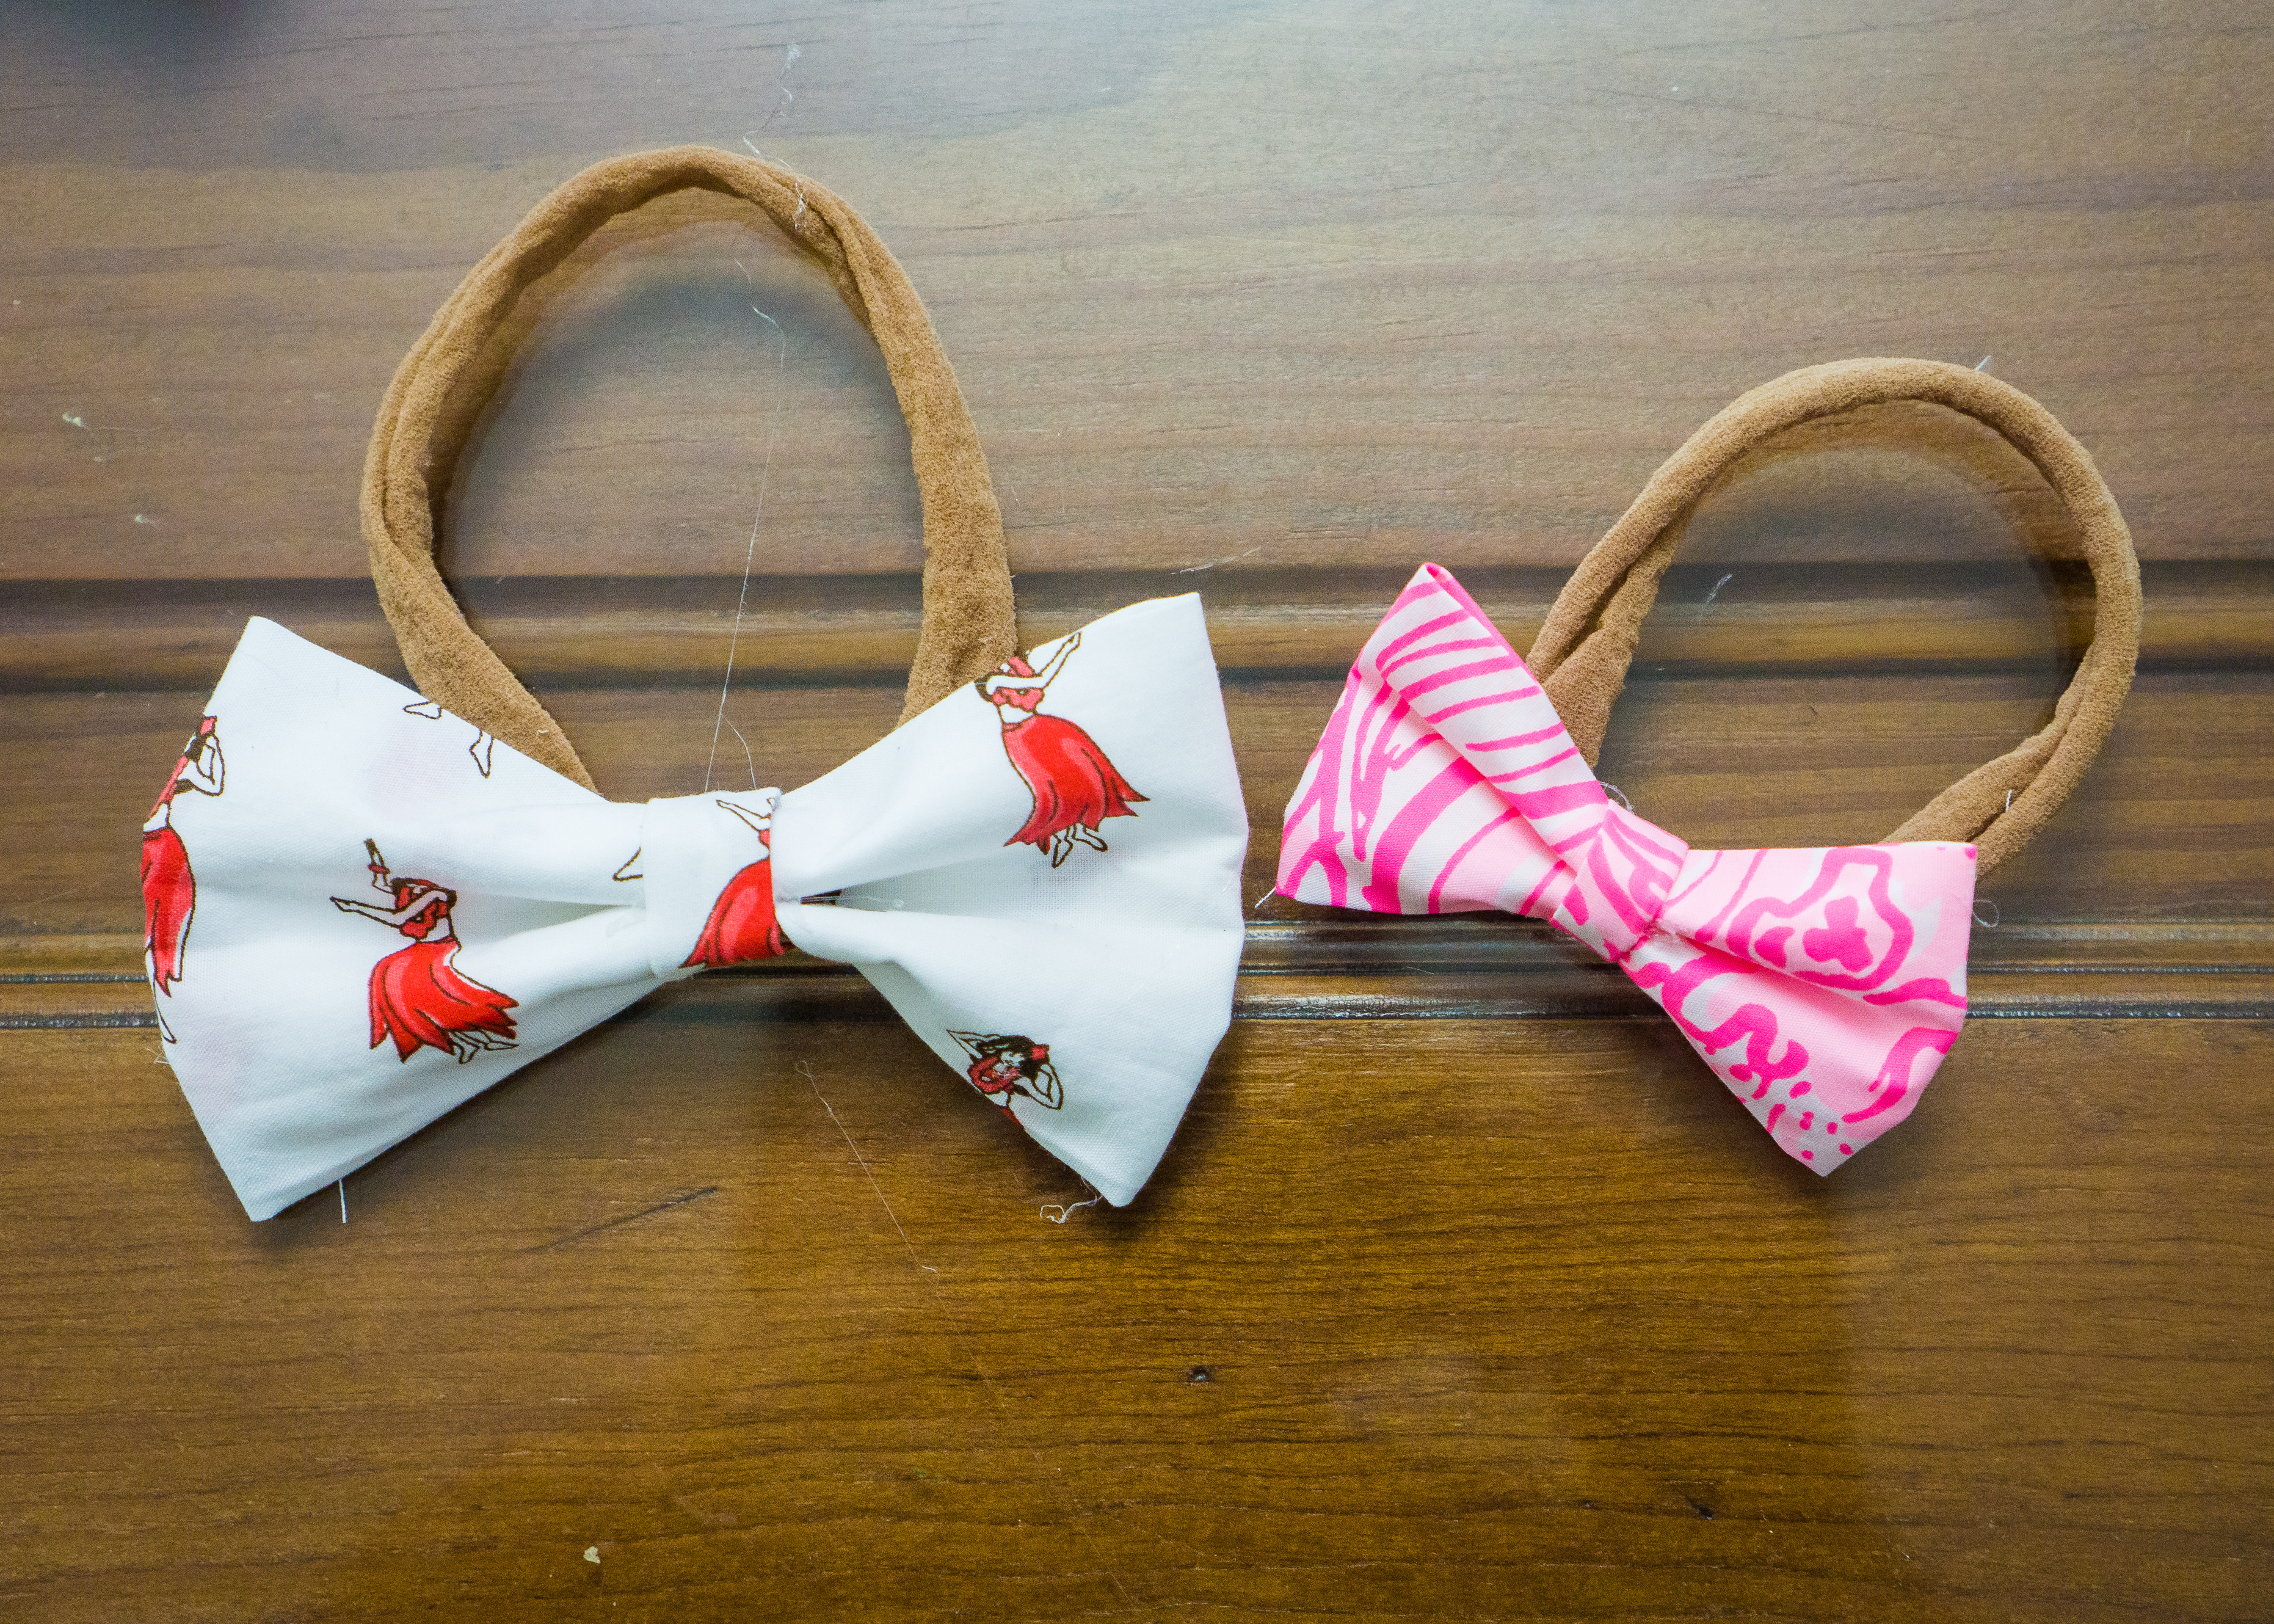
The next step is to cut your material. For my small bow (approximately 2″ finished) my material is 6″ x 4″ and for my large bow (approximately 4″ finished) my material is 9″ x 6″. For each bow I have an additional piece measuring 2.5″ x 1″.
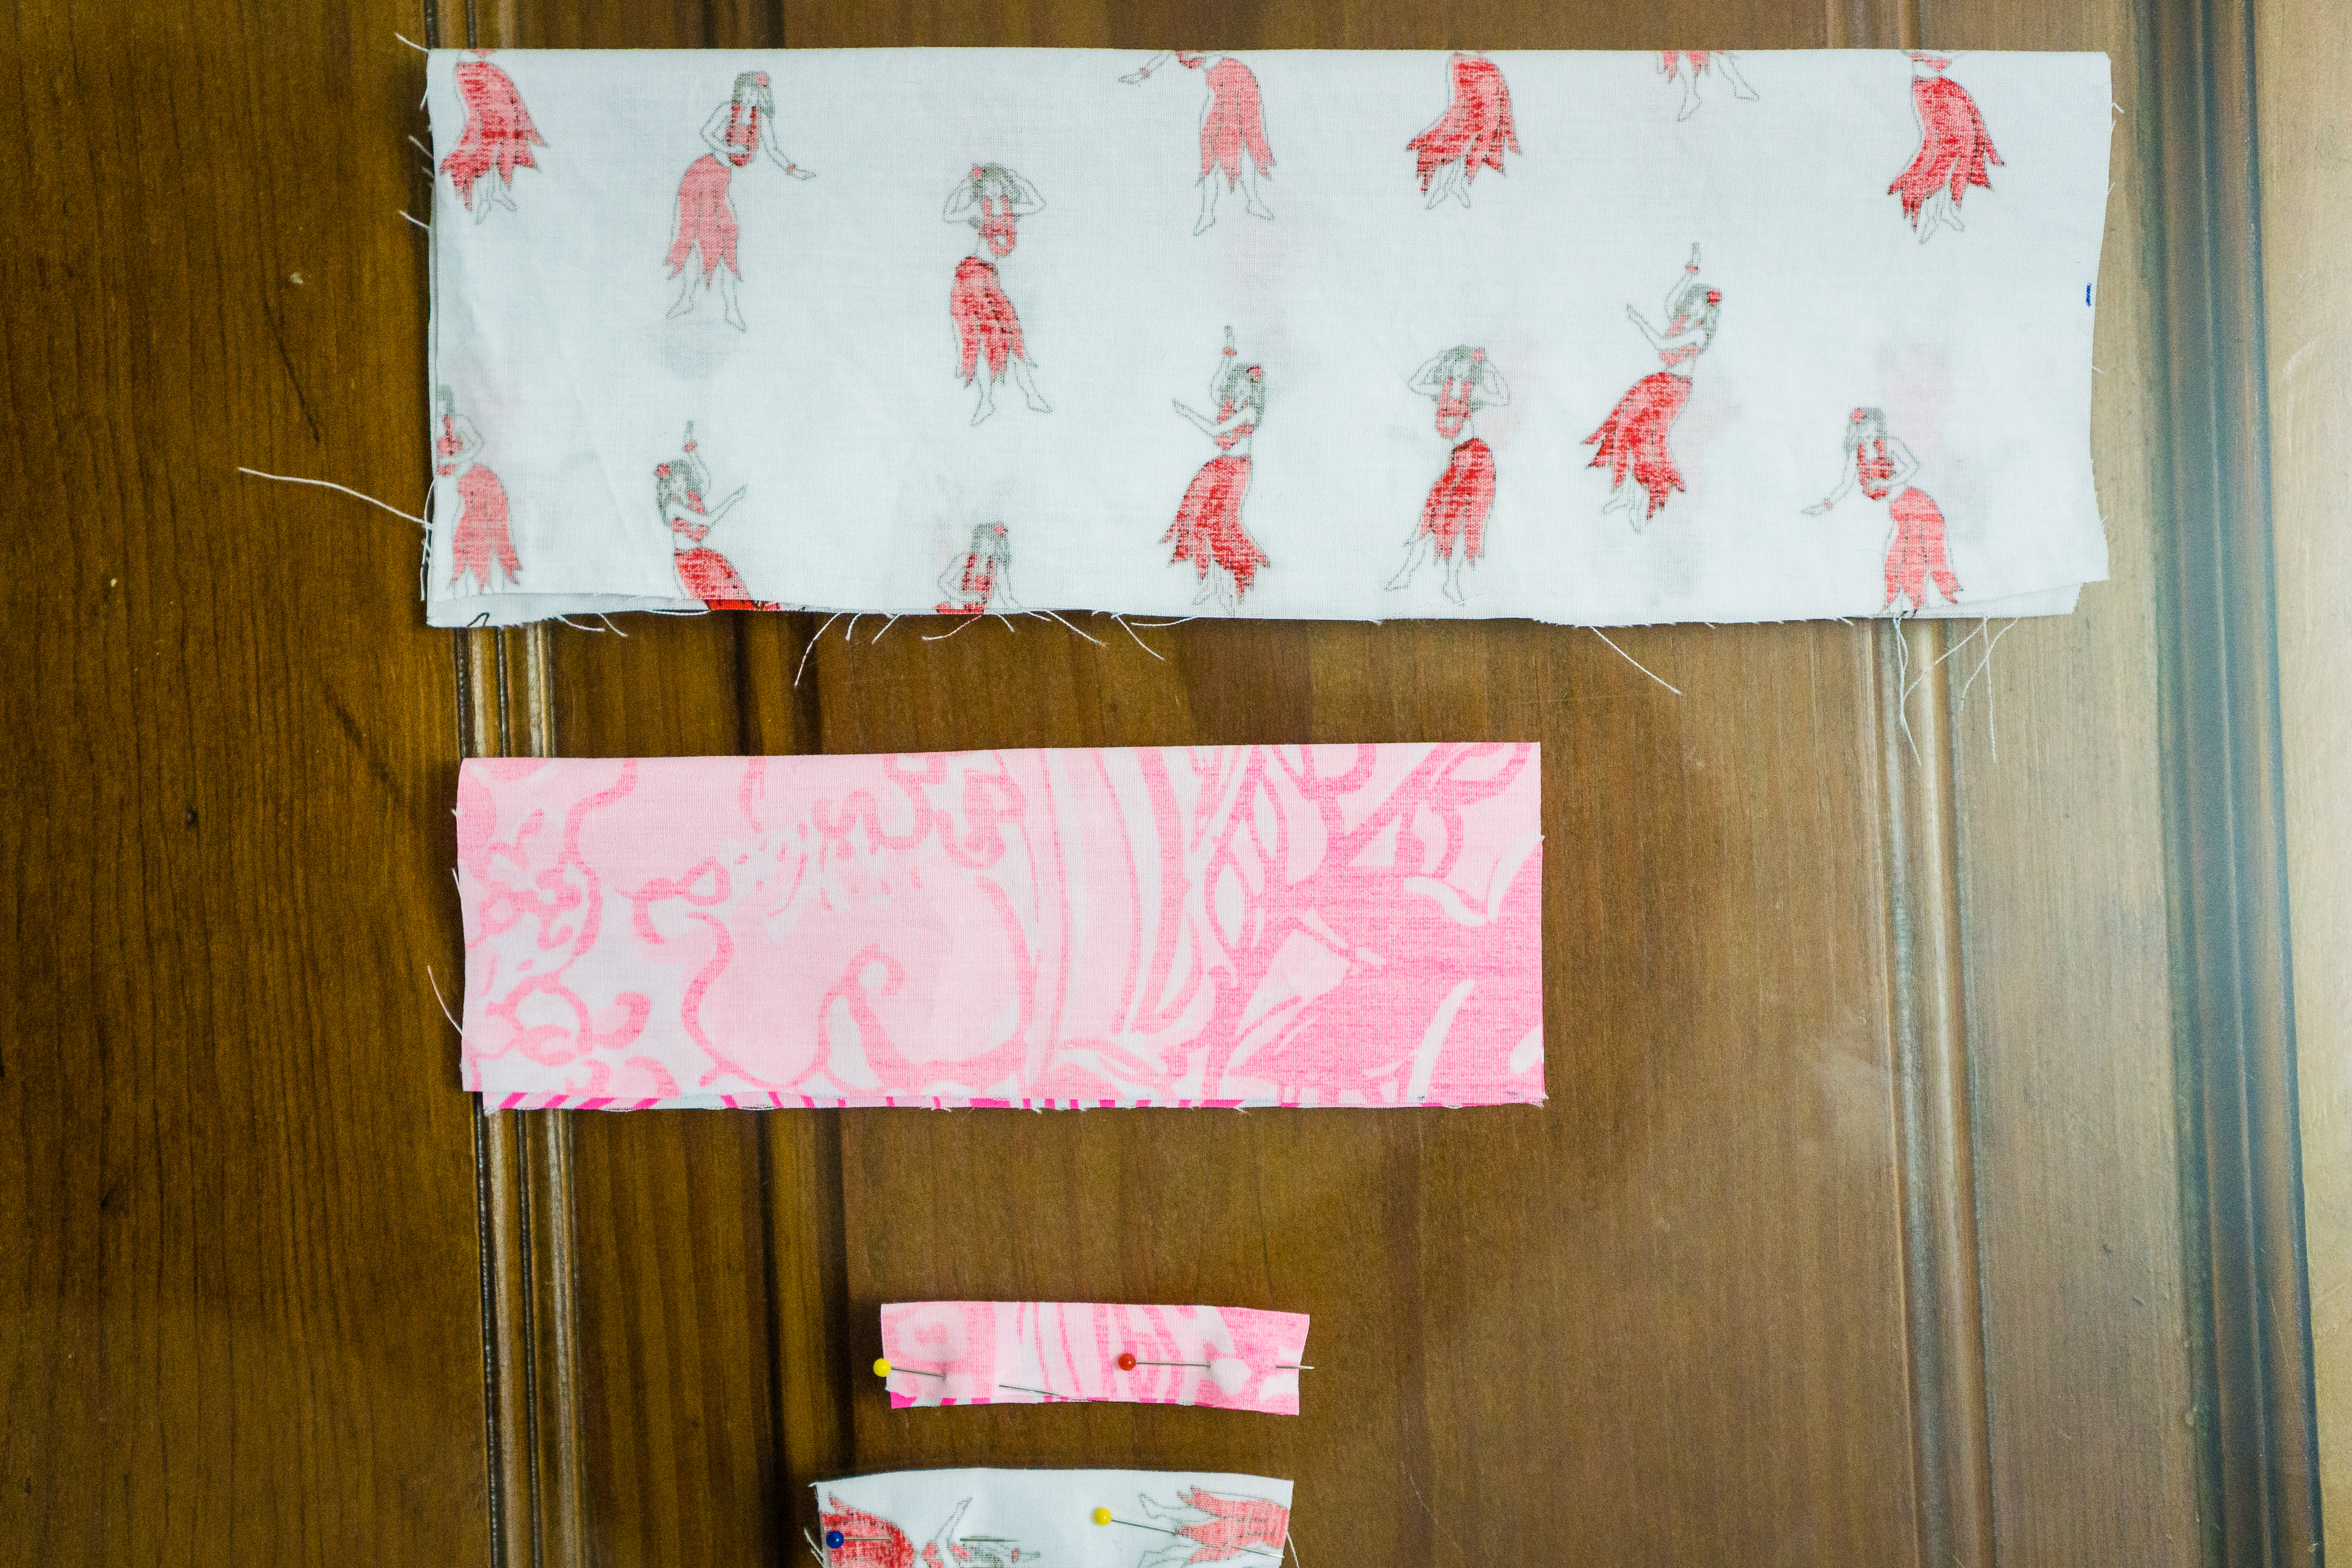
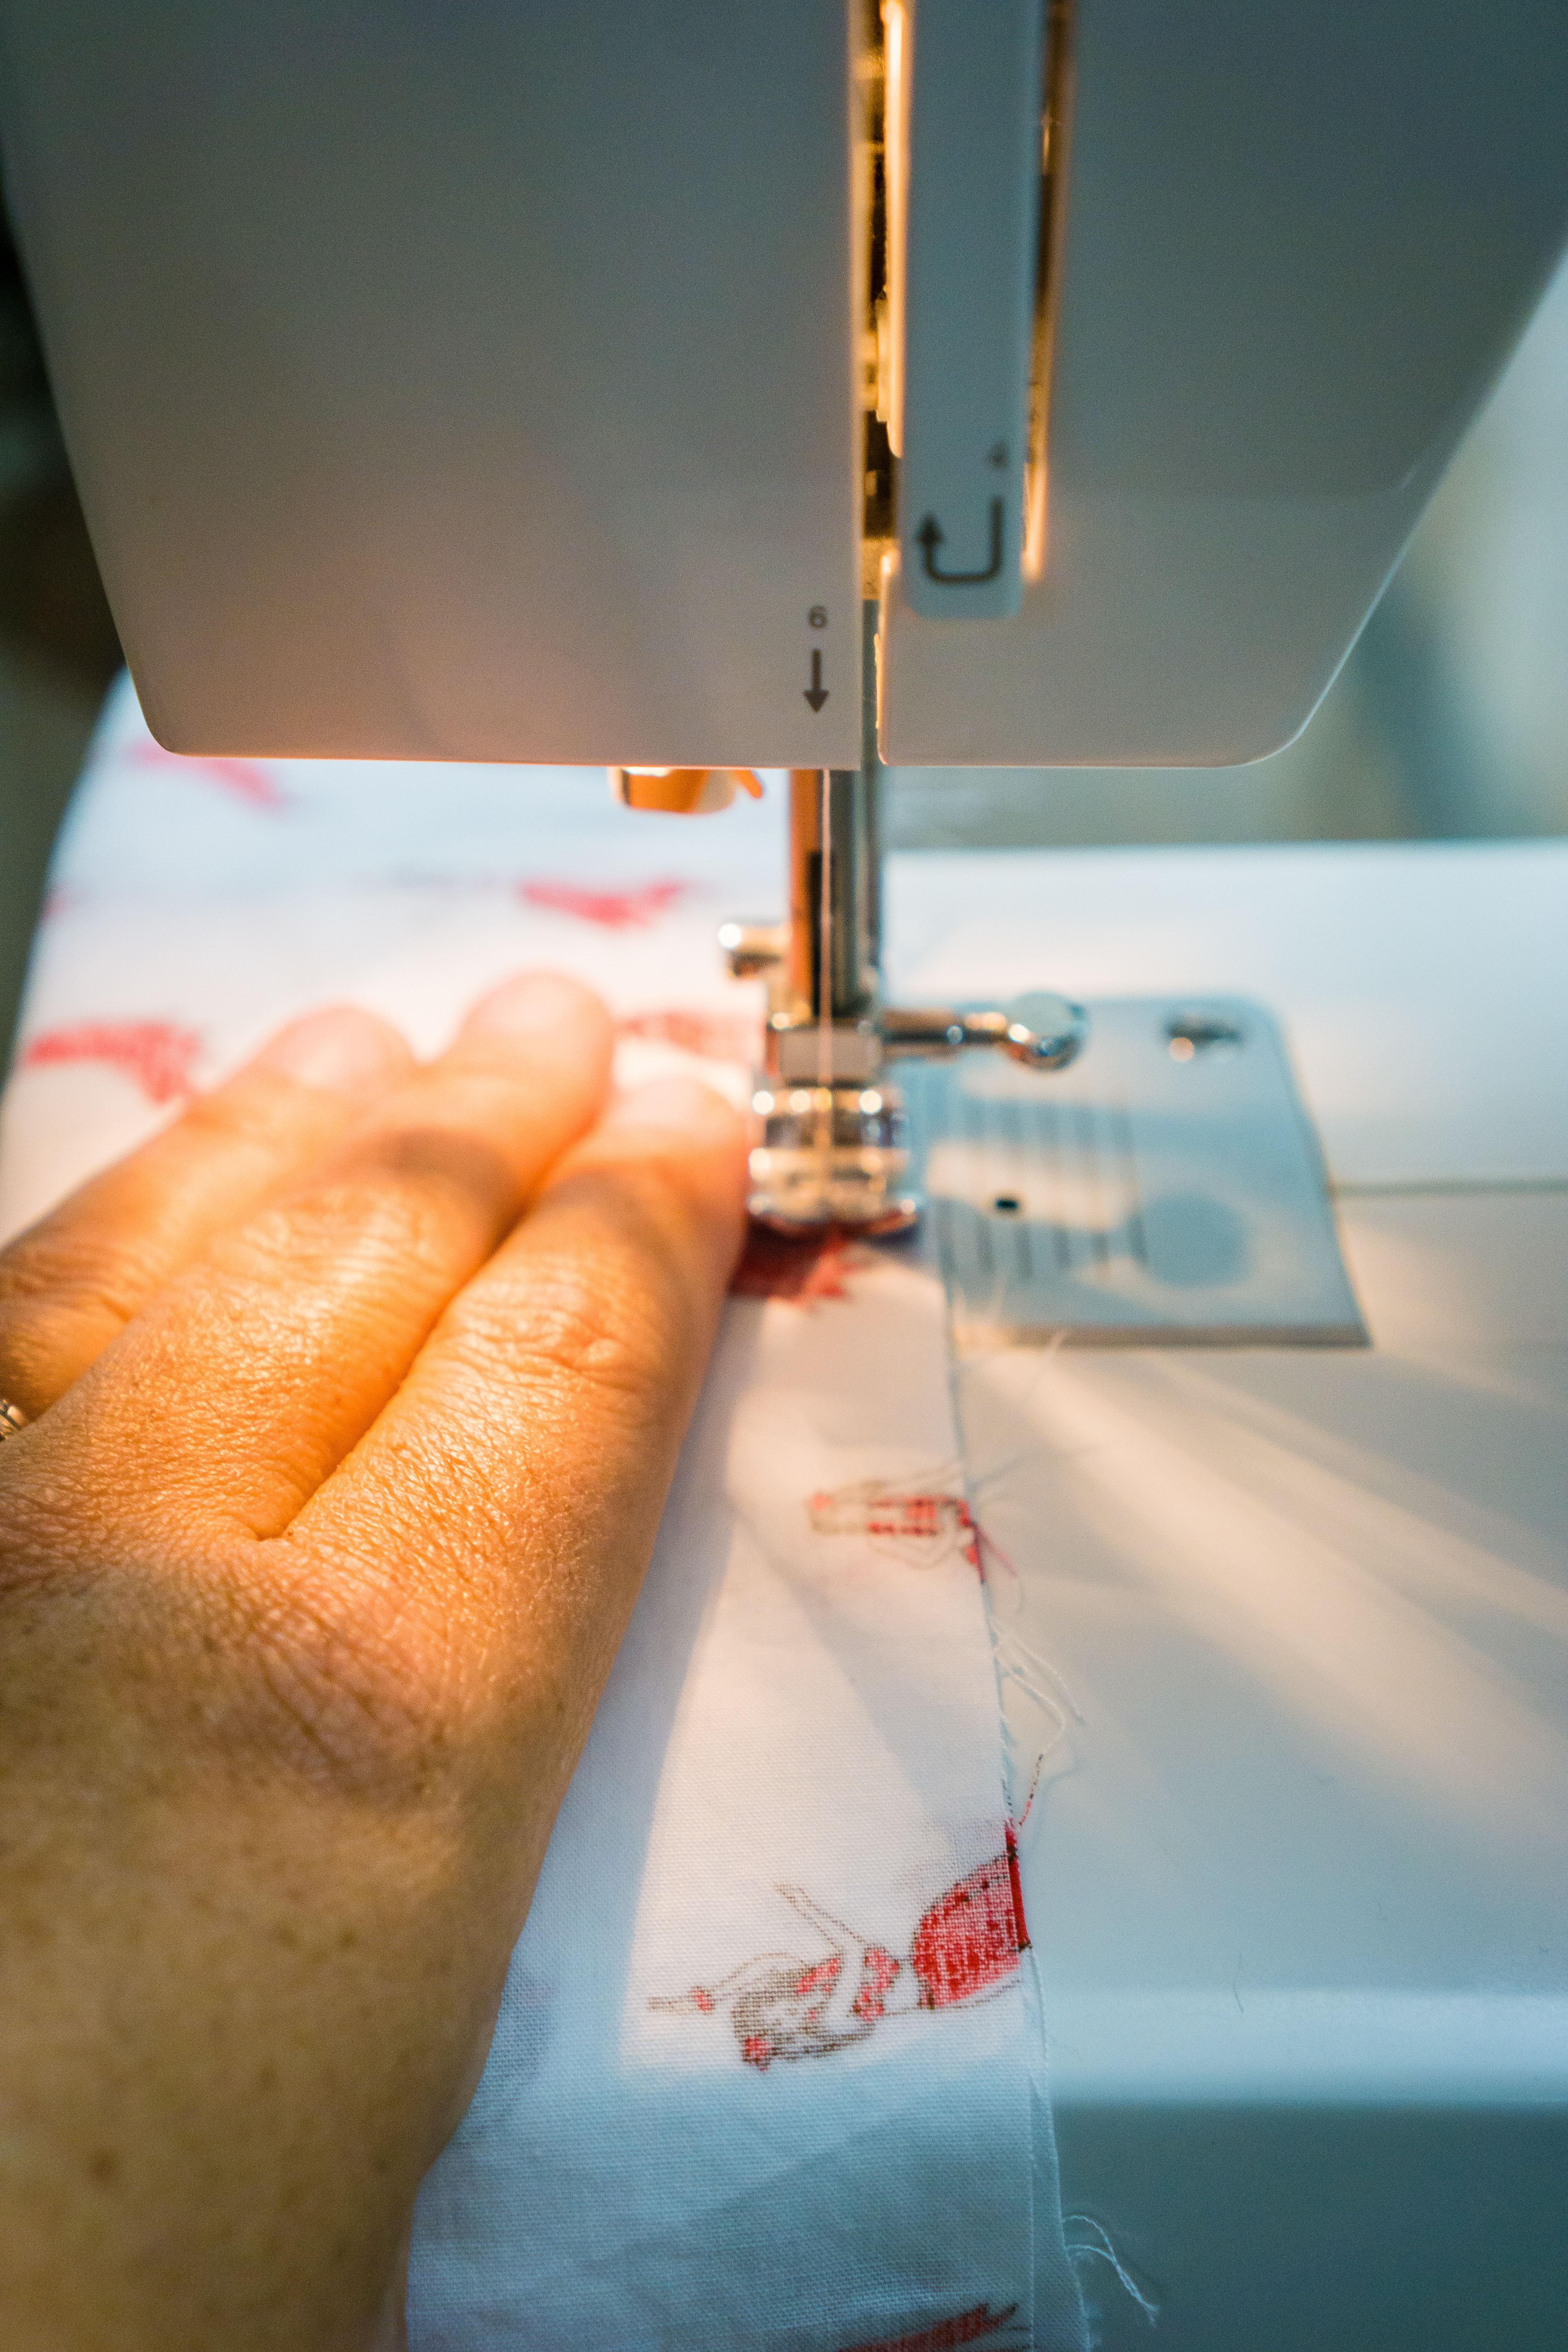
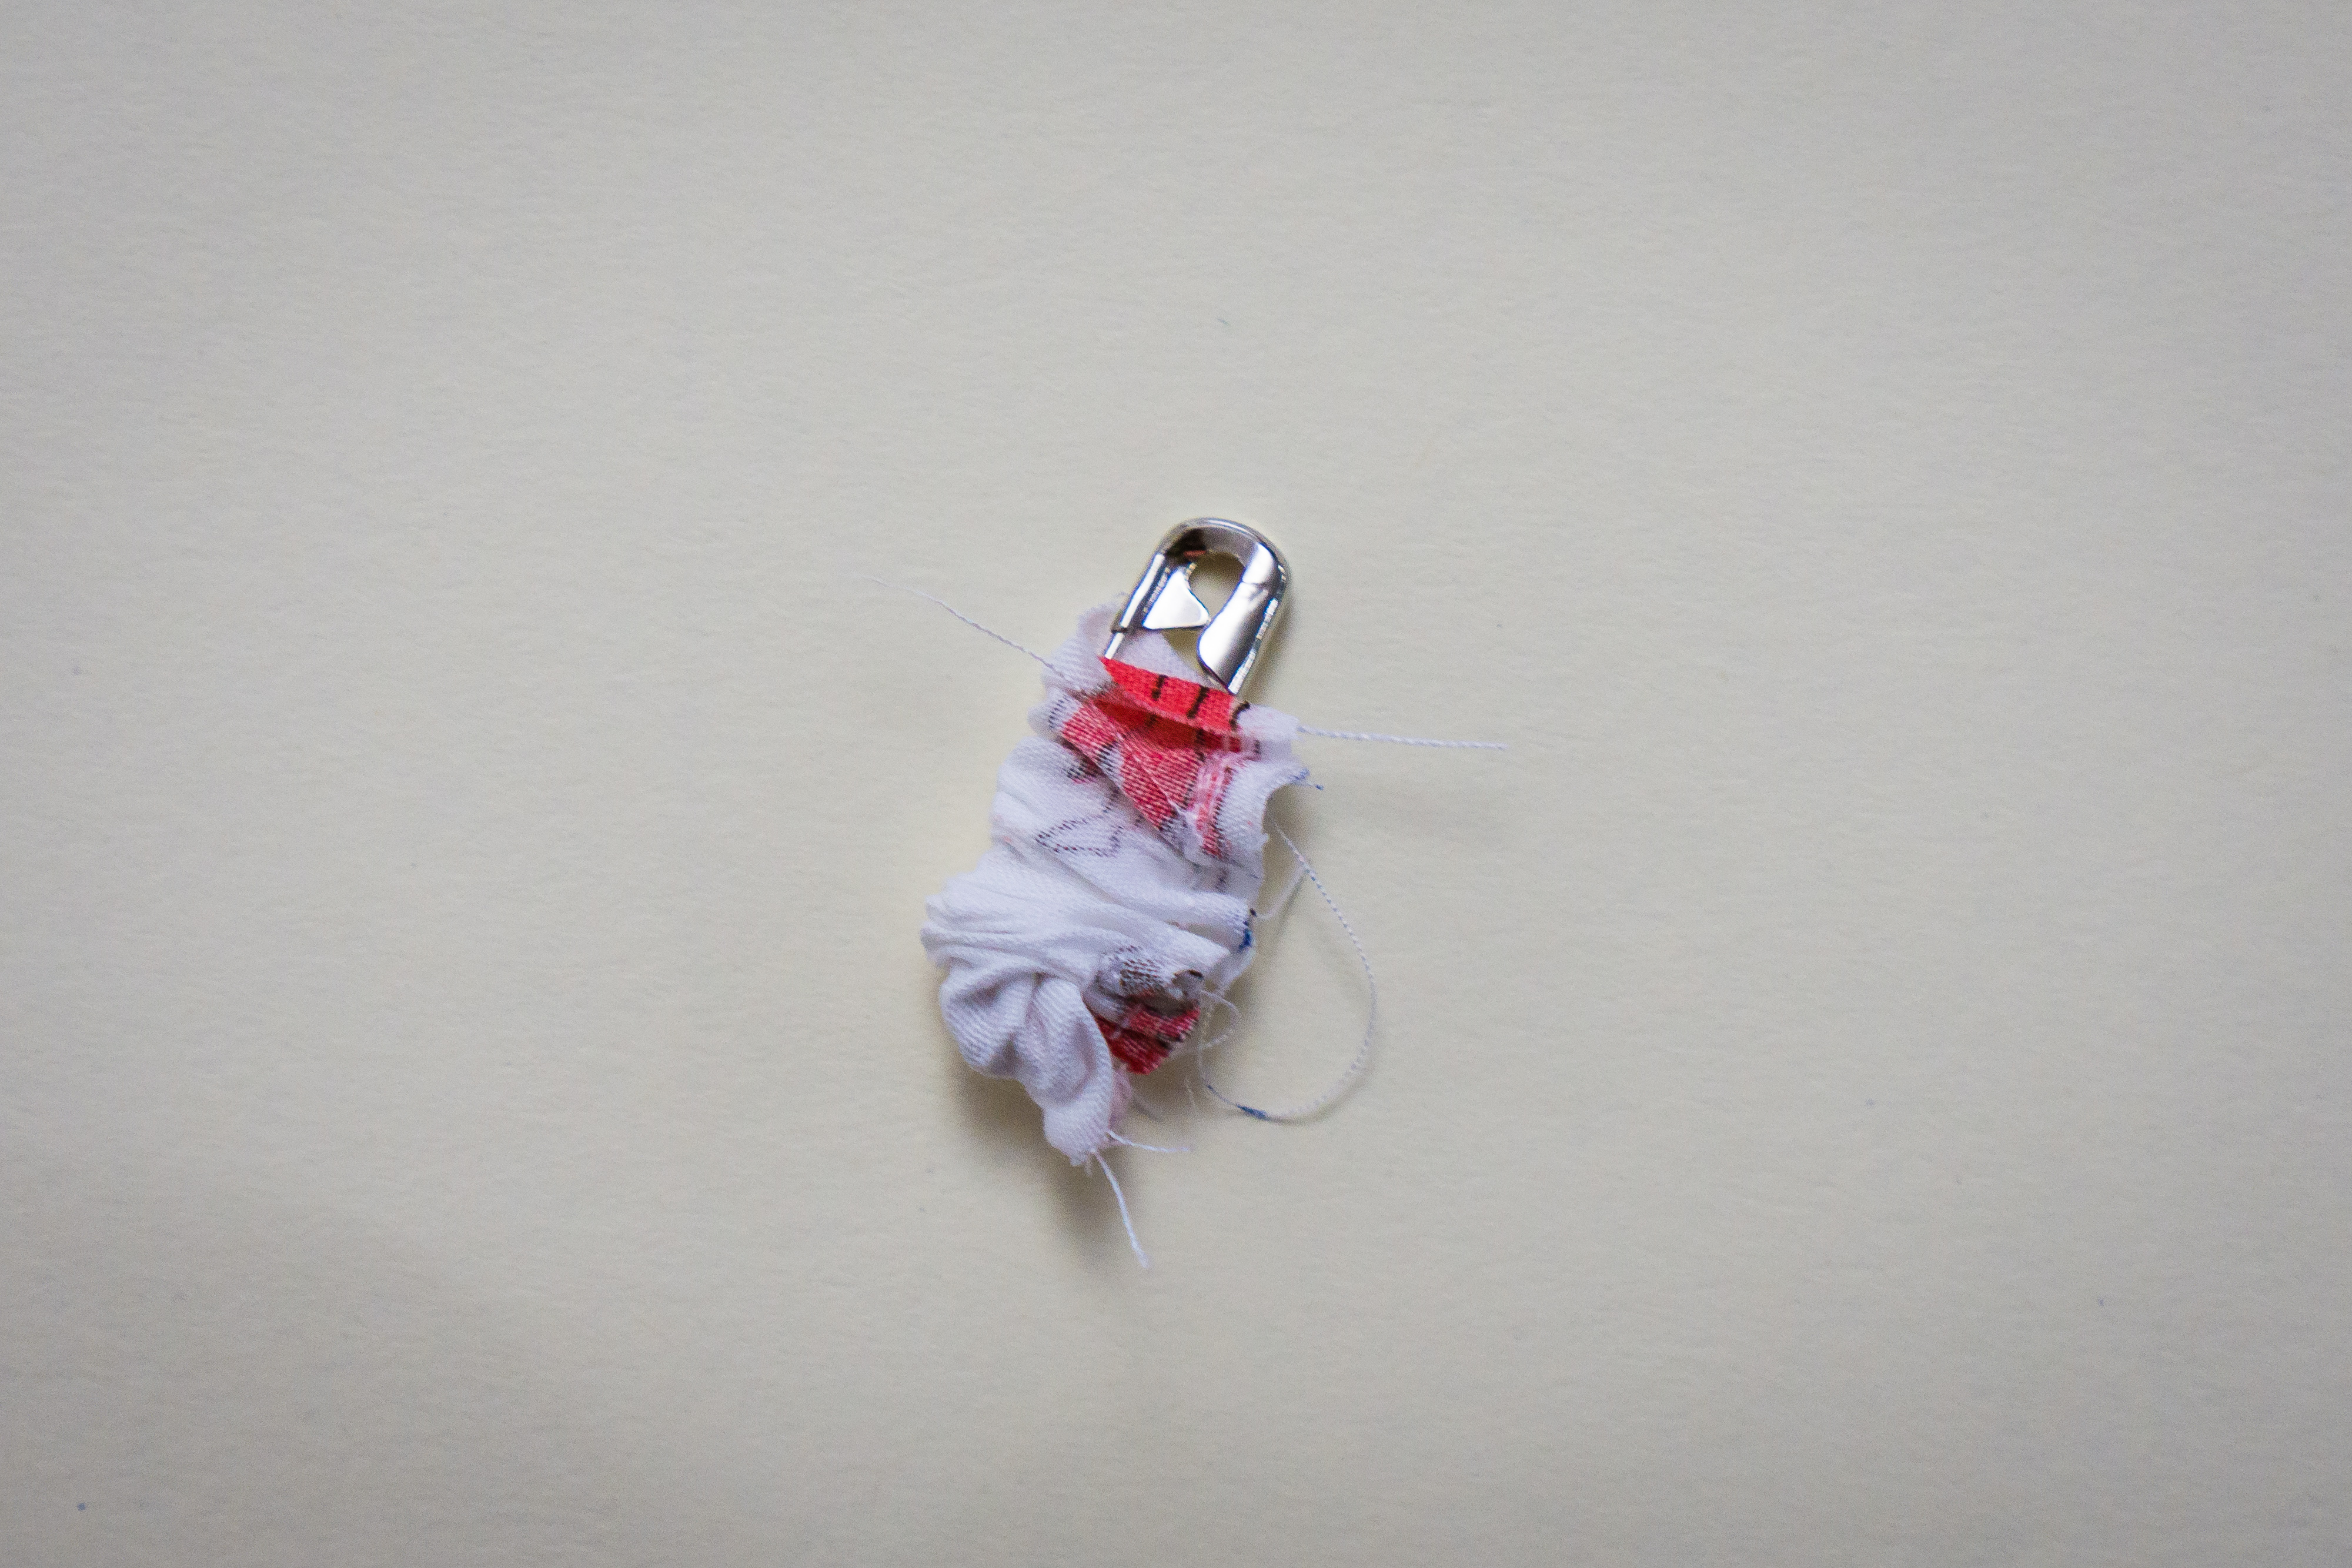
Now that we have everything together, it’s time to sew. Start by taking the two pieces and folding them each “hot dog style” with the right side of the fabric on the inside of the fold. For an example of hotdog vs. hamburger style folding check out my DIY Hooded Towel blog. Pin these pieces if you need to keep them straight while you sew. Sew each one down the long side and turn them right side out. Use the safety pin to turn the small piece, if needed.
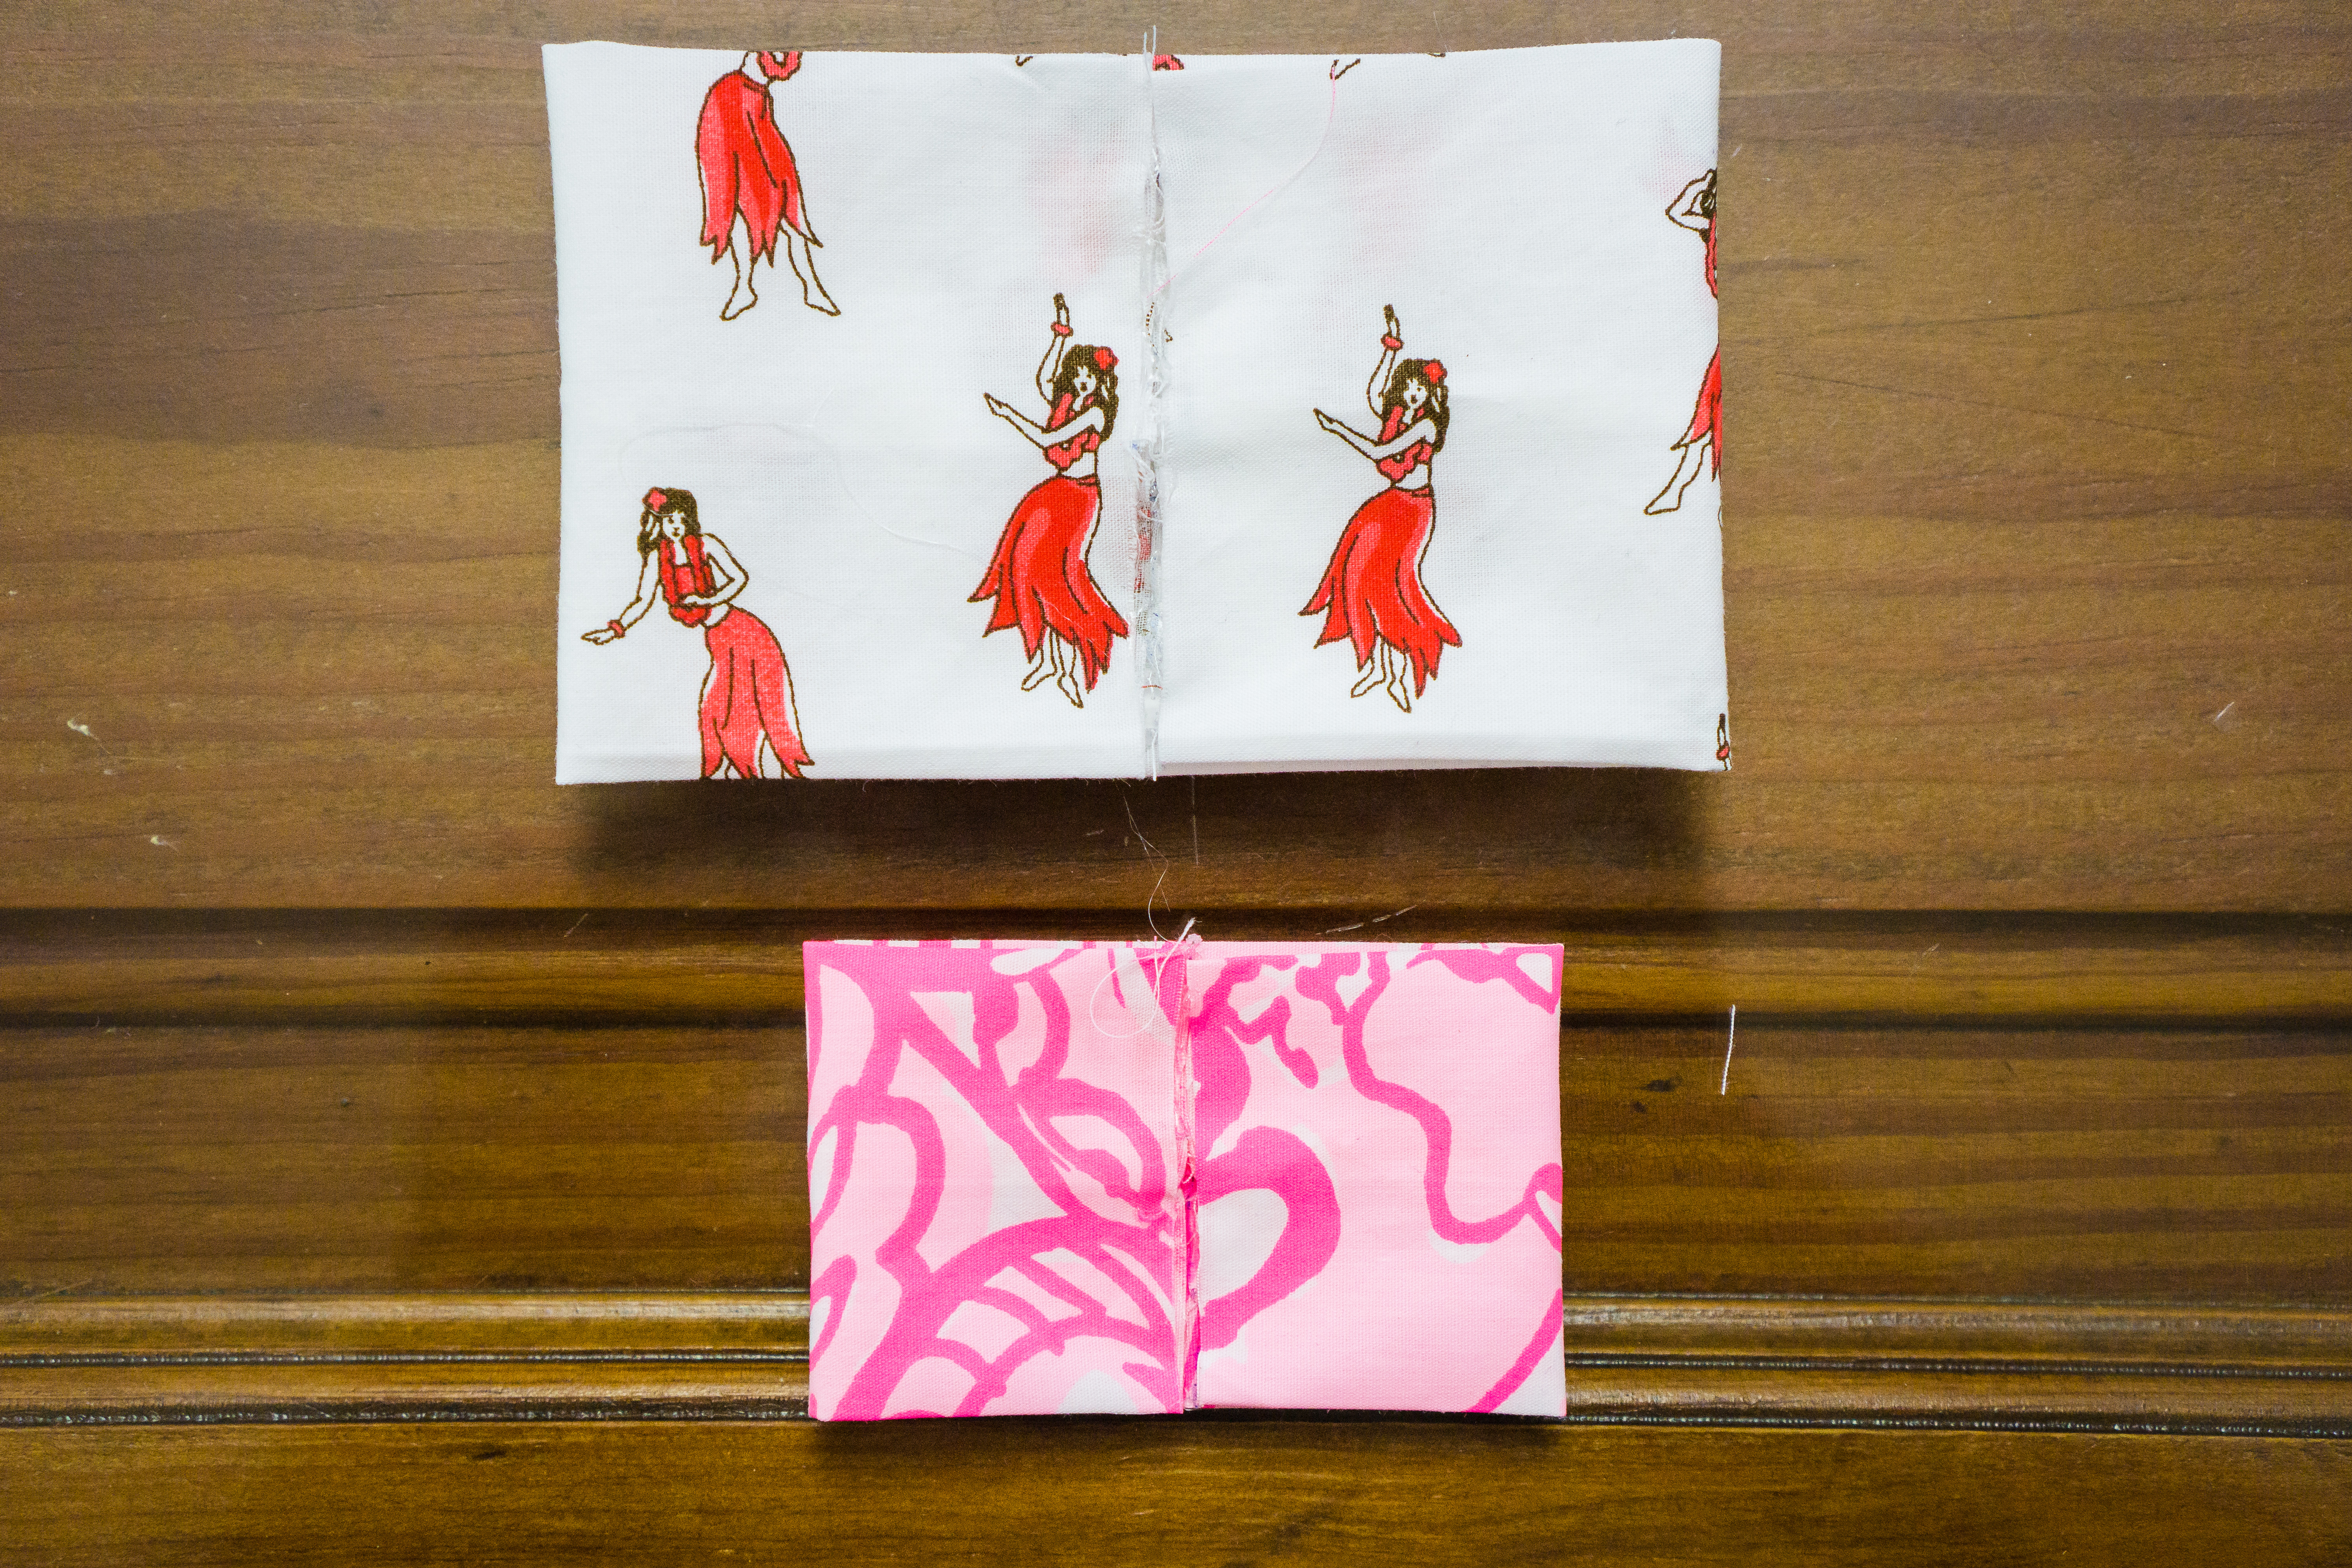
Congratulations!! You’ve sewn a bow!! Before your little beauty can wear it you’ll have to assemble it. Start by making sure the glue gun is nice and hot. Then take the fabric pieces and lay them out flat with the seam in the middle facing up. If you got out the iron earlier this would be a good time to use it again. If not, just push it flat with your hands.
Next, take each of the unfinished ends and fold them to meet in the middle. Make sure you have them centered and glue them in place. You may have to glue each layer of fabric. Be careful to not burn your fingers!
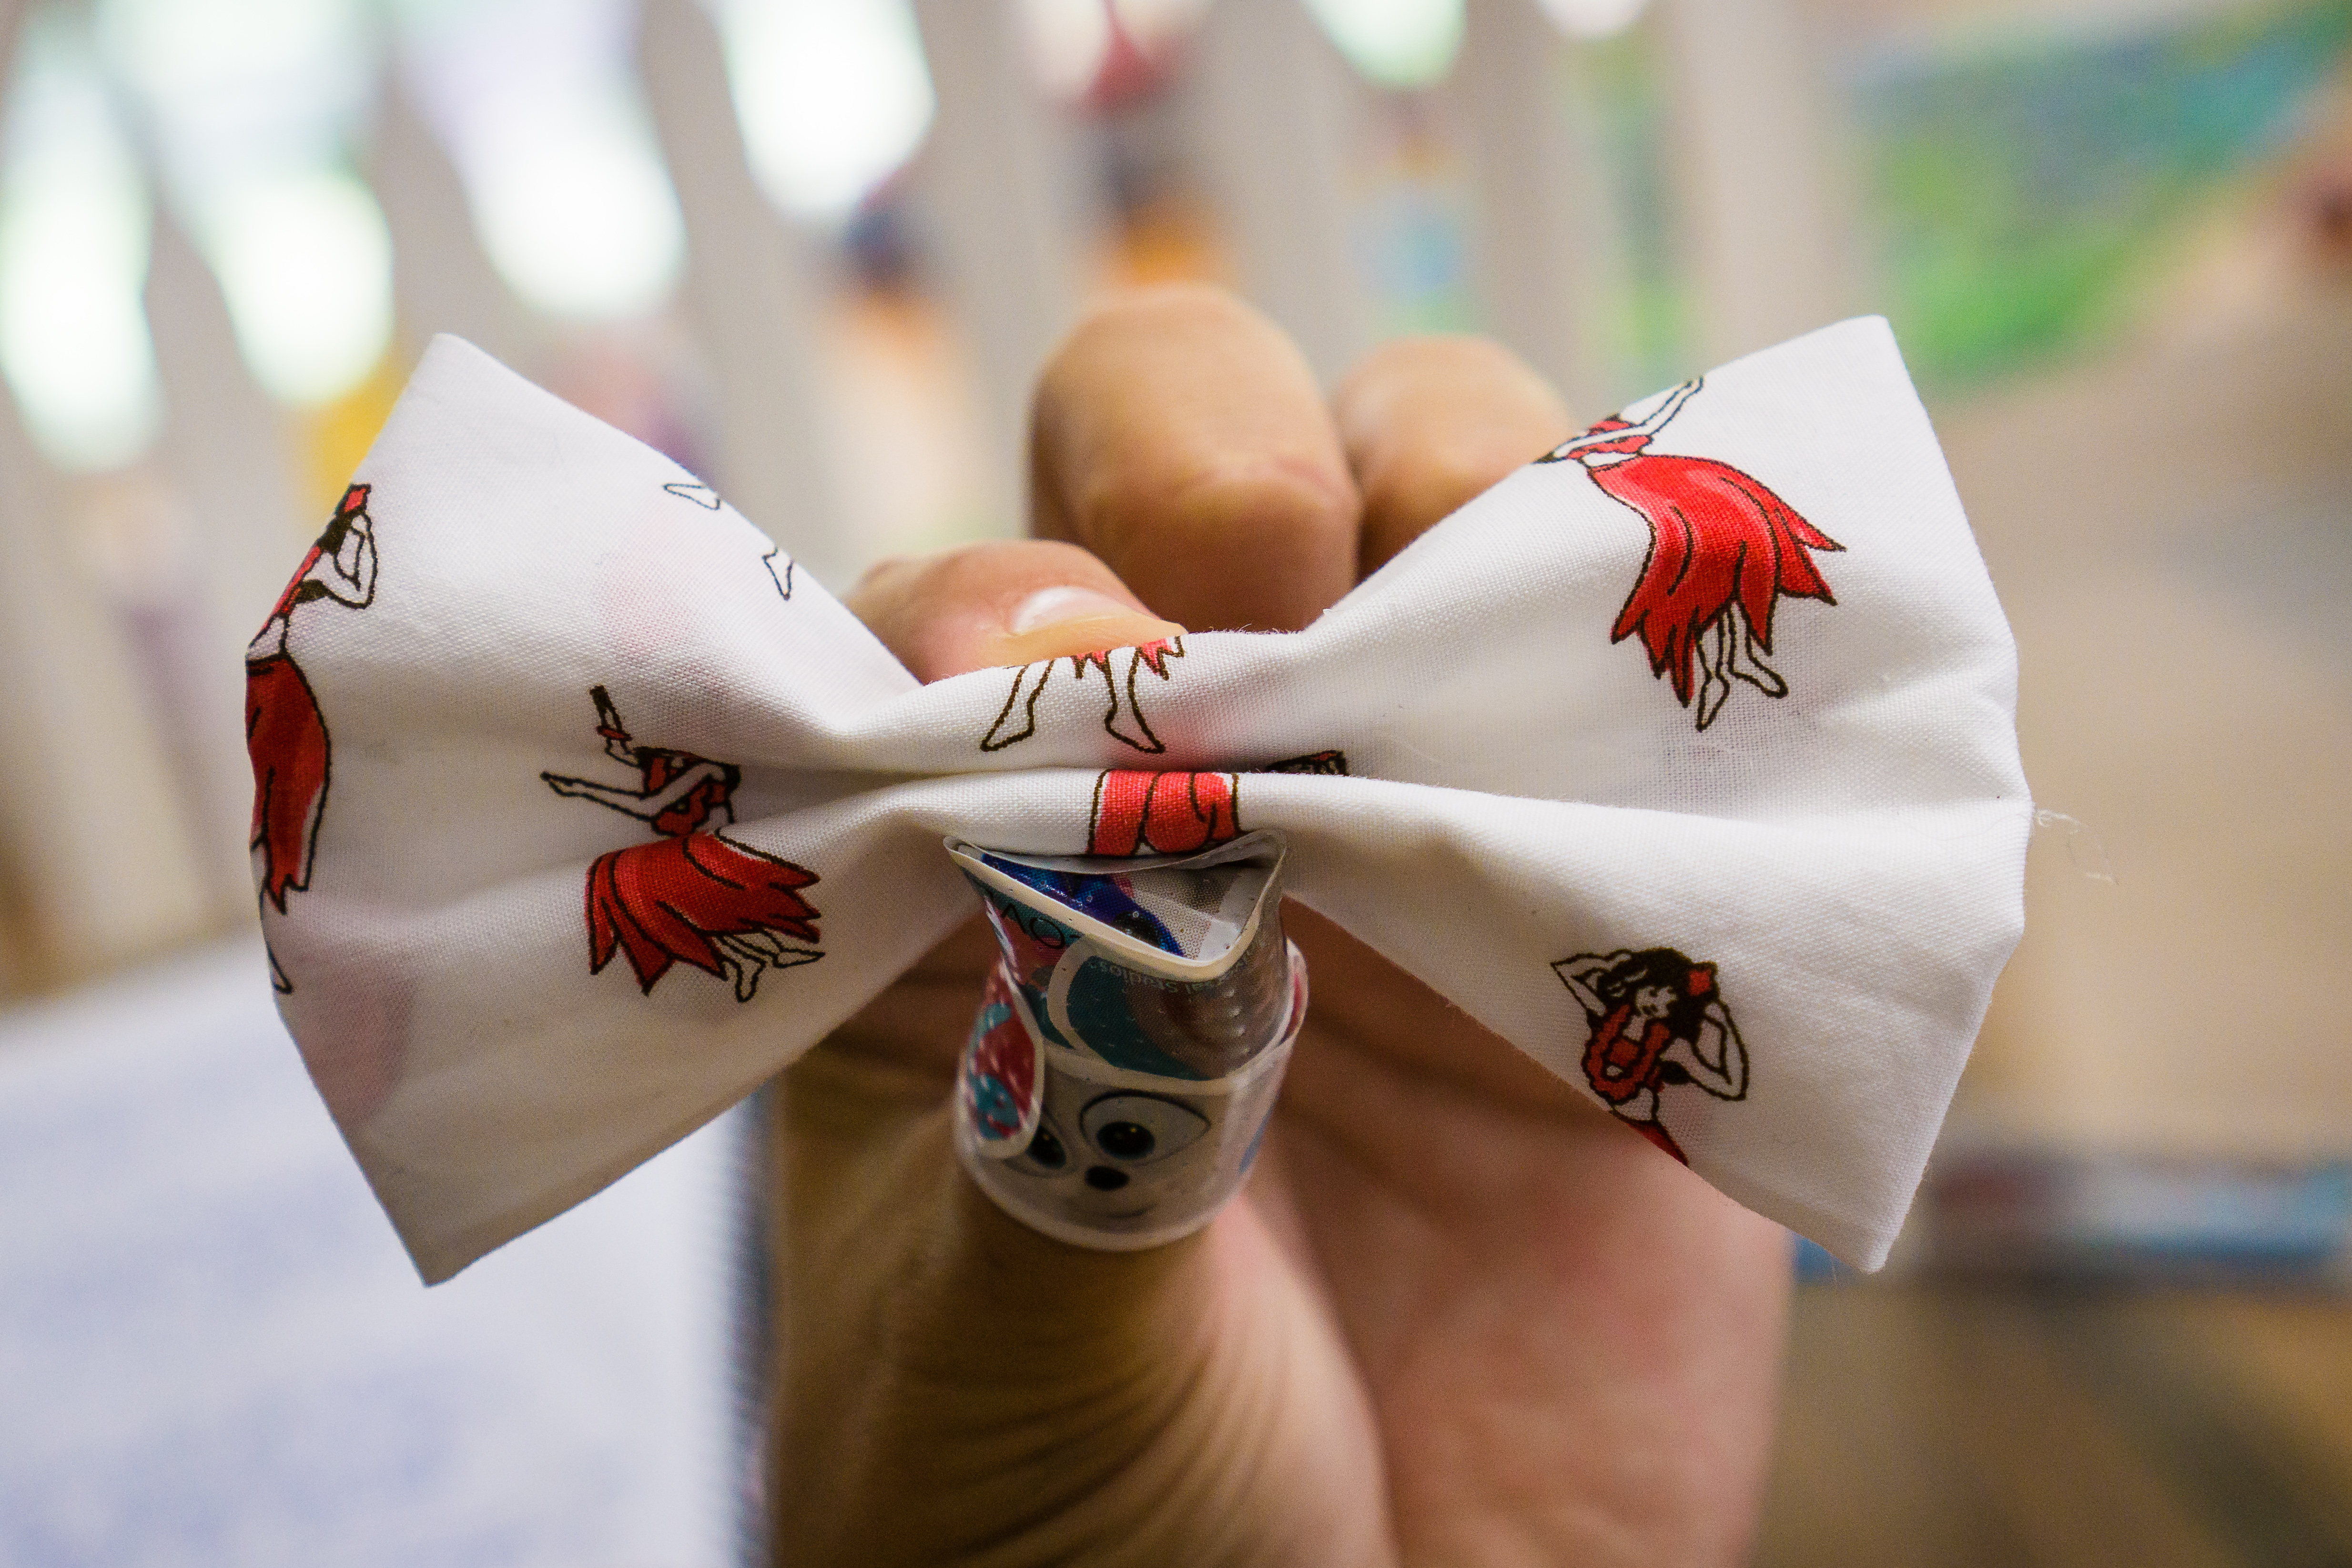
When the glue dries, turn the piece over so the seam is on the bottom and is vertical. Fold the material in half bottom to top, then fold each edge back down to meet the bottom. It should look like an “M” if you’re pinching the middle. Glue each of the folds together.
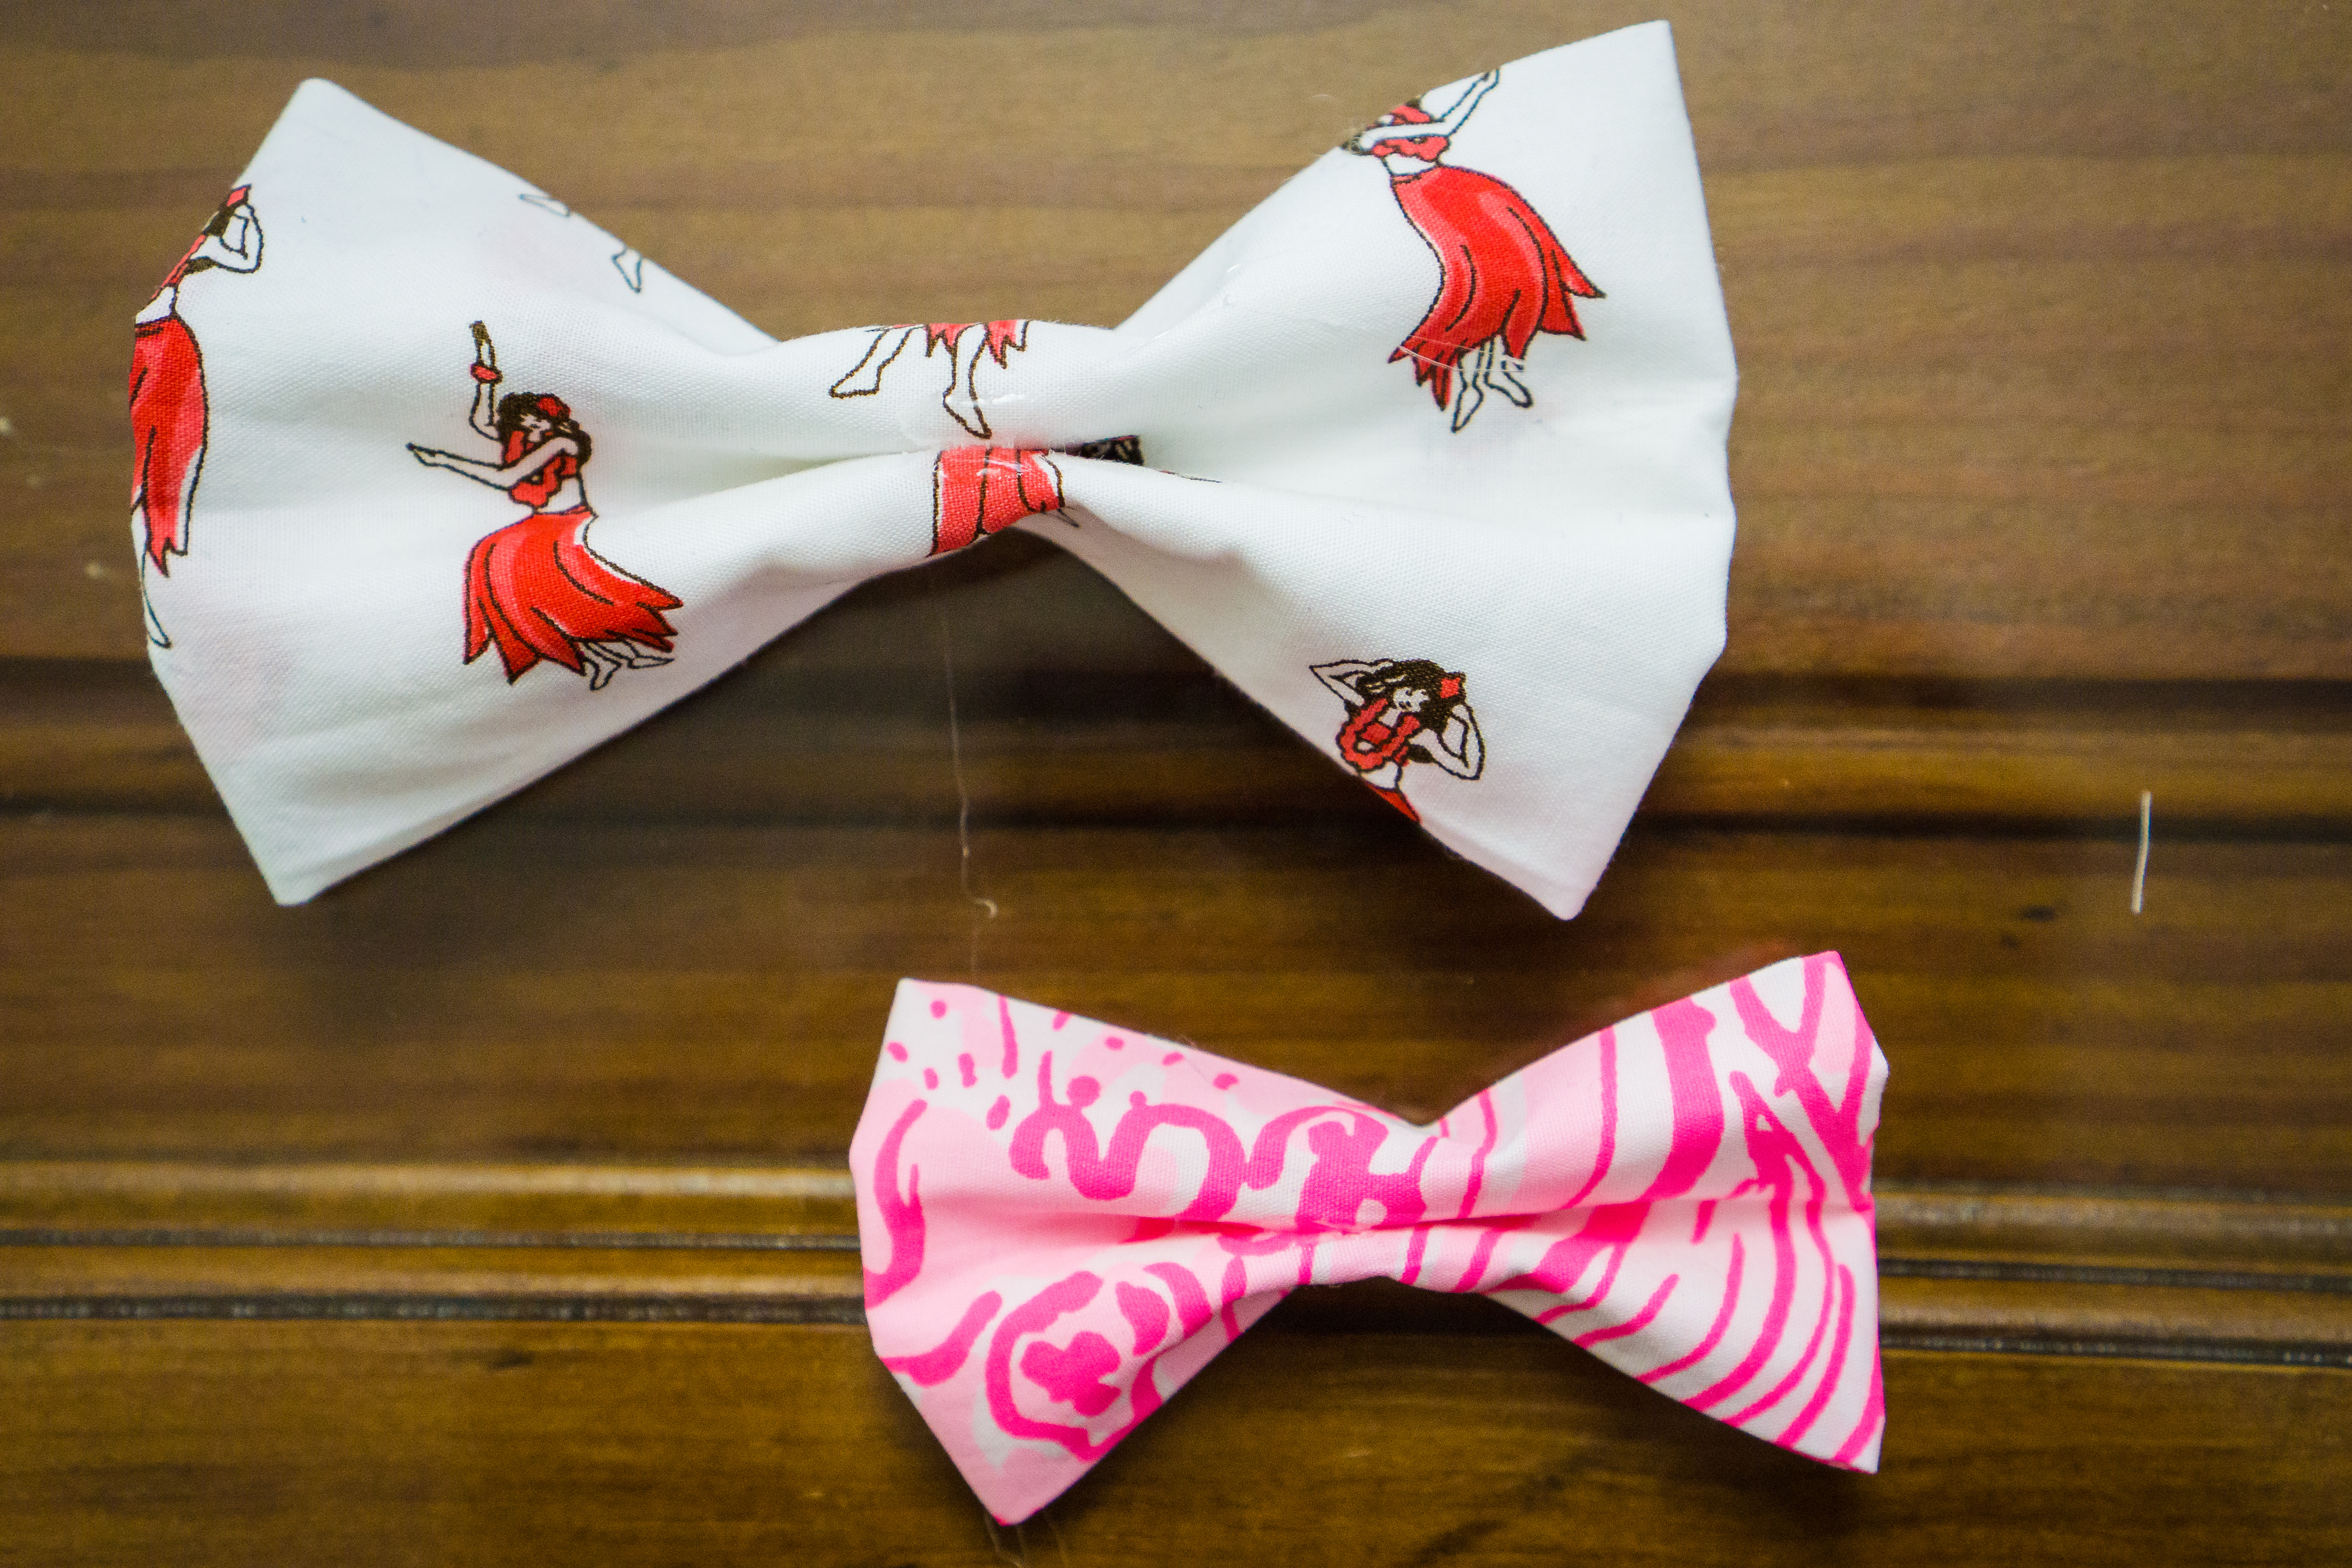
The final step is to attach the bow to the headband. Start by turning the bow over so the back is facing you and glue the headband on. Once dry, take the smaller piece and glue it on the back atop the headband. Wrap the small piece around the bow, making sure it’s centered and glue it tight on the back where you started, snip off any excess.
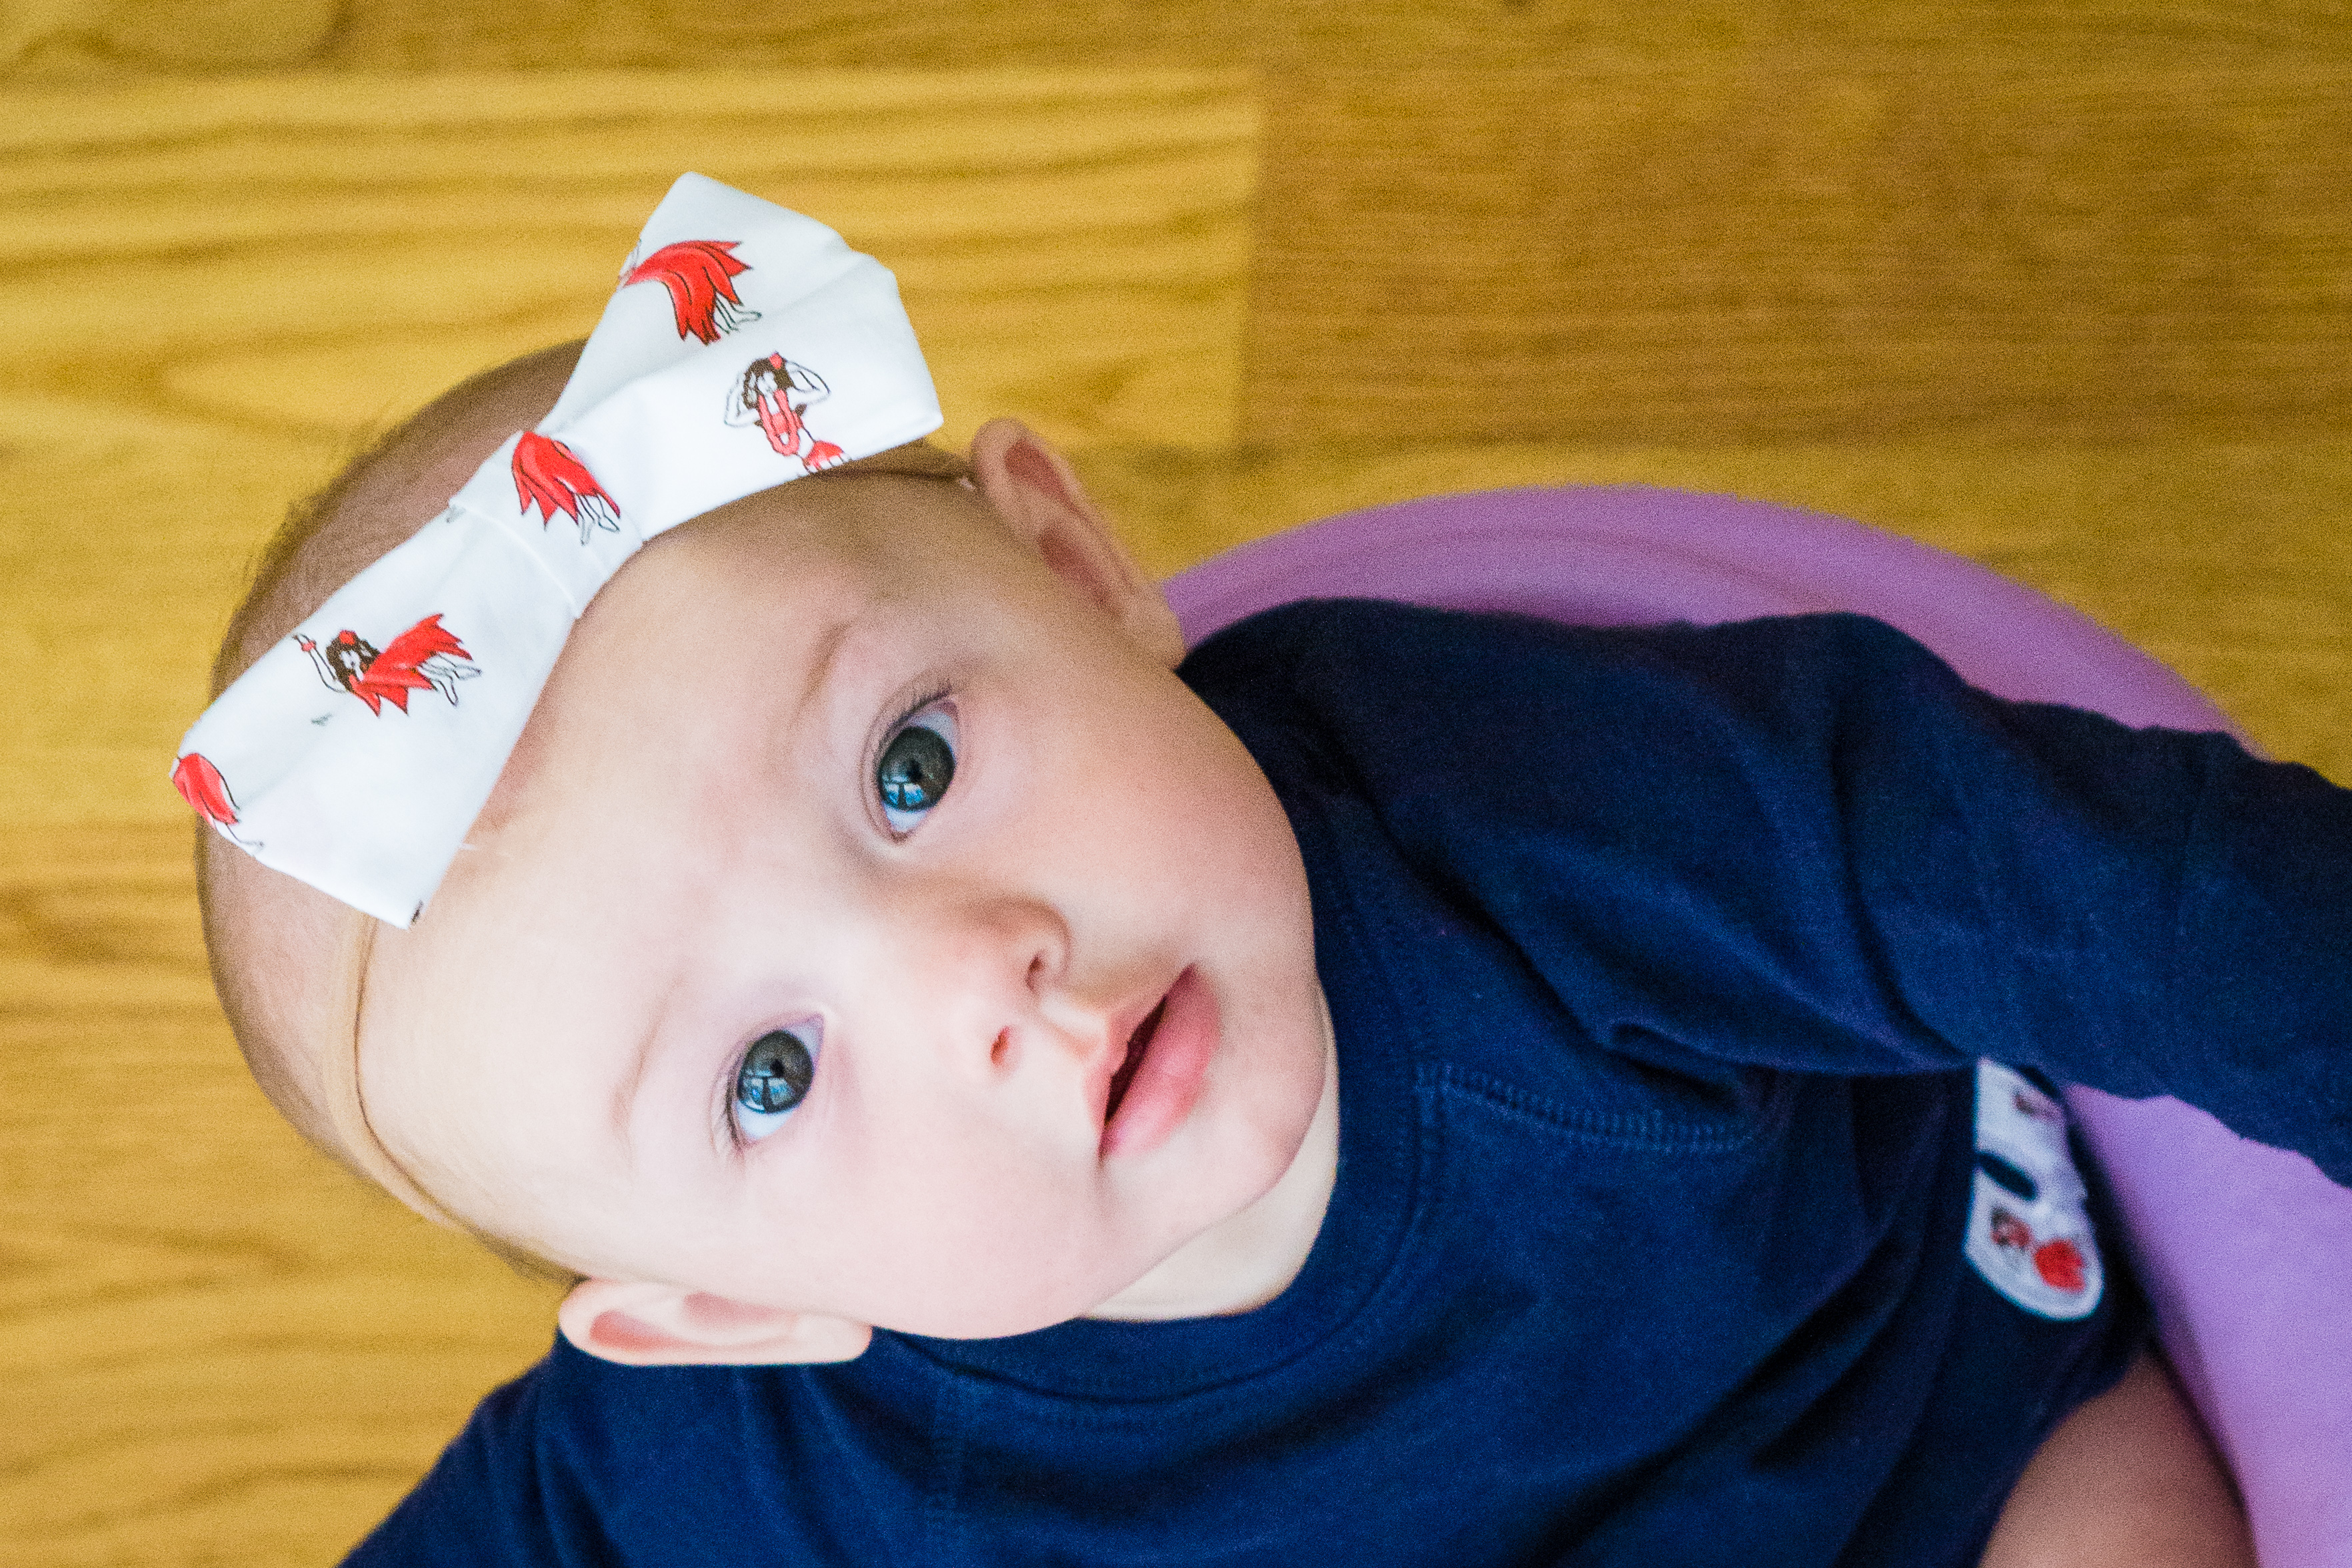
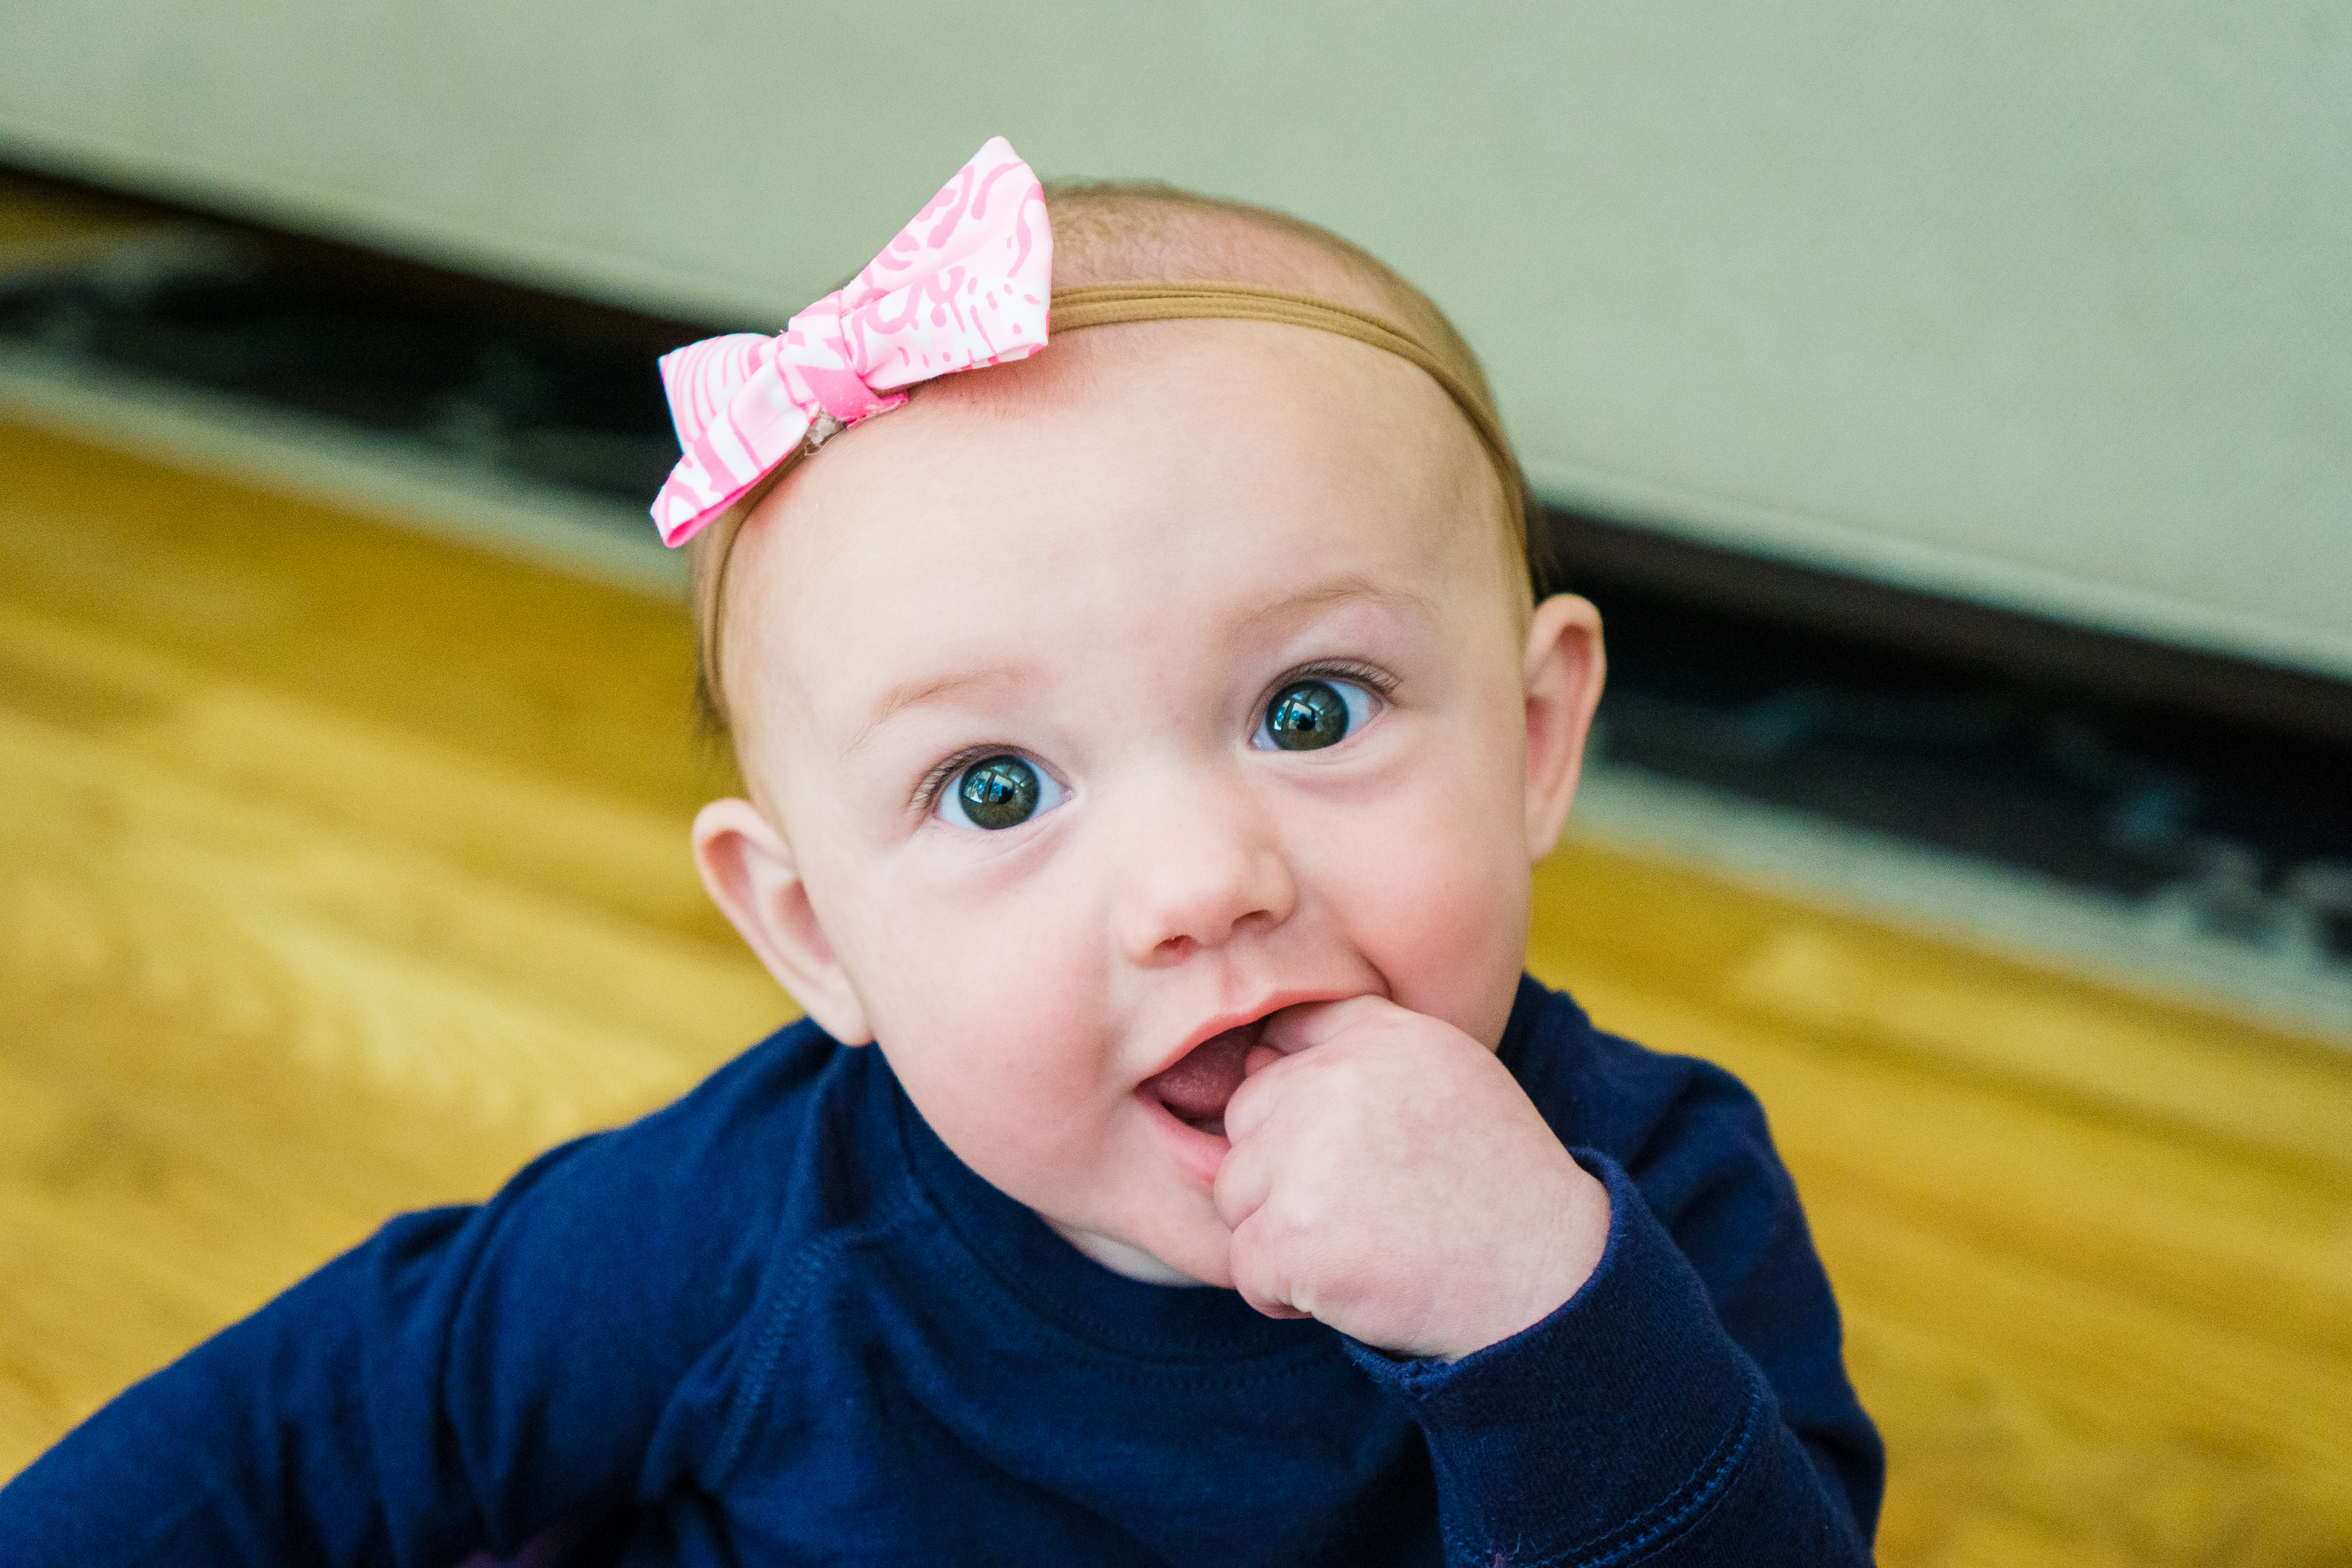
Now you’re finished! Find a cutie and test out your work!!


Be the first to comment