


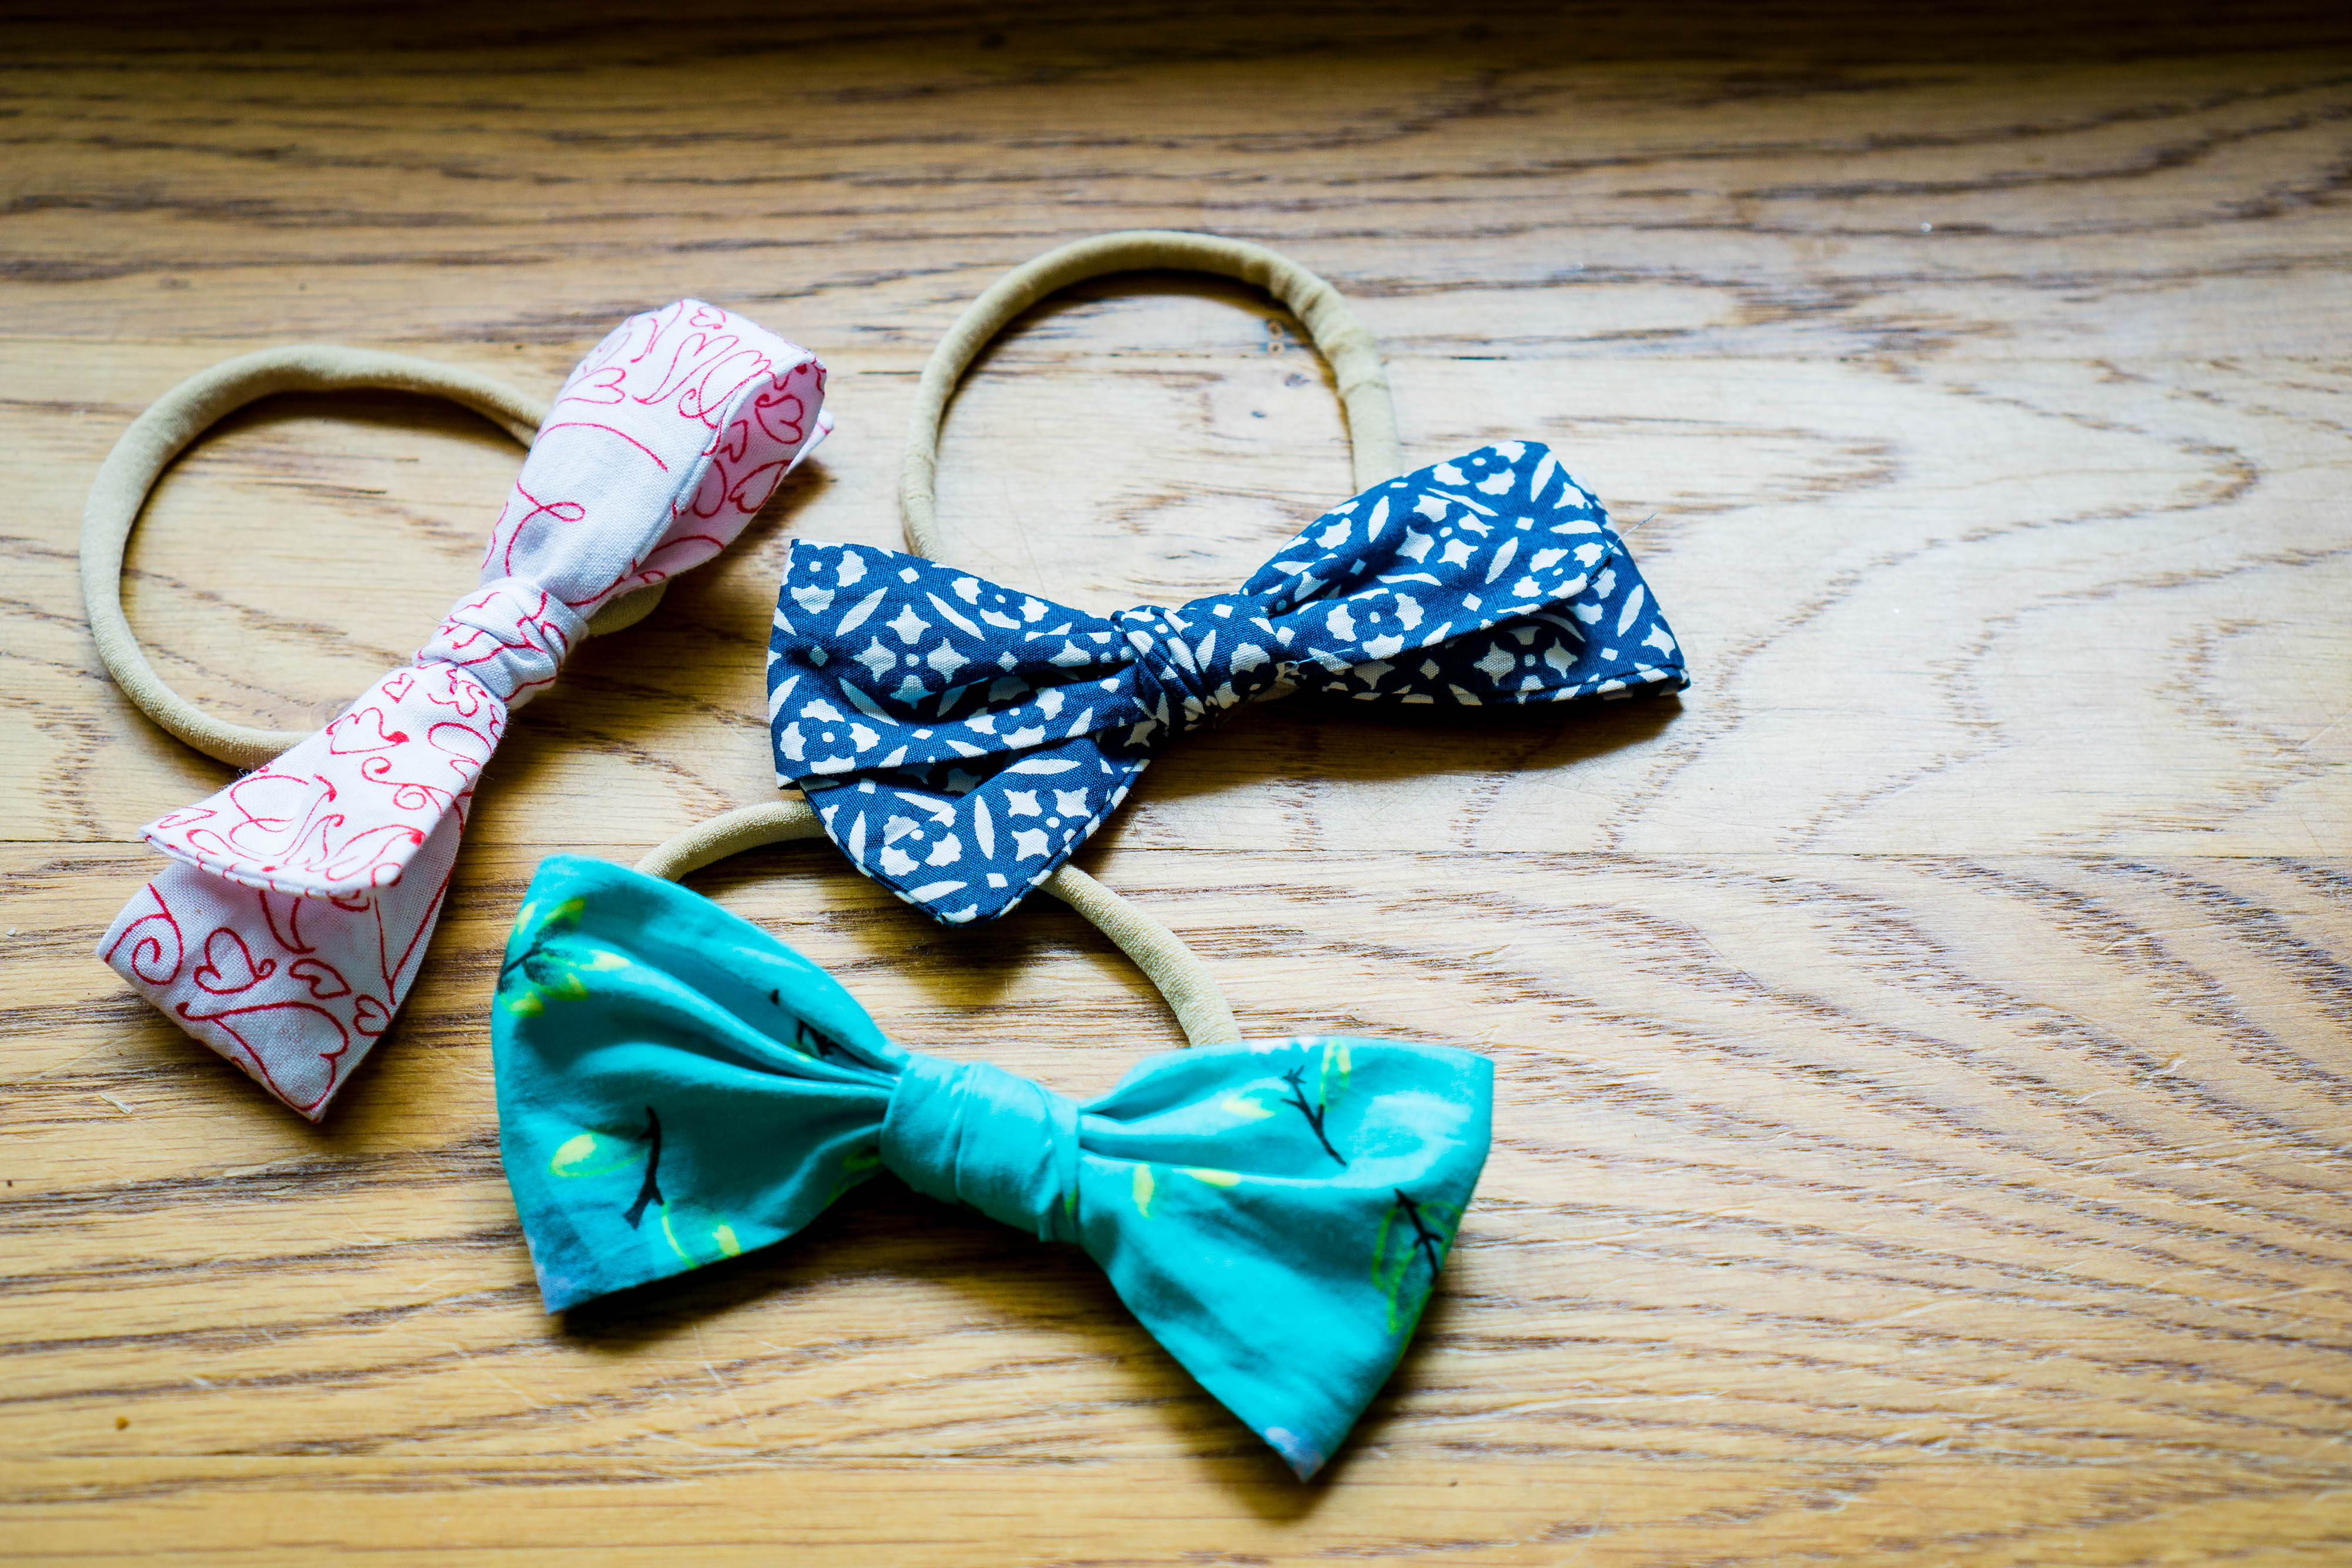
YES!! Round Two…because I’m seriously all about the bows LOL. I’ve recently changed the style of bow I’m liking and even though at 9 months Ada is constantly pulling them off her head and I’m constantly putting them back on and telling her to stop I felt the need to do a little googling and dissect a bow I purchased to figure out how I can actually use some of the piles of fabric I have laying around in my office. You can read the first blog about bows HERE.
This style is so easy to sew but takes a little practice to tie. The thing I like the most…since I’m not having to glue them to the headband I can untie them down the road and tie them back on clips!
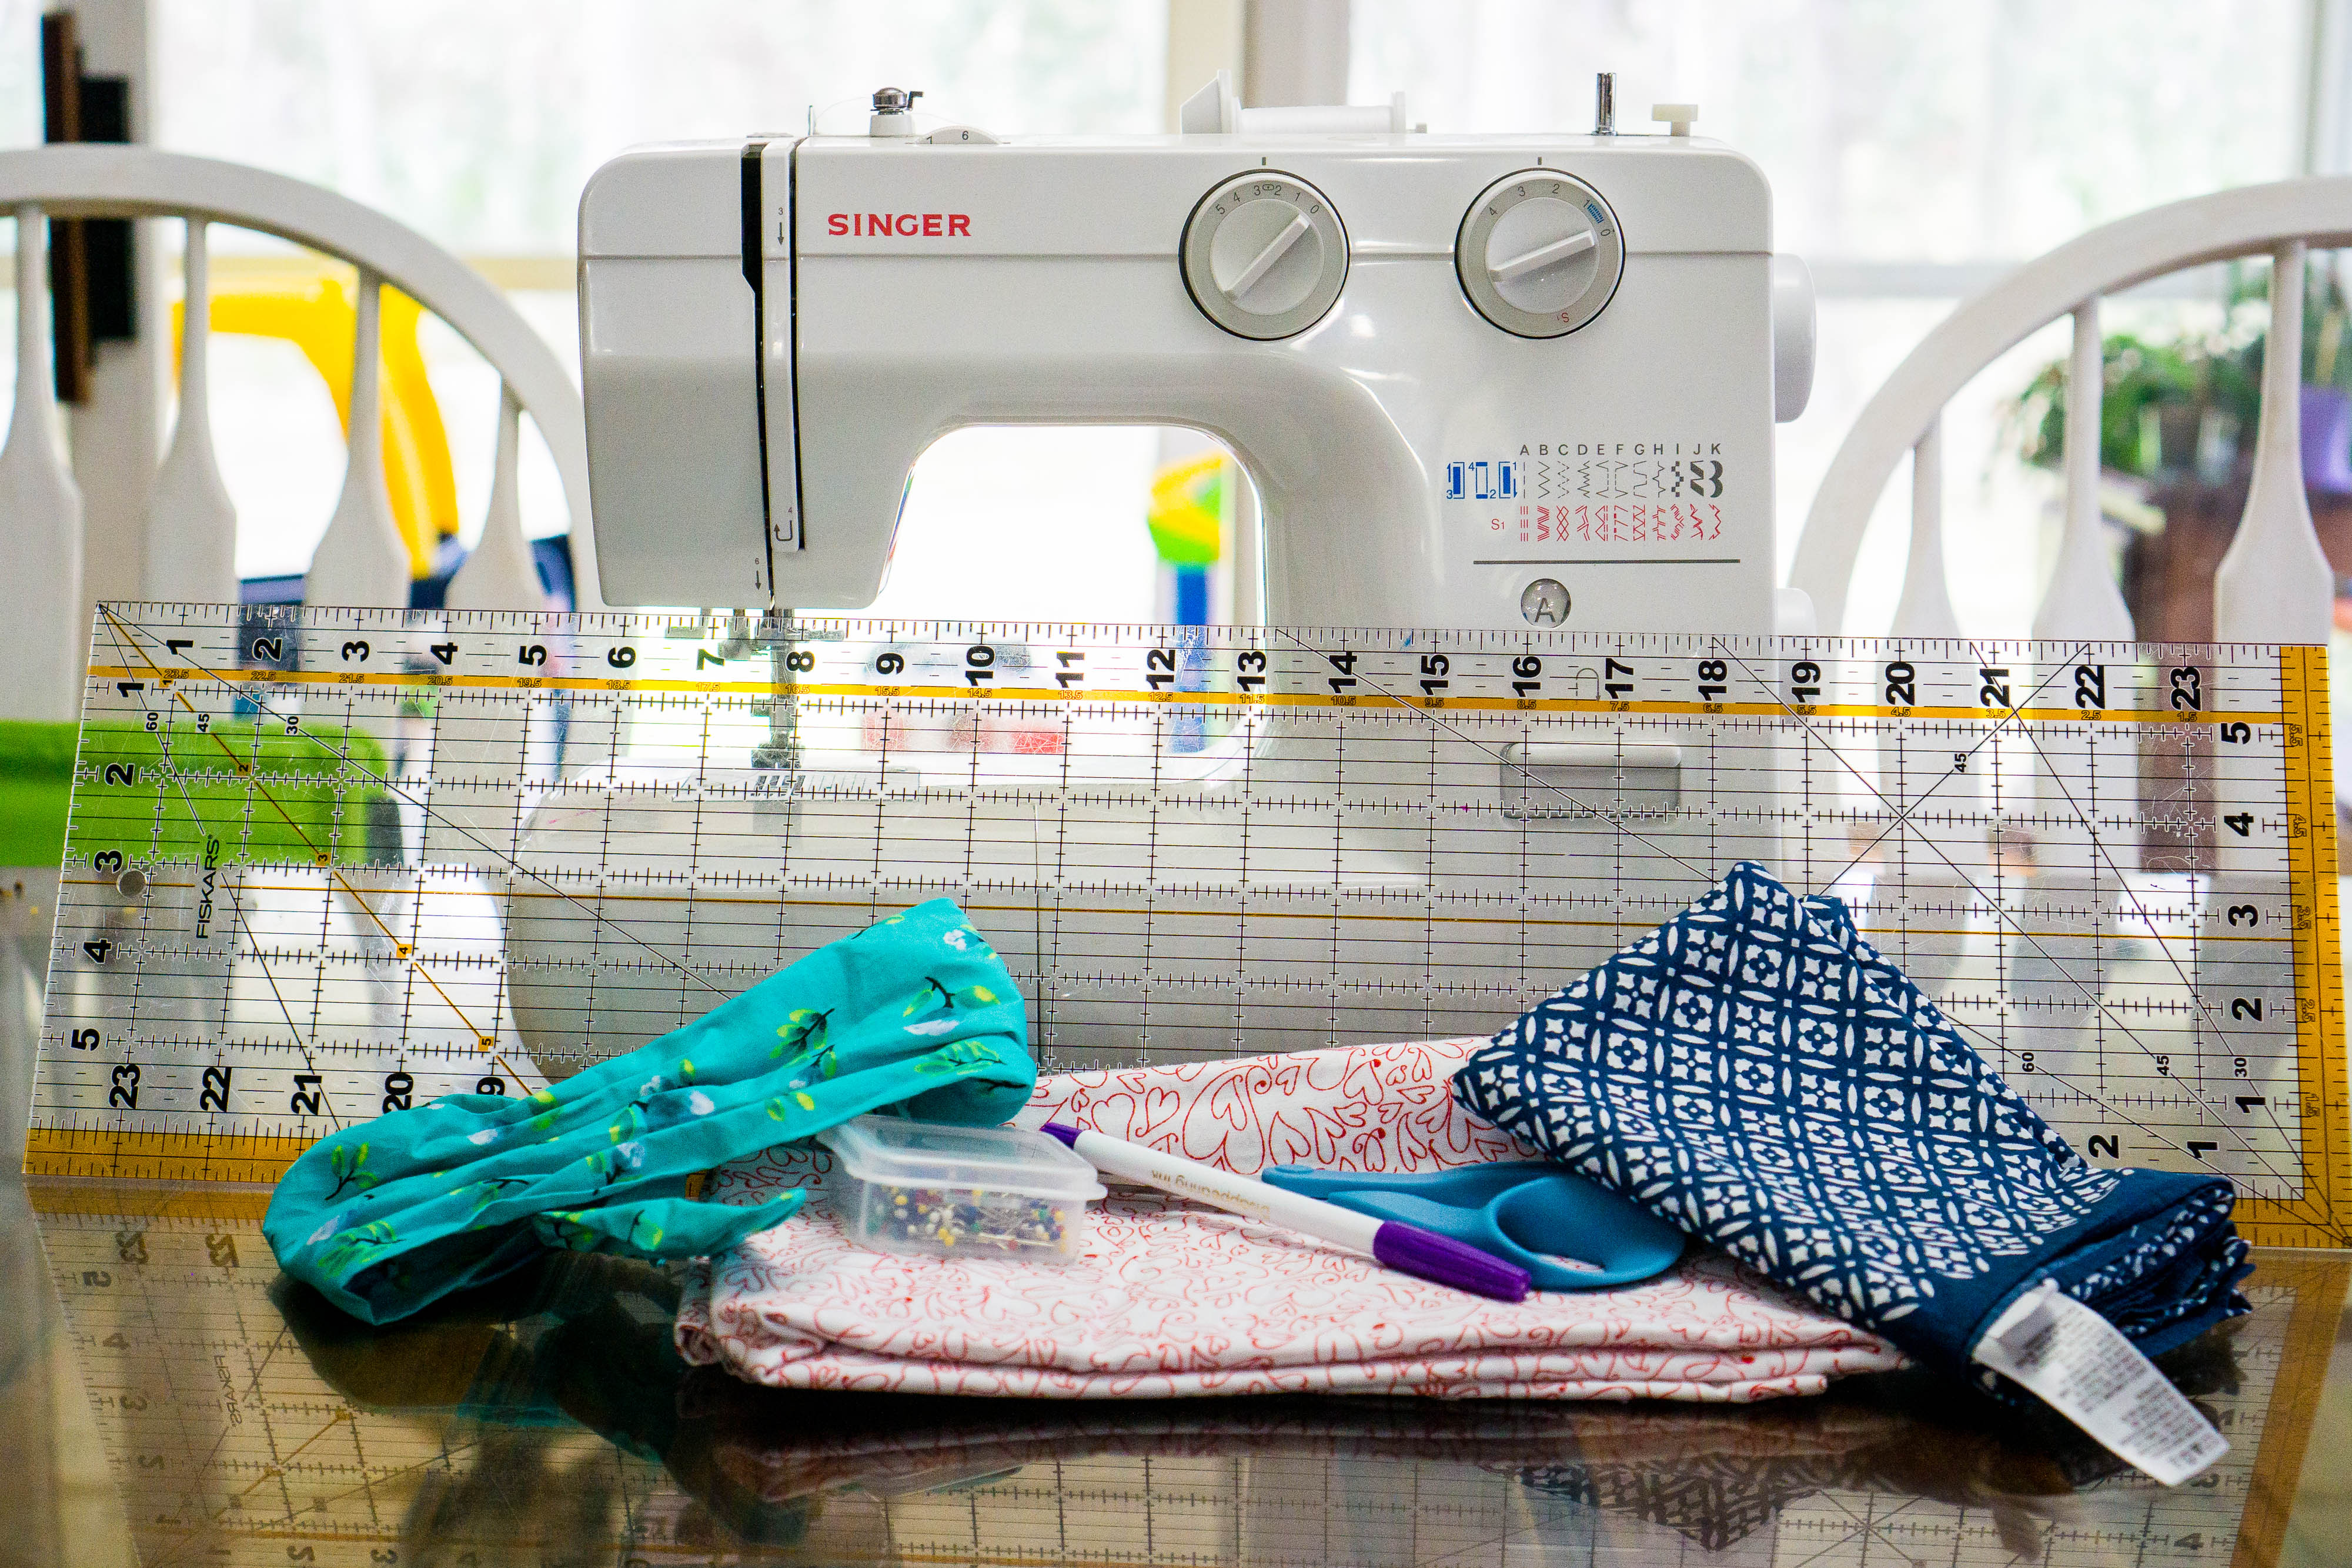
What you need
- pantyhose or if you’re making lots of bows buy a pack of bands HERE
- scissors
- ruler
- straight pins
- sewing machine
- material – recommend no smaller than a 16×3 piece
- iron (optional)
If you’re feeling like a perfectionist go ahead and iron your material, if not, skipping the iron isn’t a big deal.
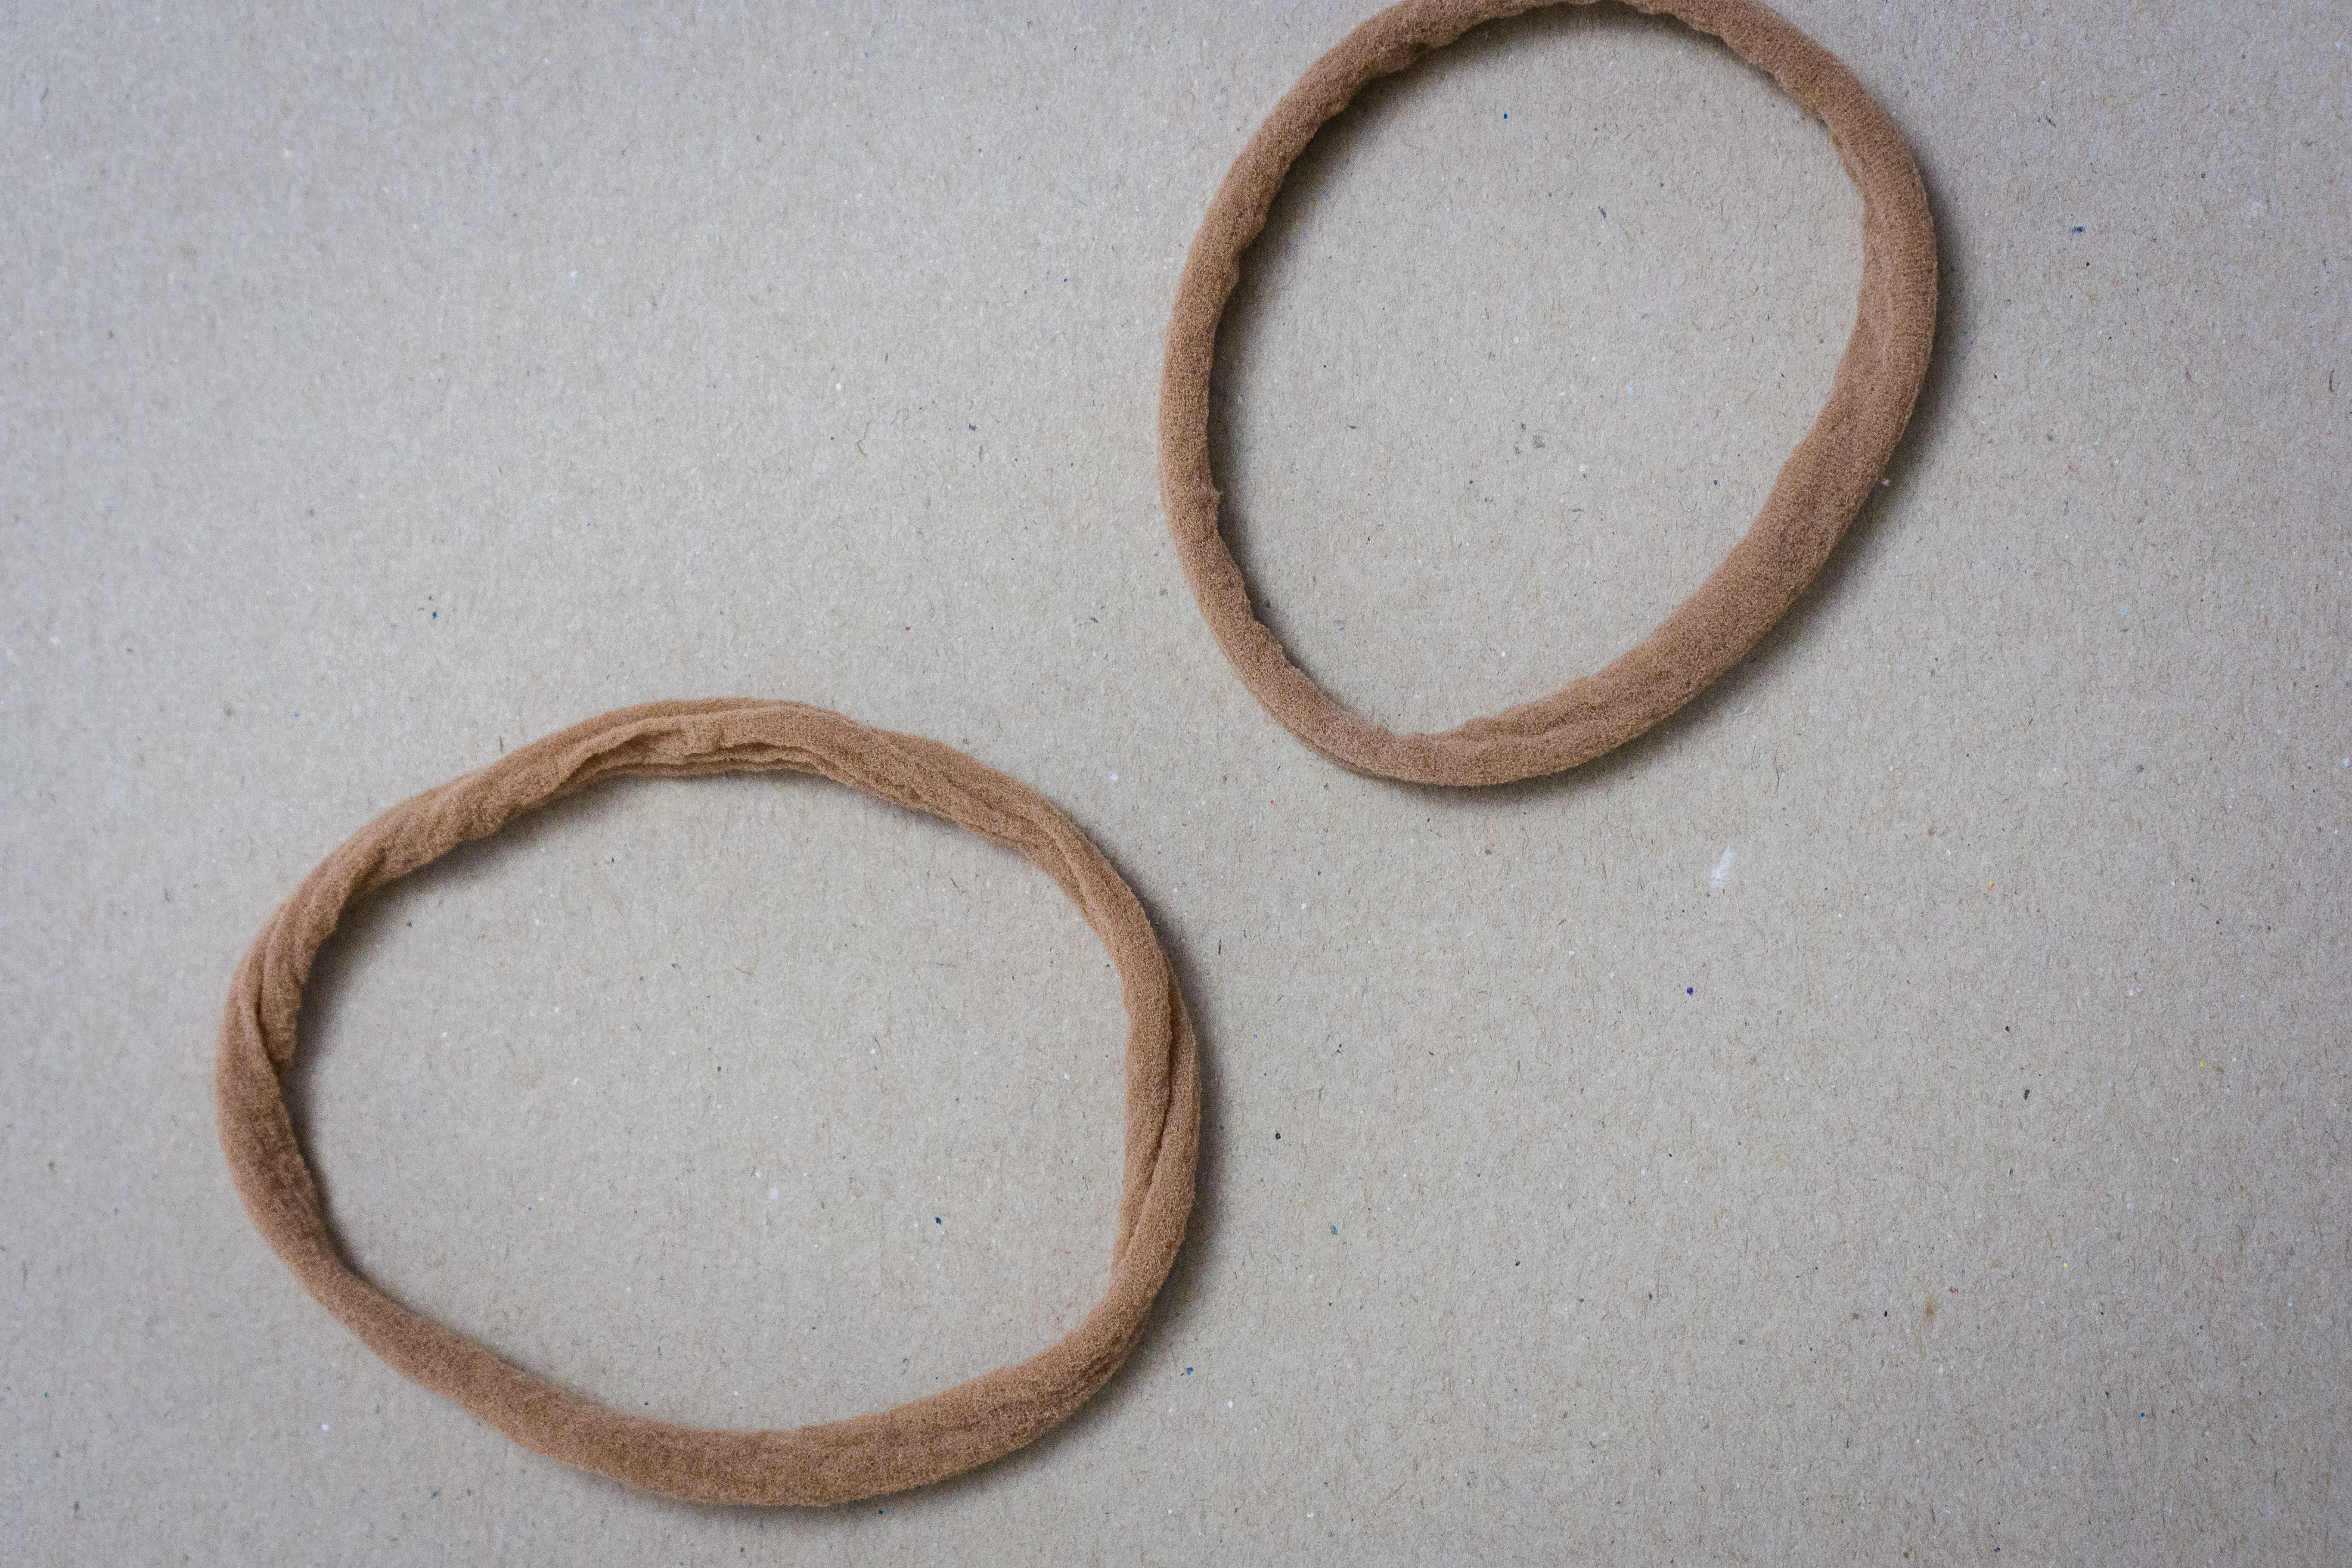
Once you’ve done the ironing, or decided not to do it, start by straightening out your pantyhose. Cut the top off one leg then cut a 2″ thick section. Roll the section in your hands until it rolls like a headband. The higher up on the leg you cut the larger the band, seems logical but I mention this because the foot/toe section really doesn’t make a good size band.
If you’re planning to make more than a bow or two I would really suggest just buying a pack of these bands off Amazon. The pantyhose works but these are much better long term, especially for a baby who keeps pulling the bow. After a few good tugs the pantyhose will get pretty loose.
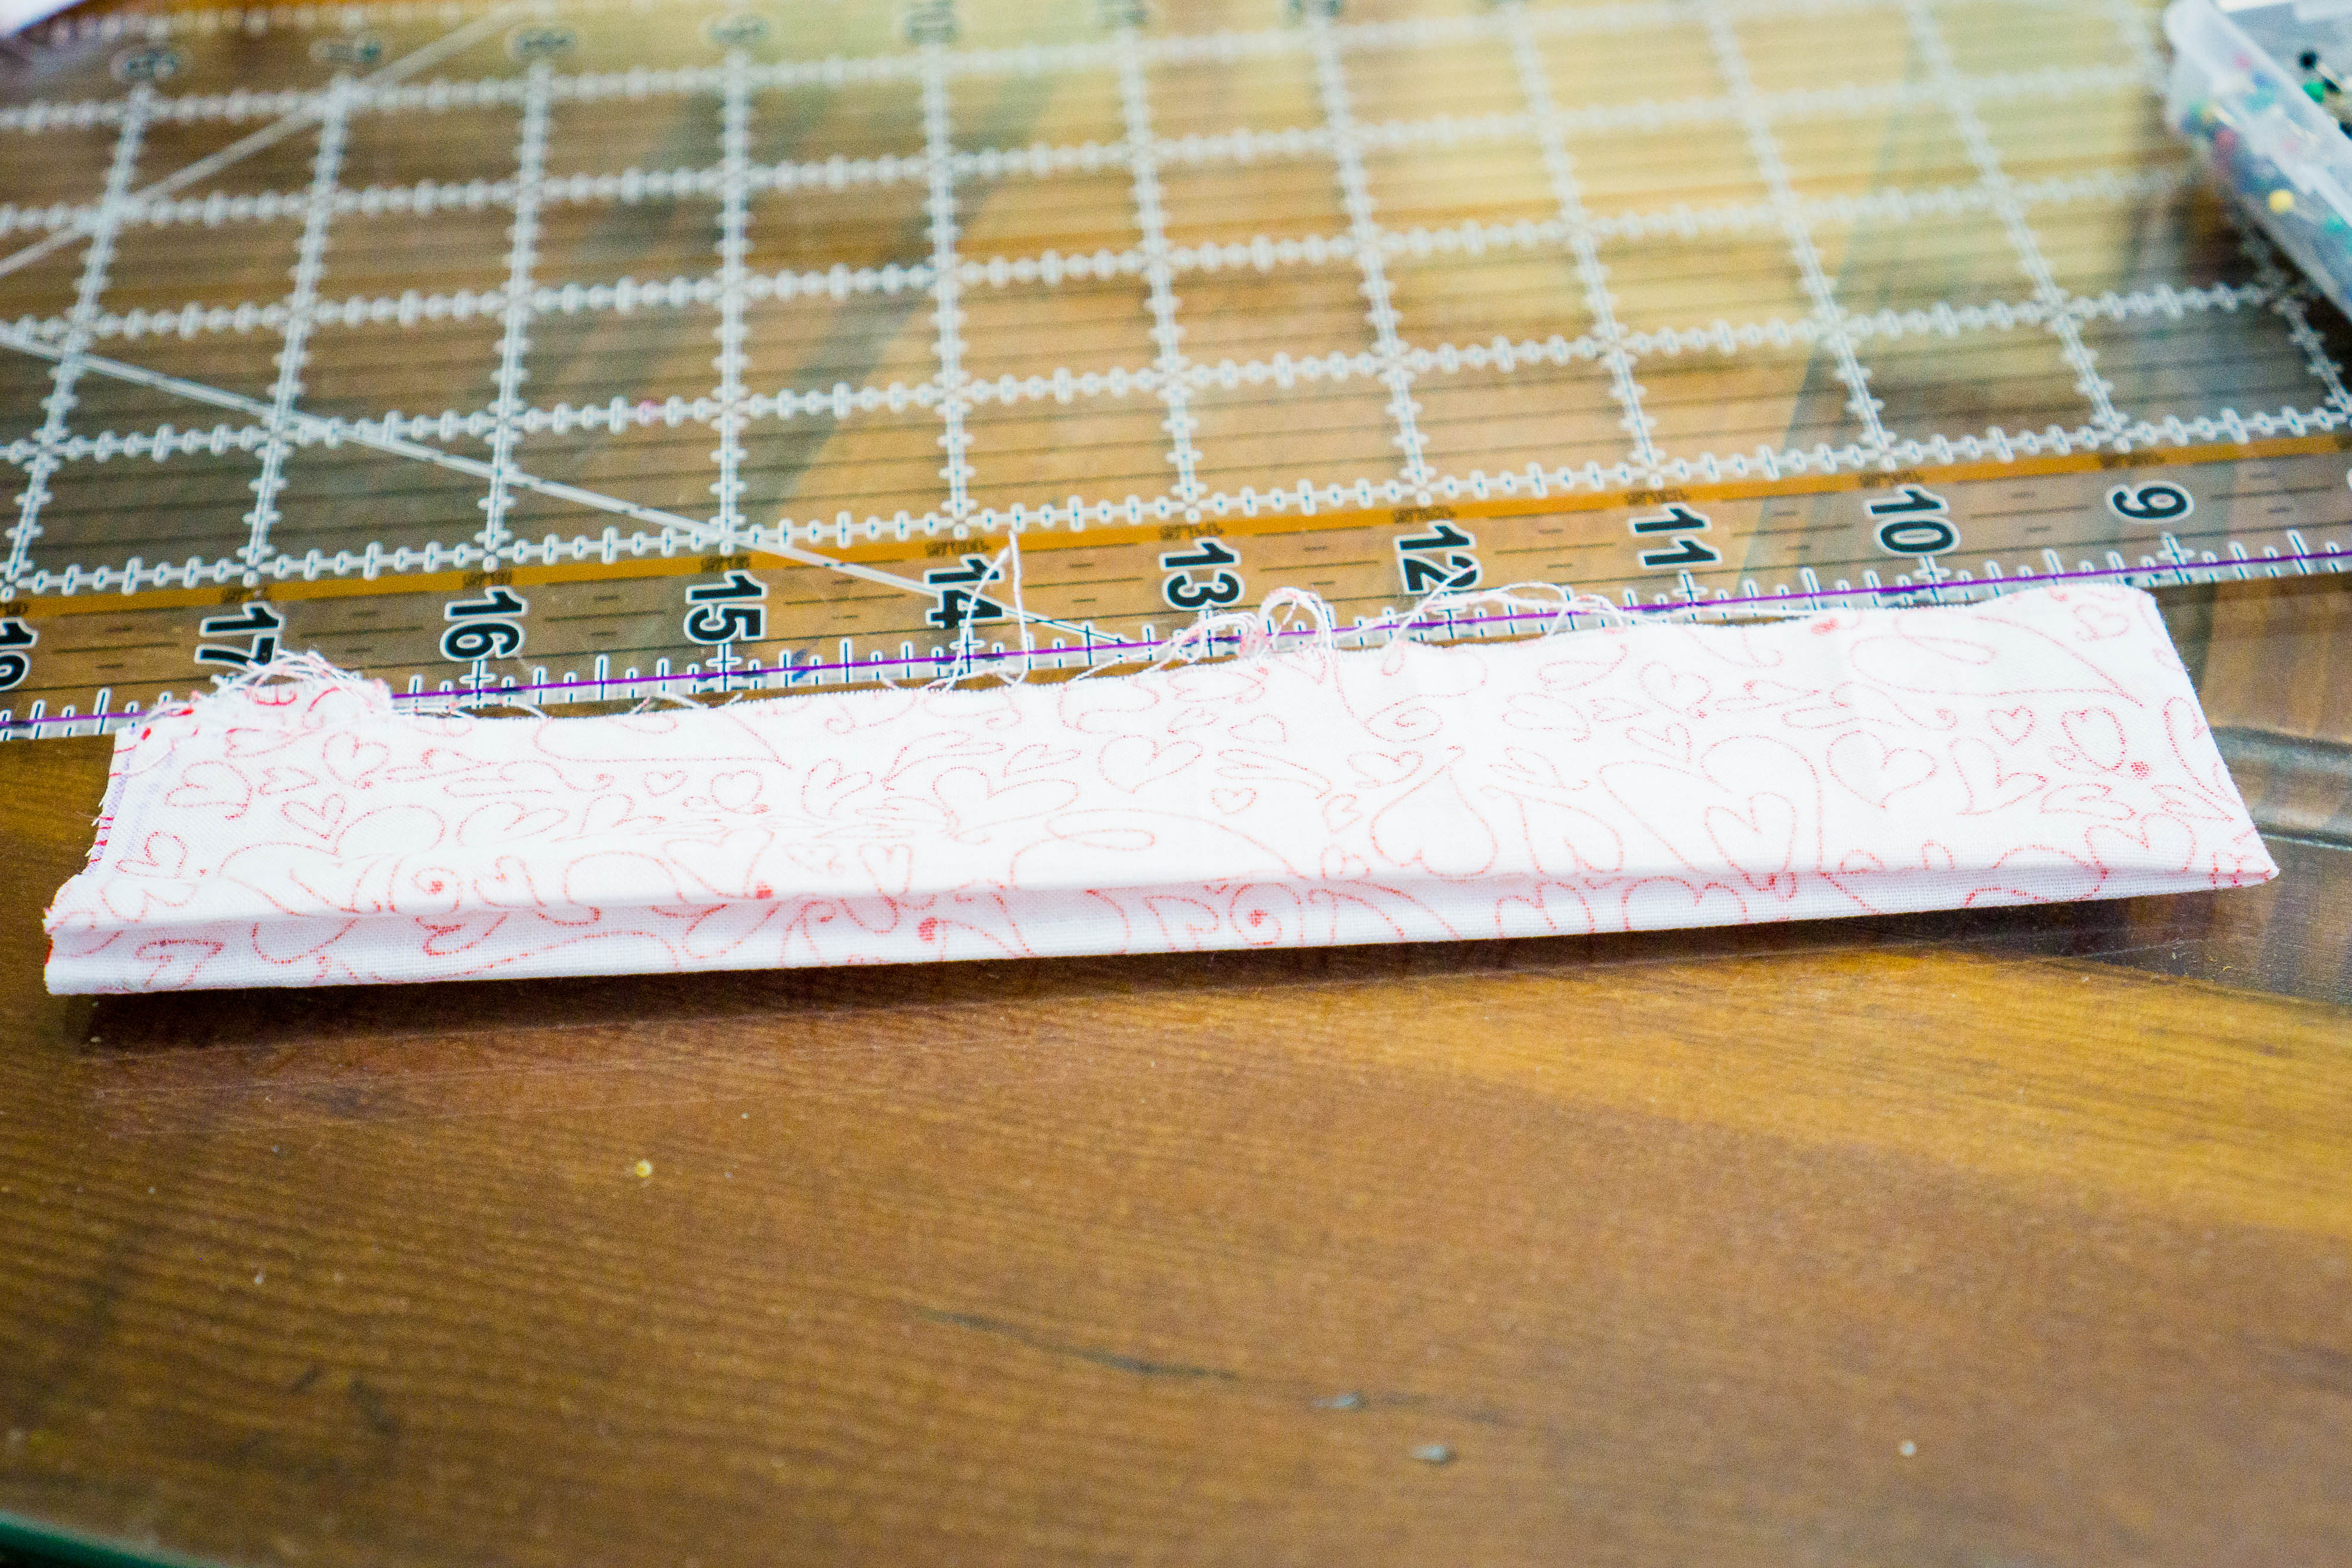
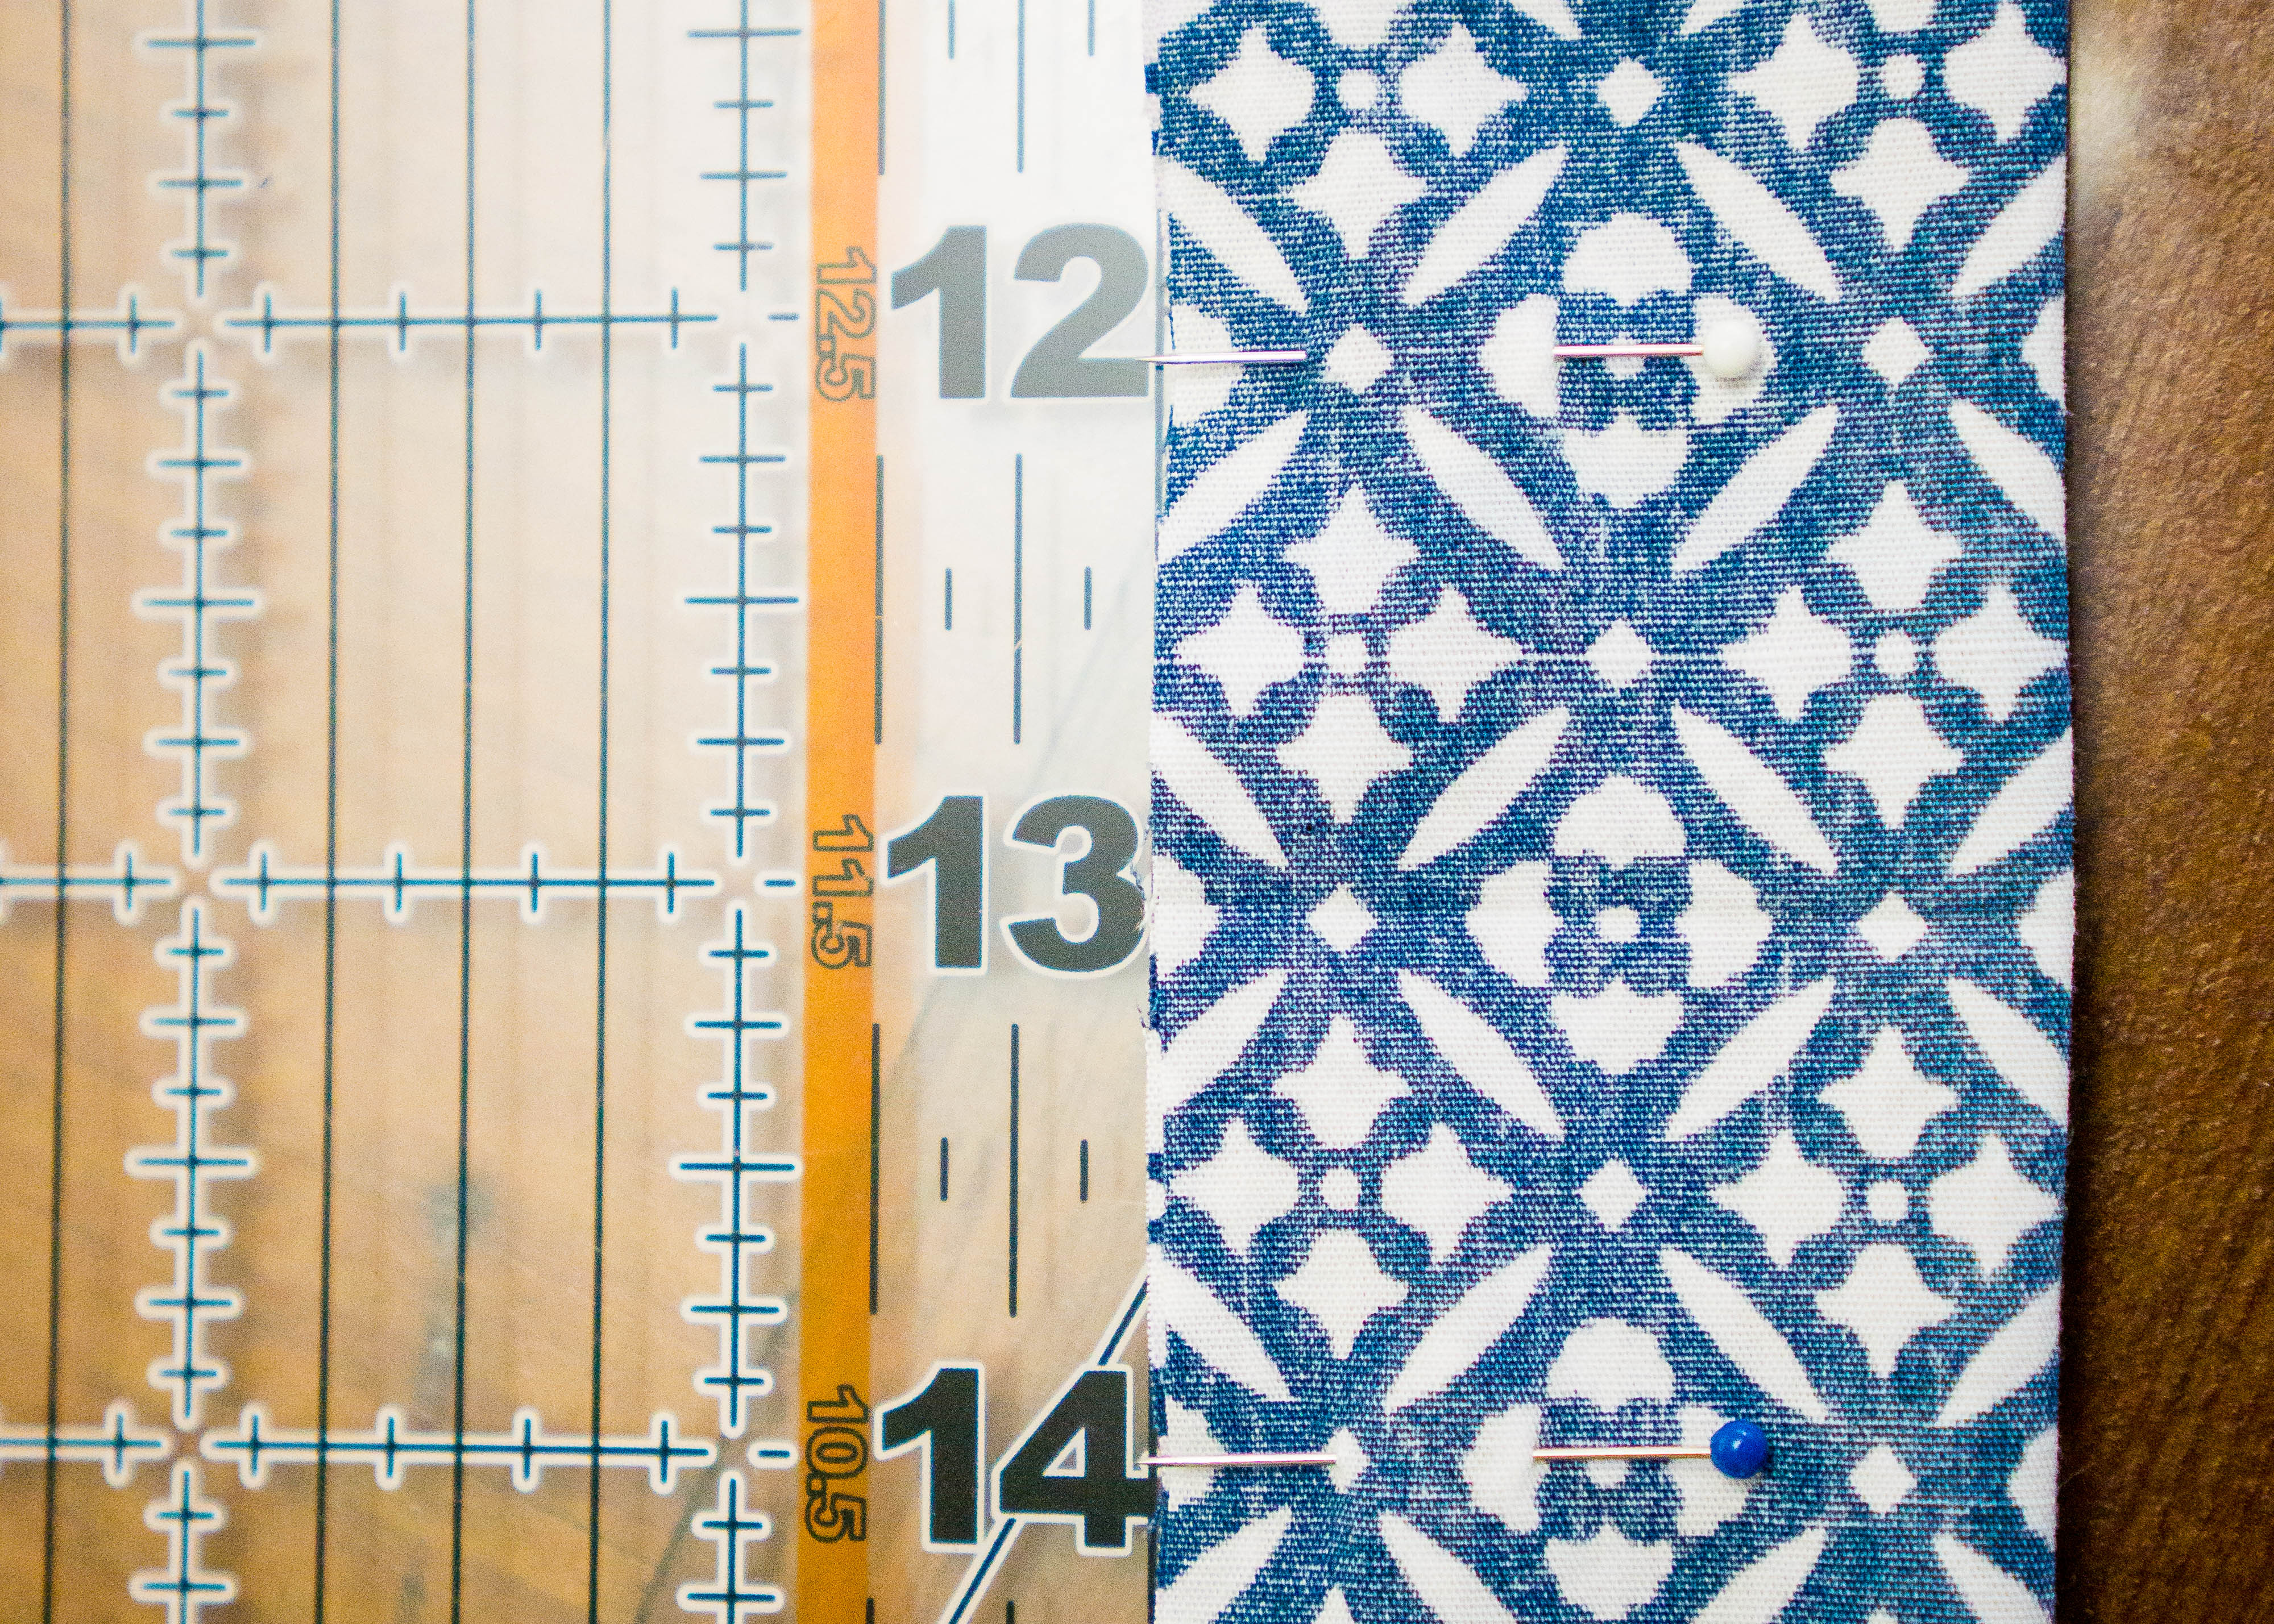
The next step is to cut your material. Measure out and cut a 16 in. x 3 in. size piece.
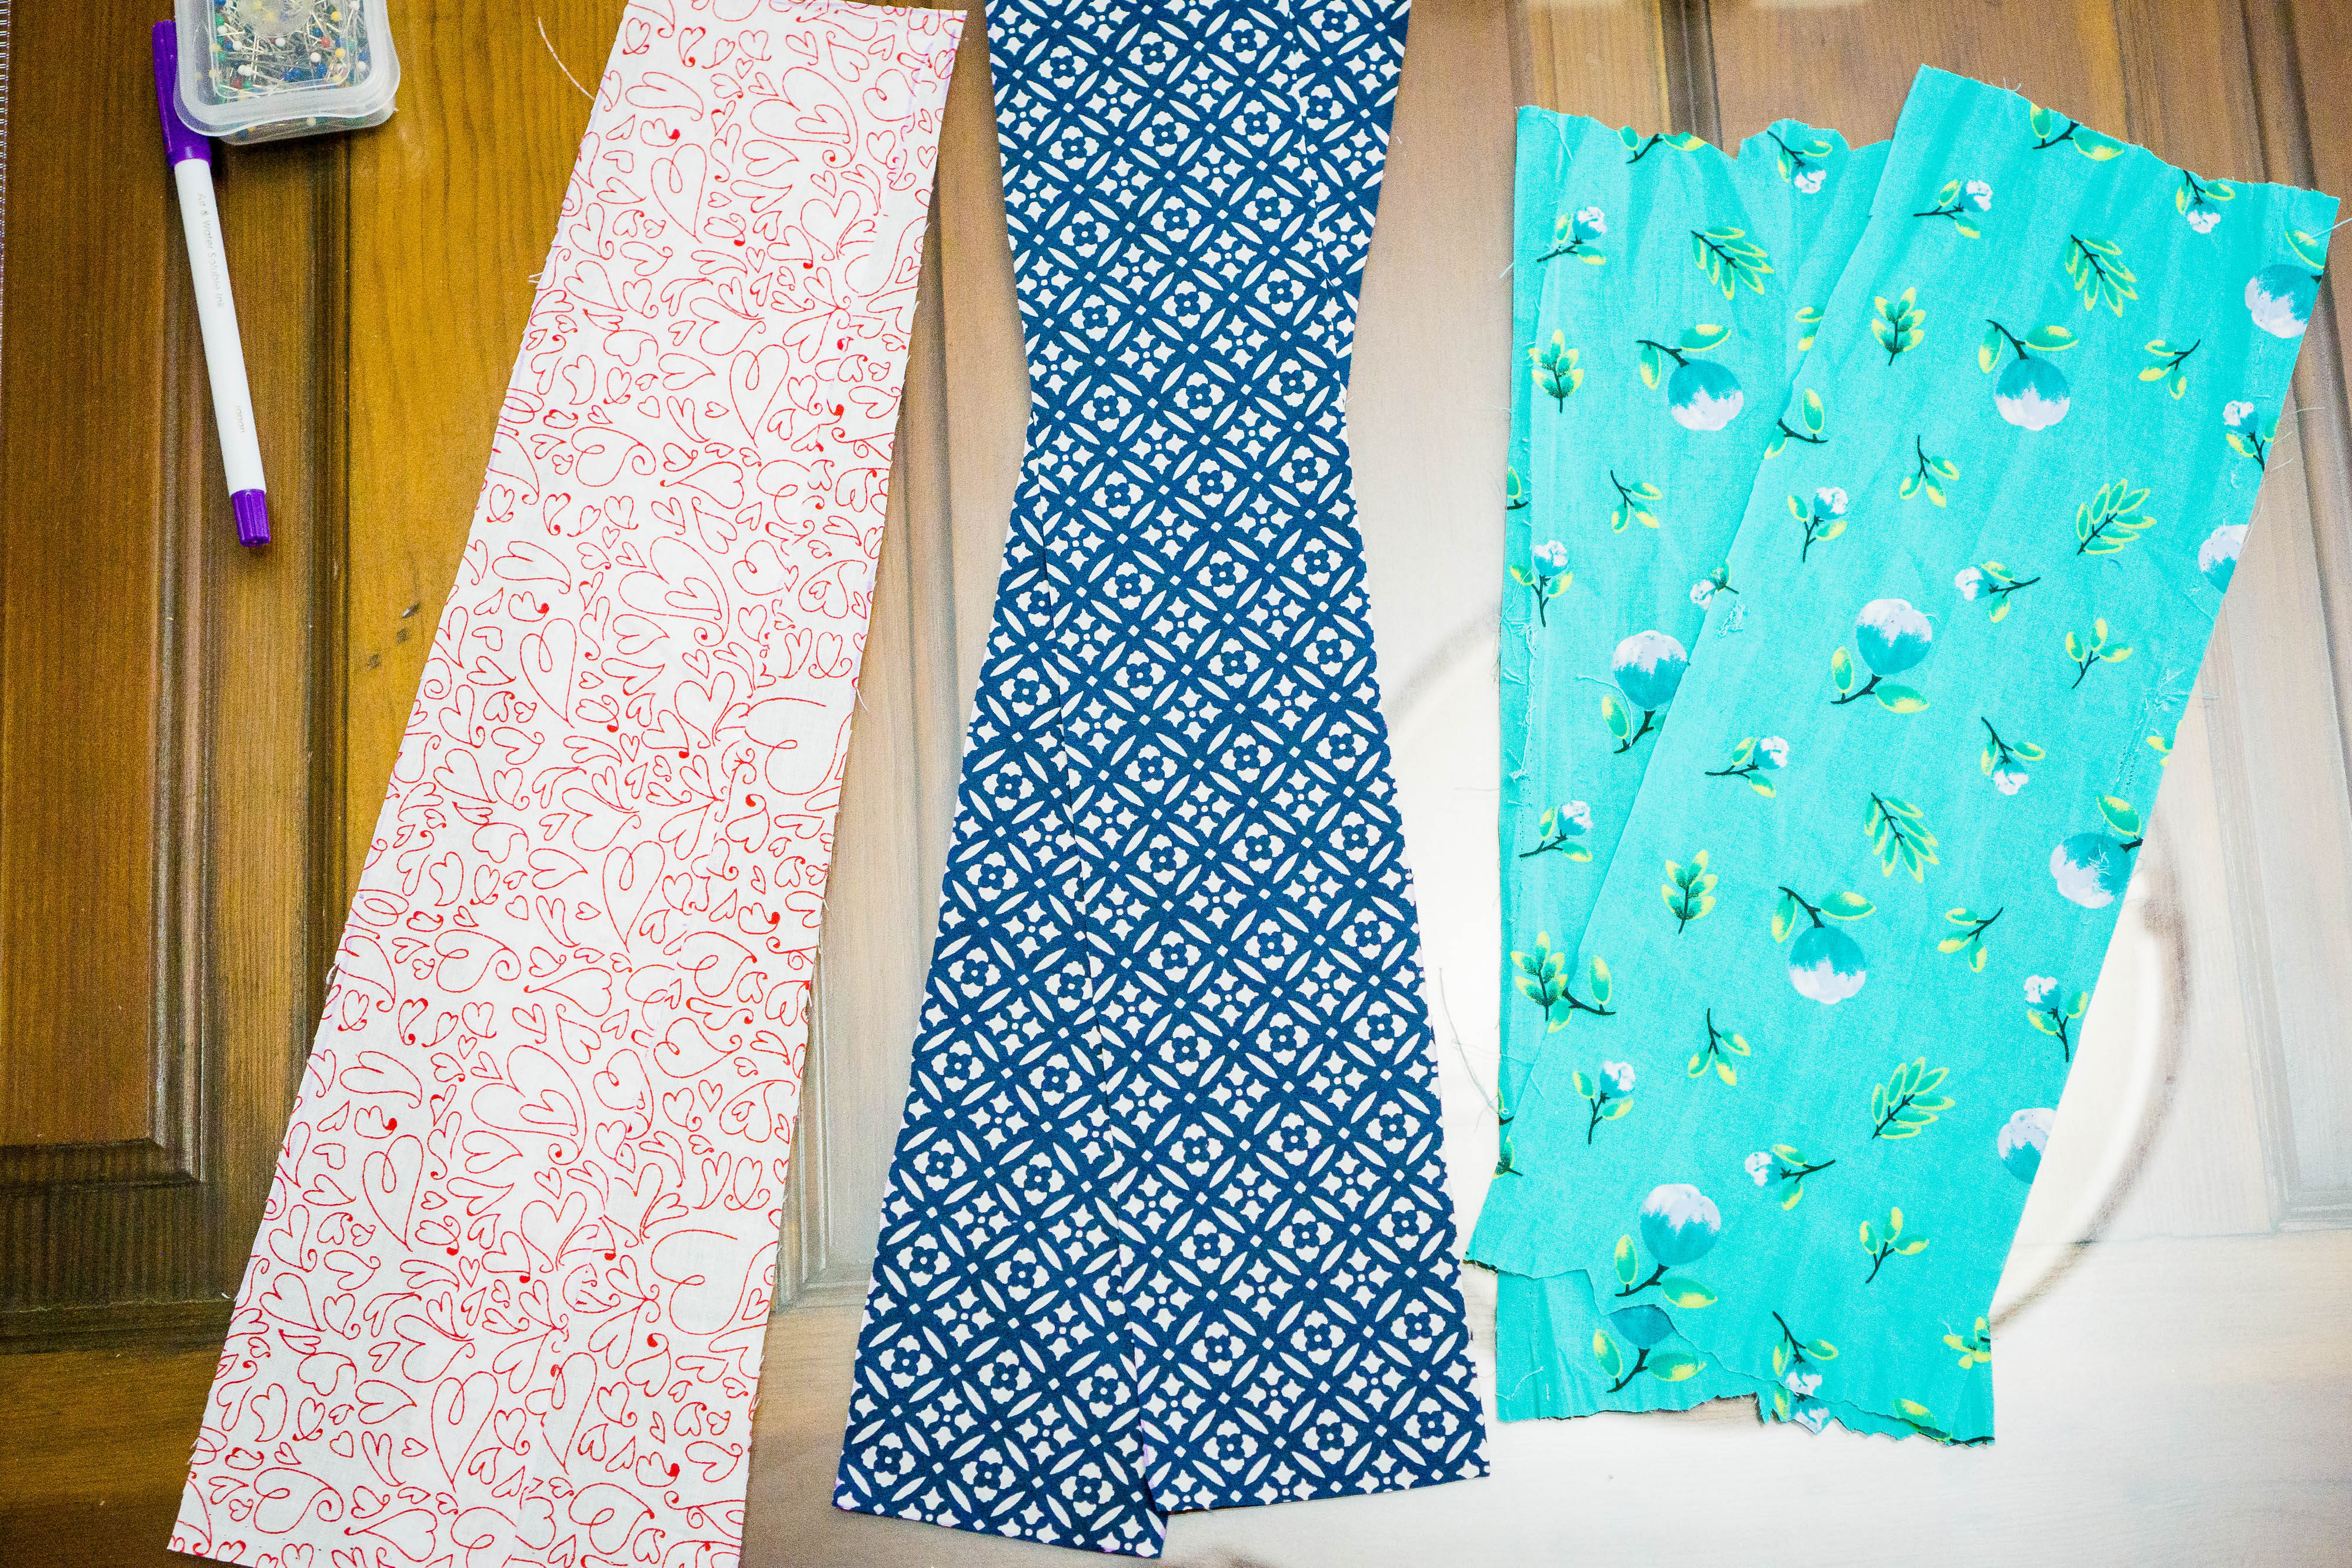
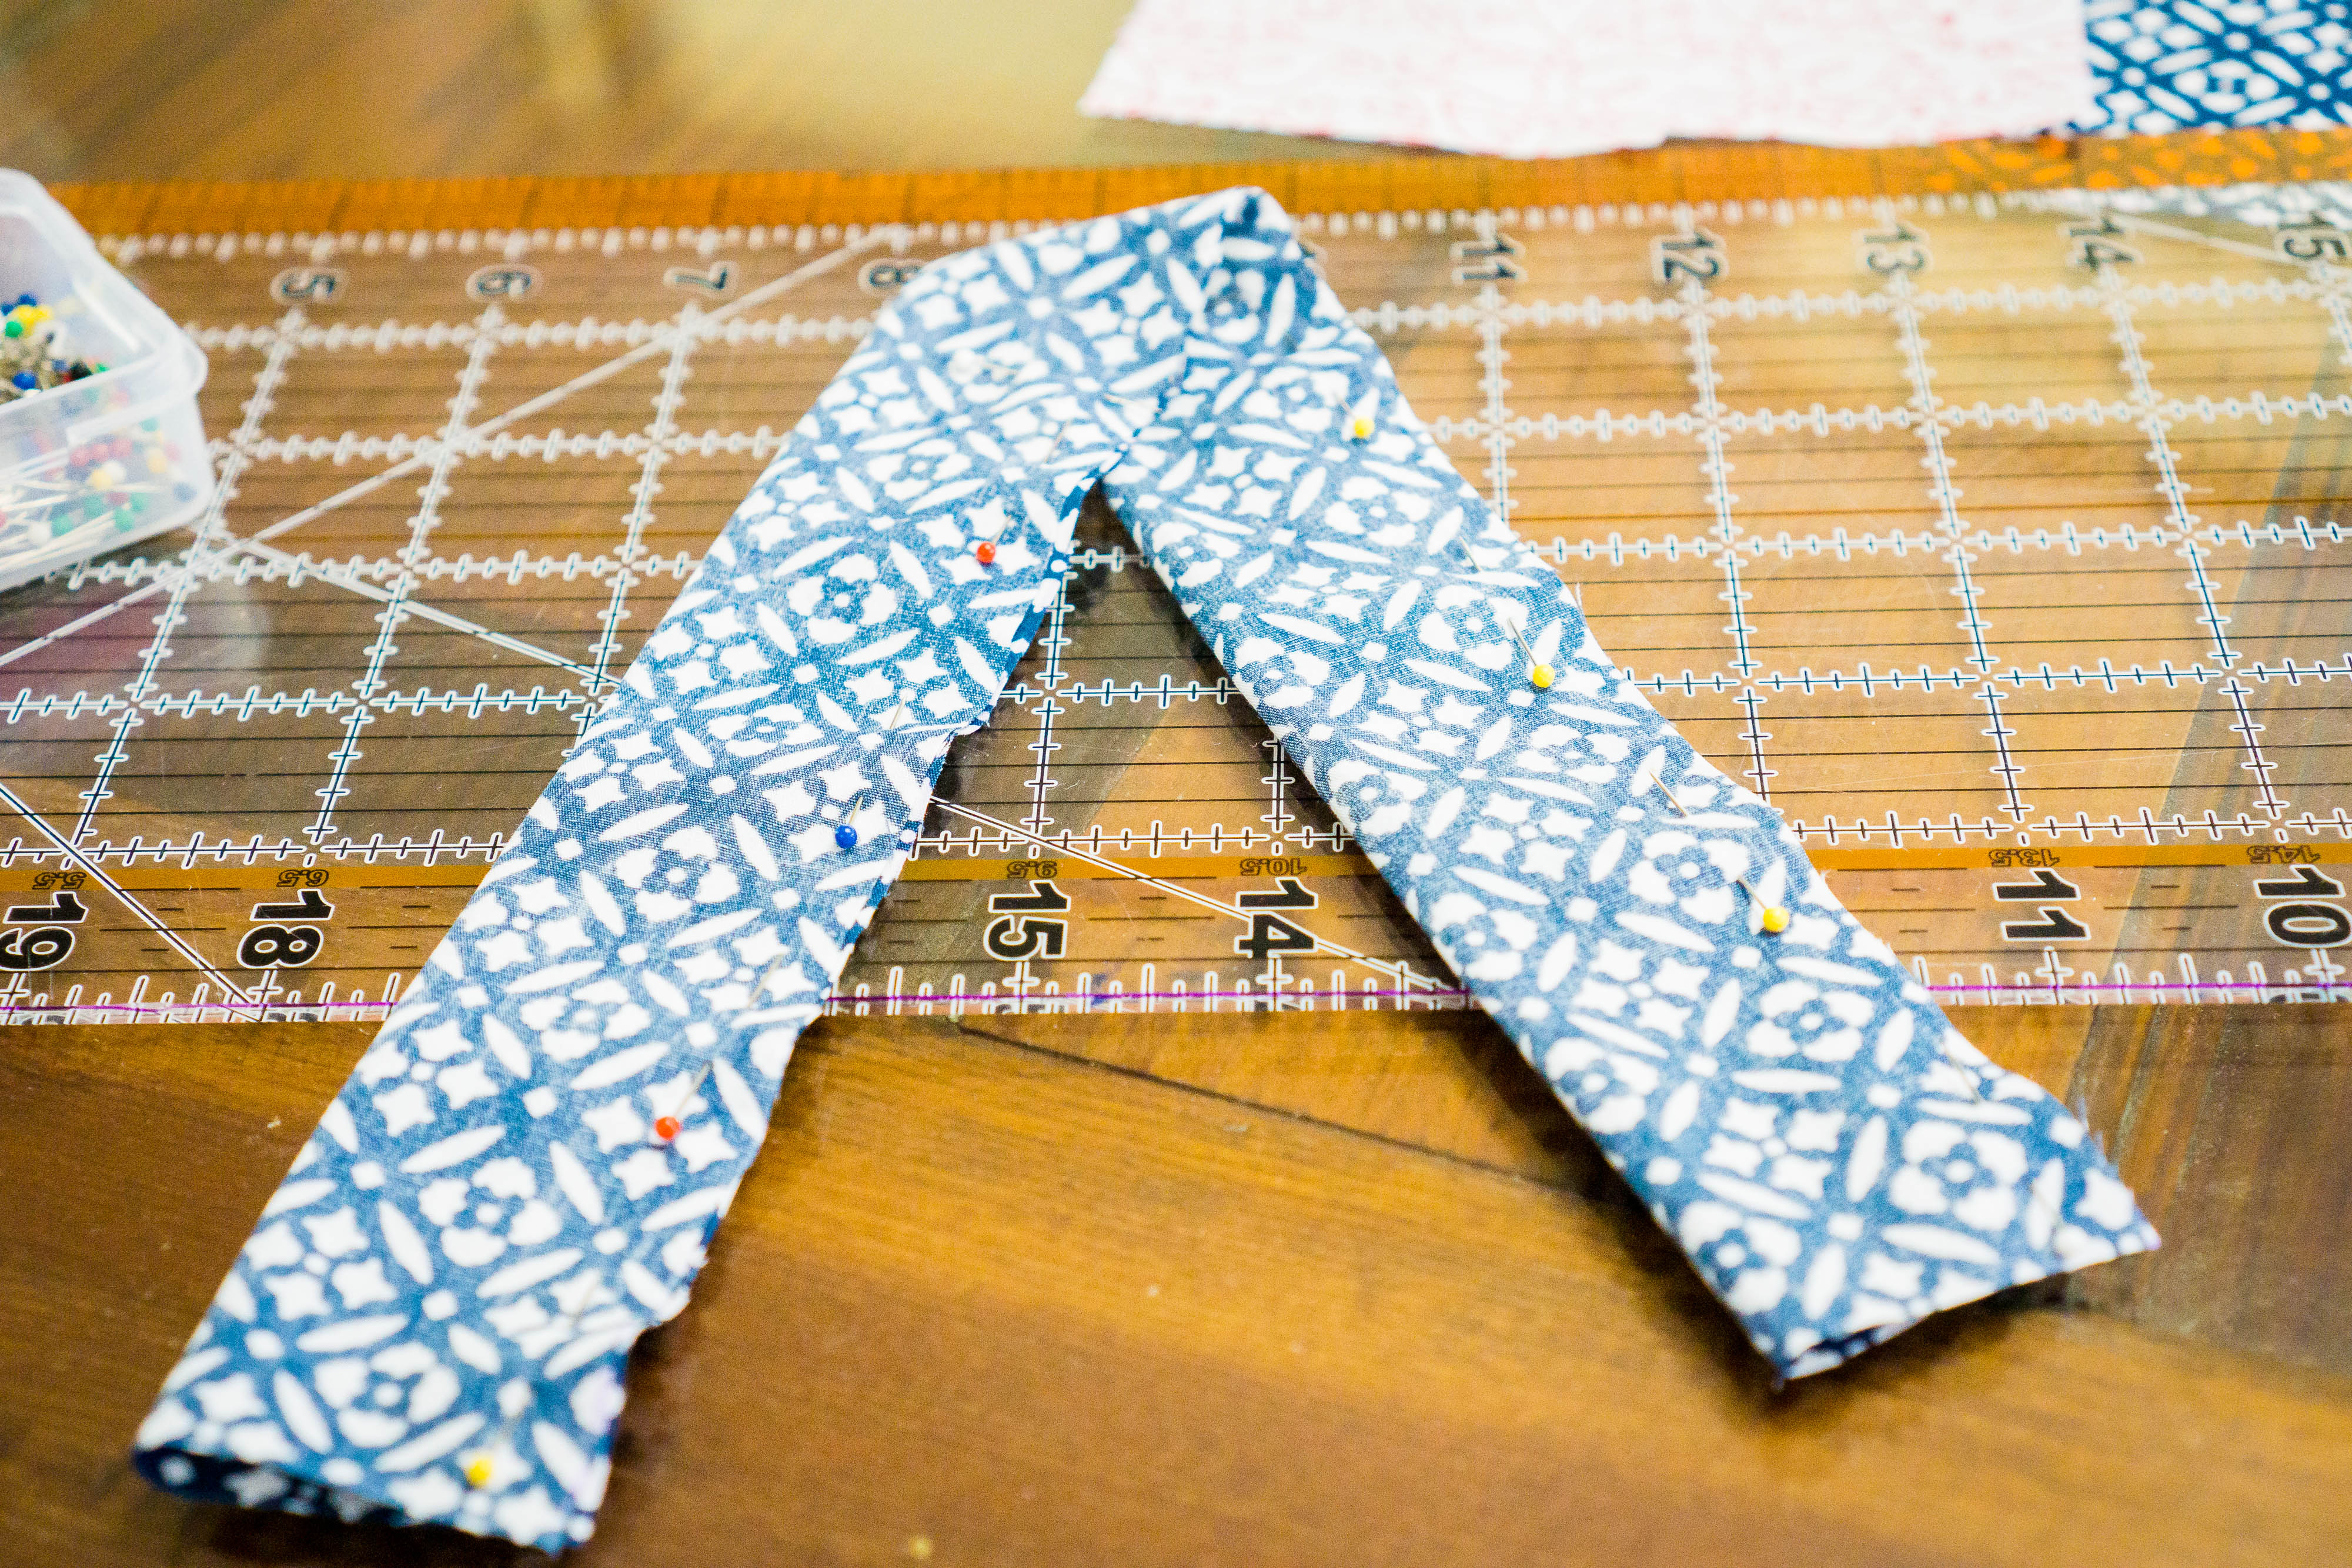
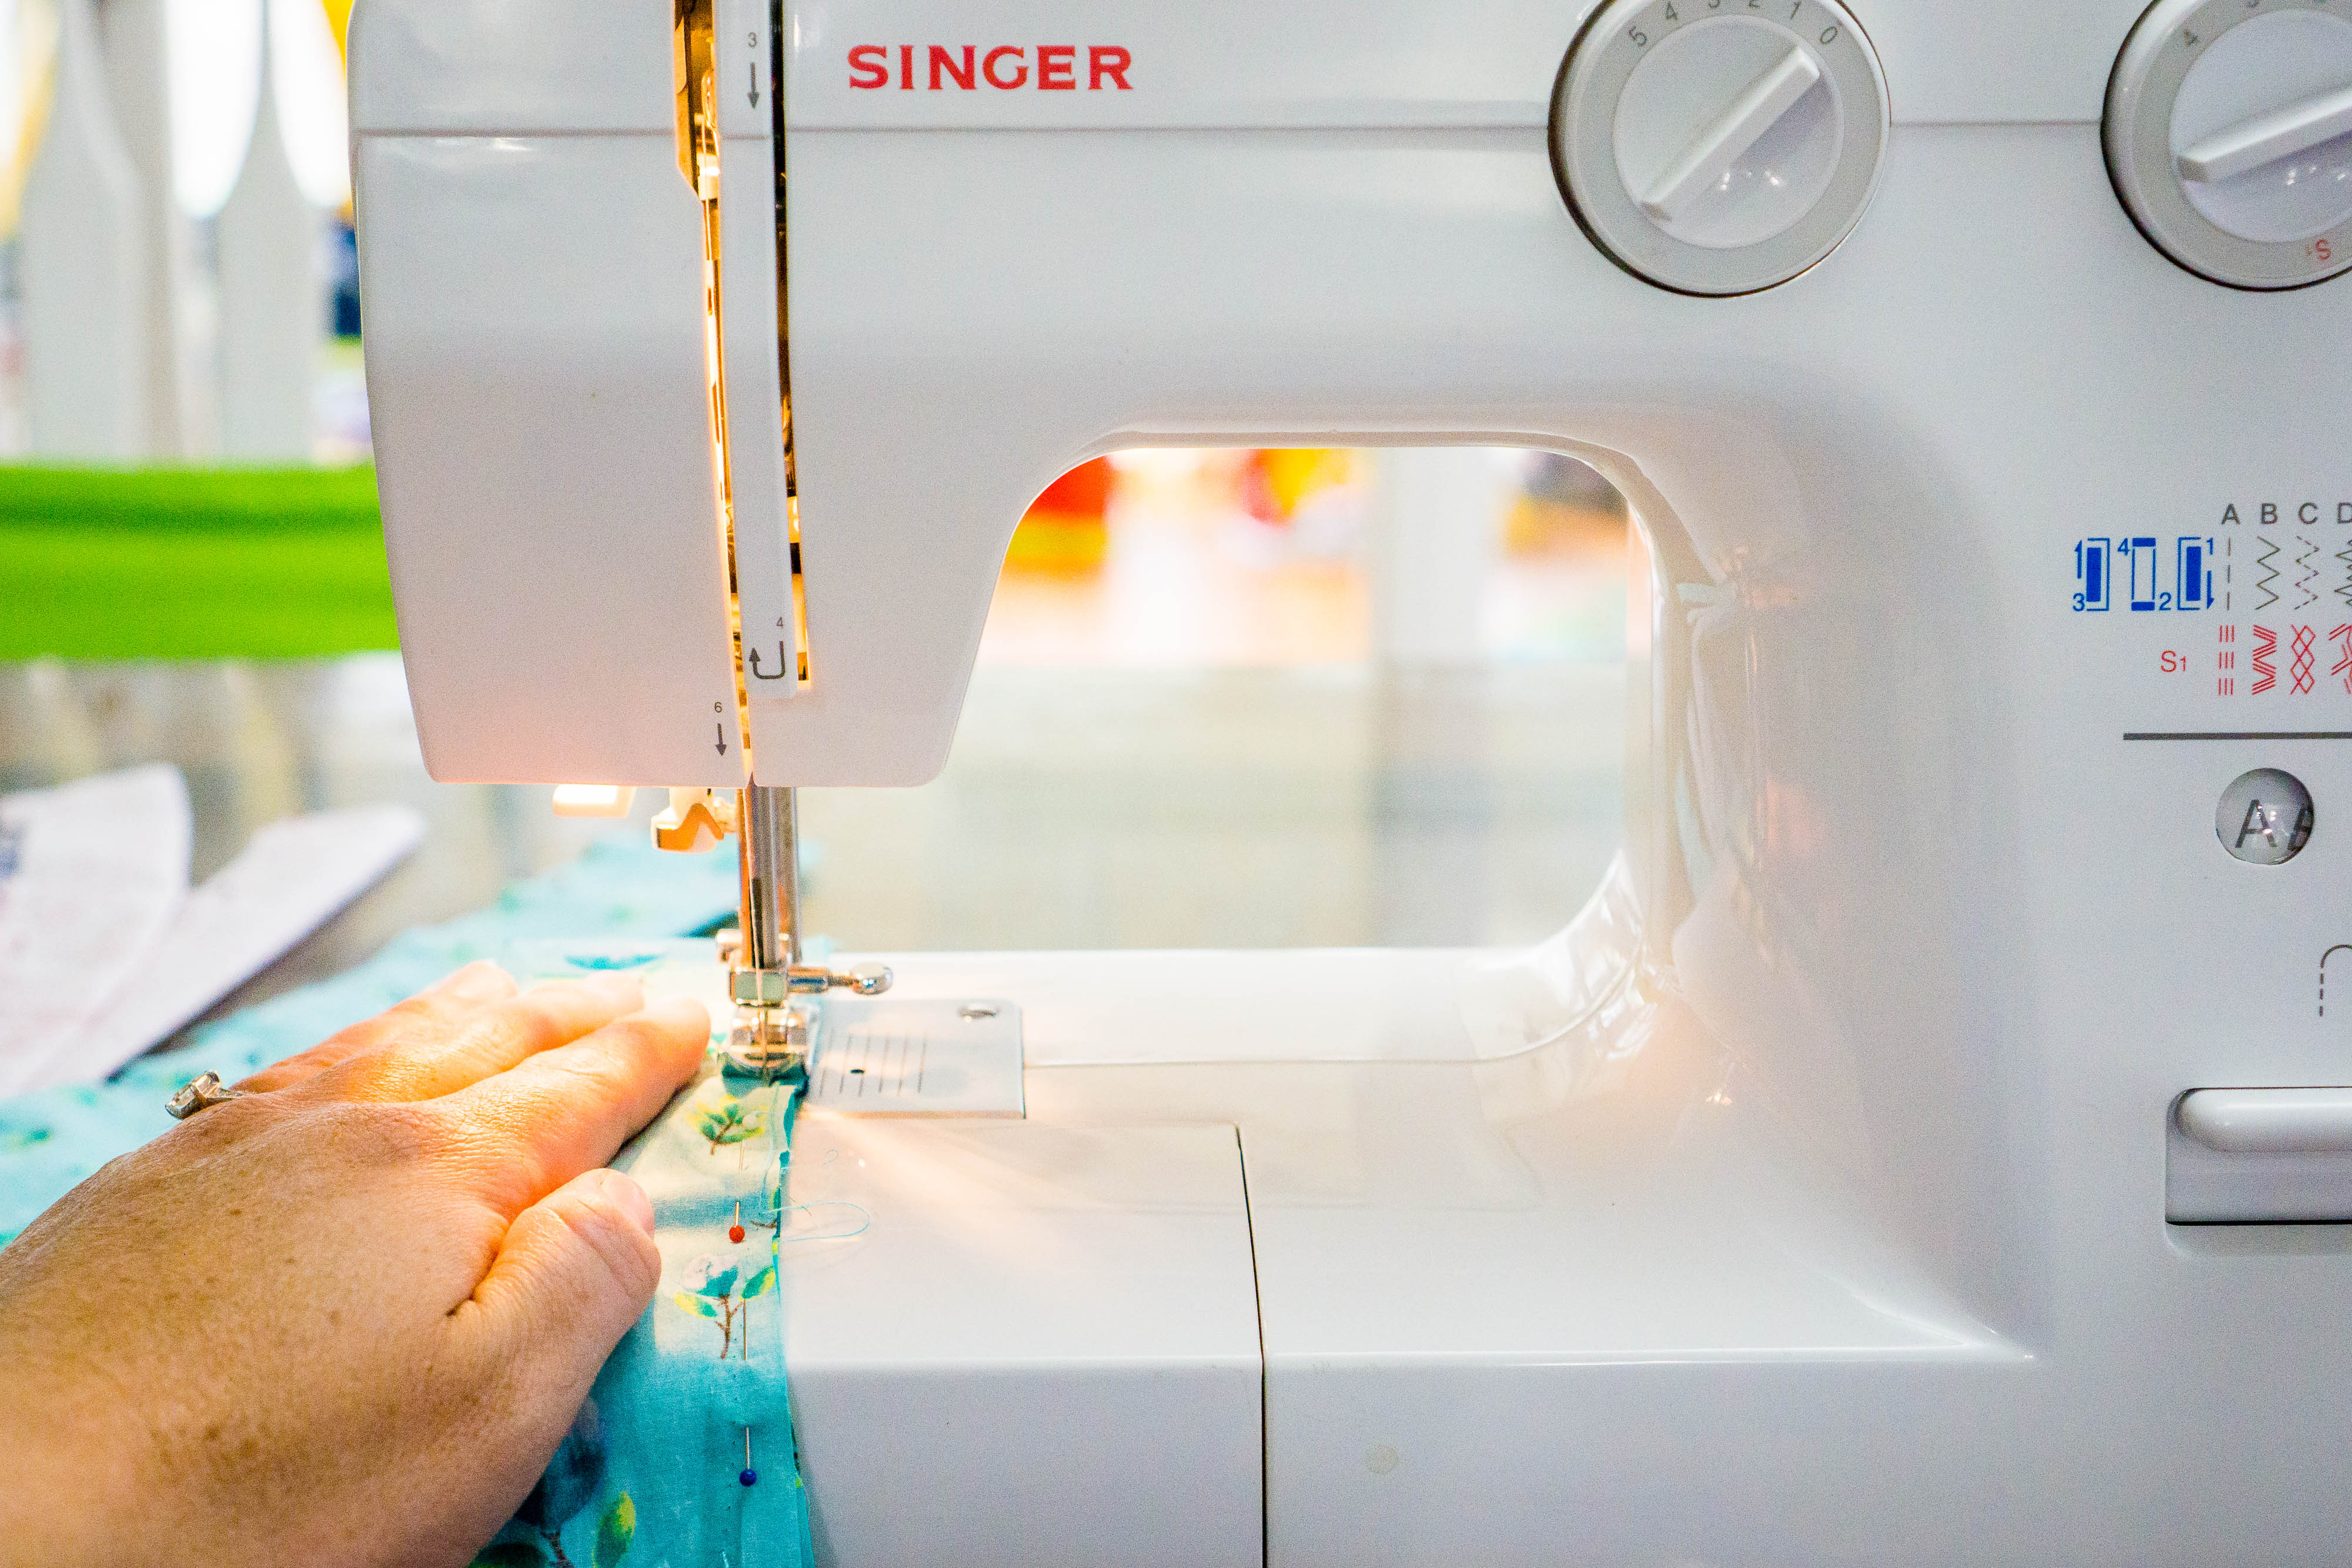
Now that we have everything together, it’s time to sew. Start by taking the two pieces and folding them each “hot dog style” with the right side of the fabric on the inside of the fold. For an example of hotdog vs. hamburger style folding check out my DIY Hooded Towel blog. Then fold the material in half to find the center, then lay the piece out and pin a reminder spot on each side of the center mark so you don’t sew the middle closed. After you mark the center, pin the pieces if you need to keep them straight while you sew. Start in the middle of the pinned side and sew up the length to the corner. Turn the corner and continue sewing until you run off the fabric. Repeat this starting about 2 inches from the start of the first section of stitching going in the opposite direction. Turn the piece right side out using the open section in the middle to push the fabric through.
Congratulations!! You’ve sewn a bow!! Before your little beauty can wear it you’ll have to tie it to your band. If you got out the iron earlier this would be a good time to use it again. If not, just push it flat with your hands, tucking the folds of the opening inside the hole. If you want you can stitch this closed but you don’t have to since it won’t be seen once we tie the bow.
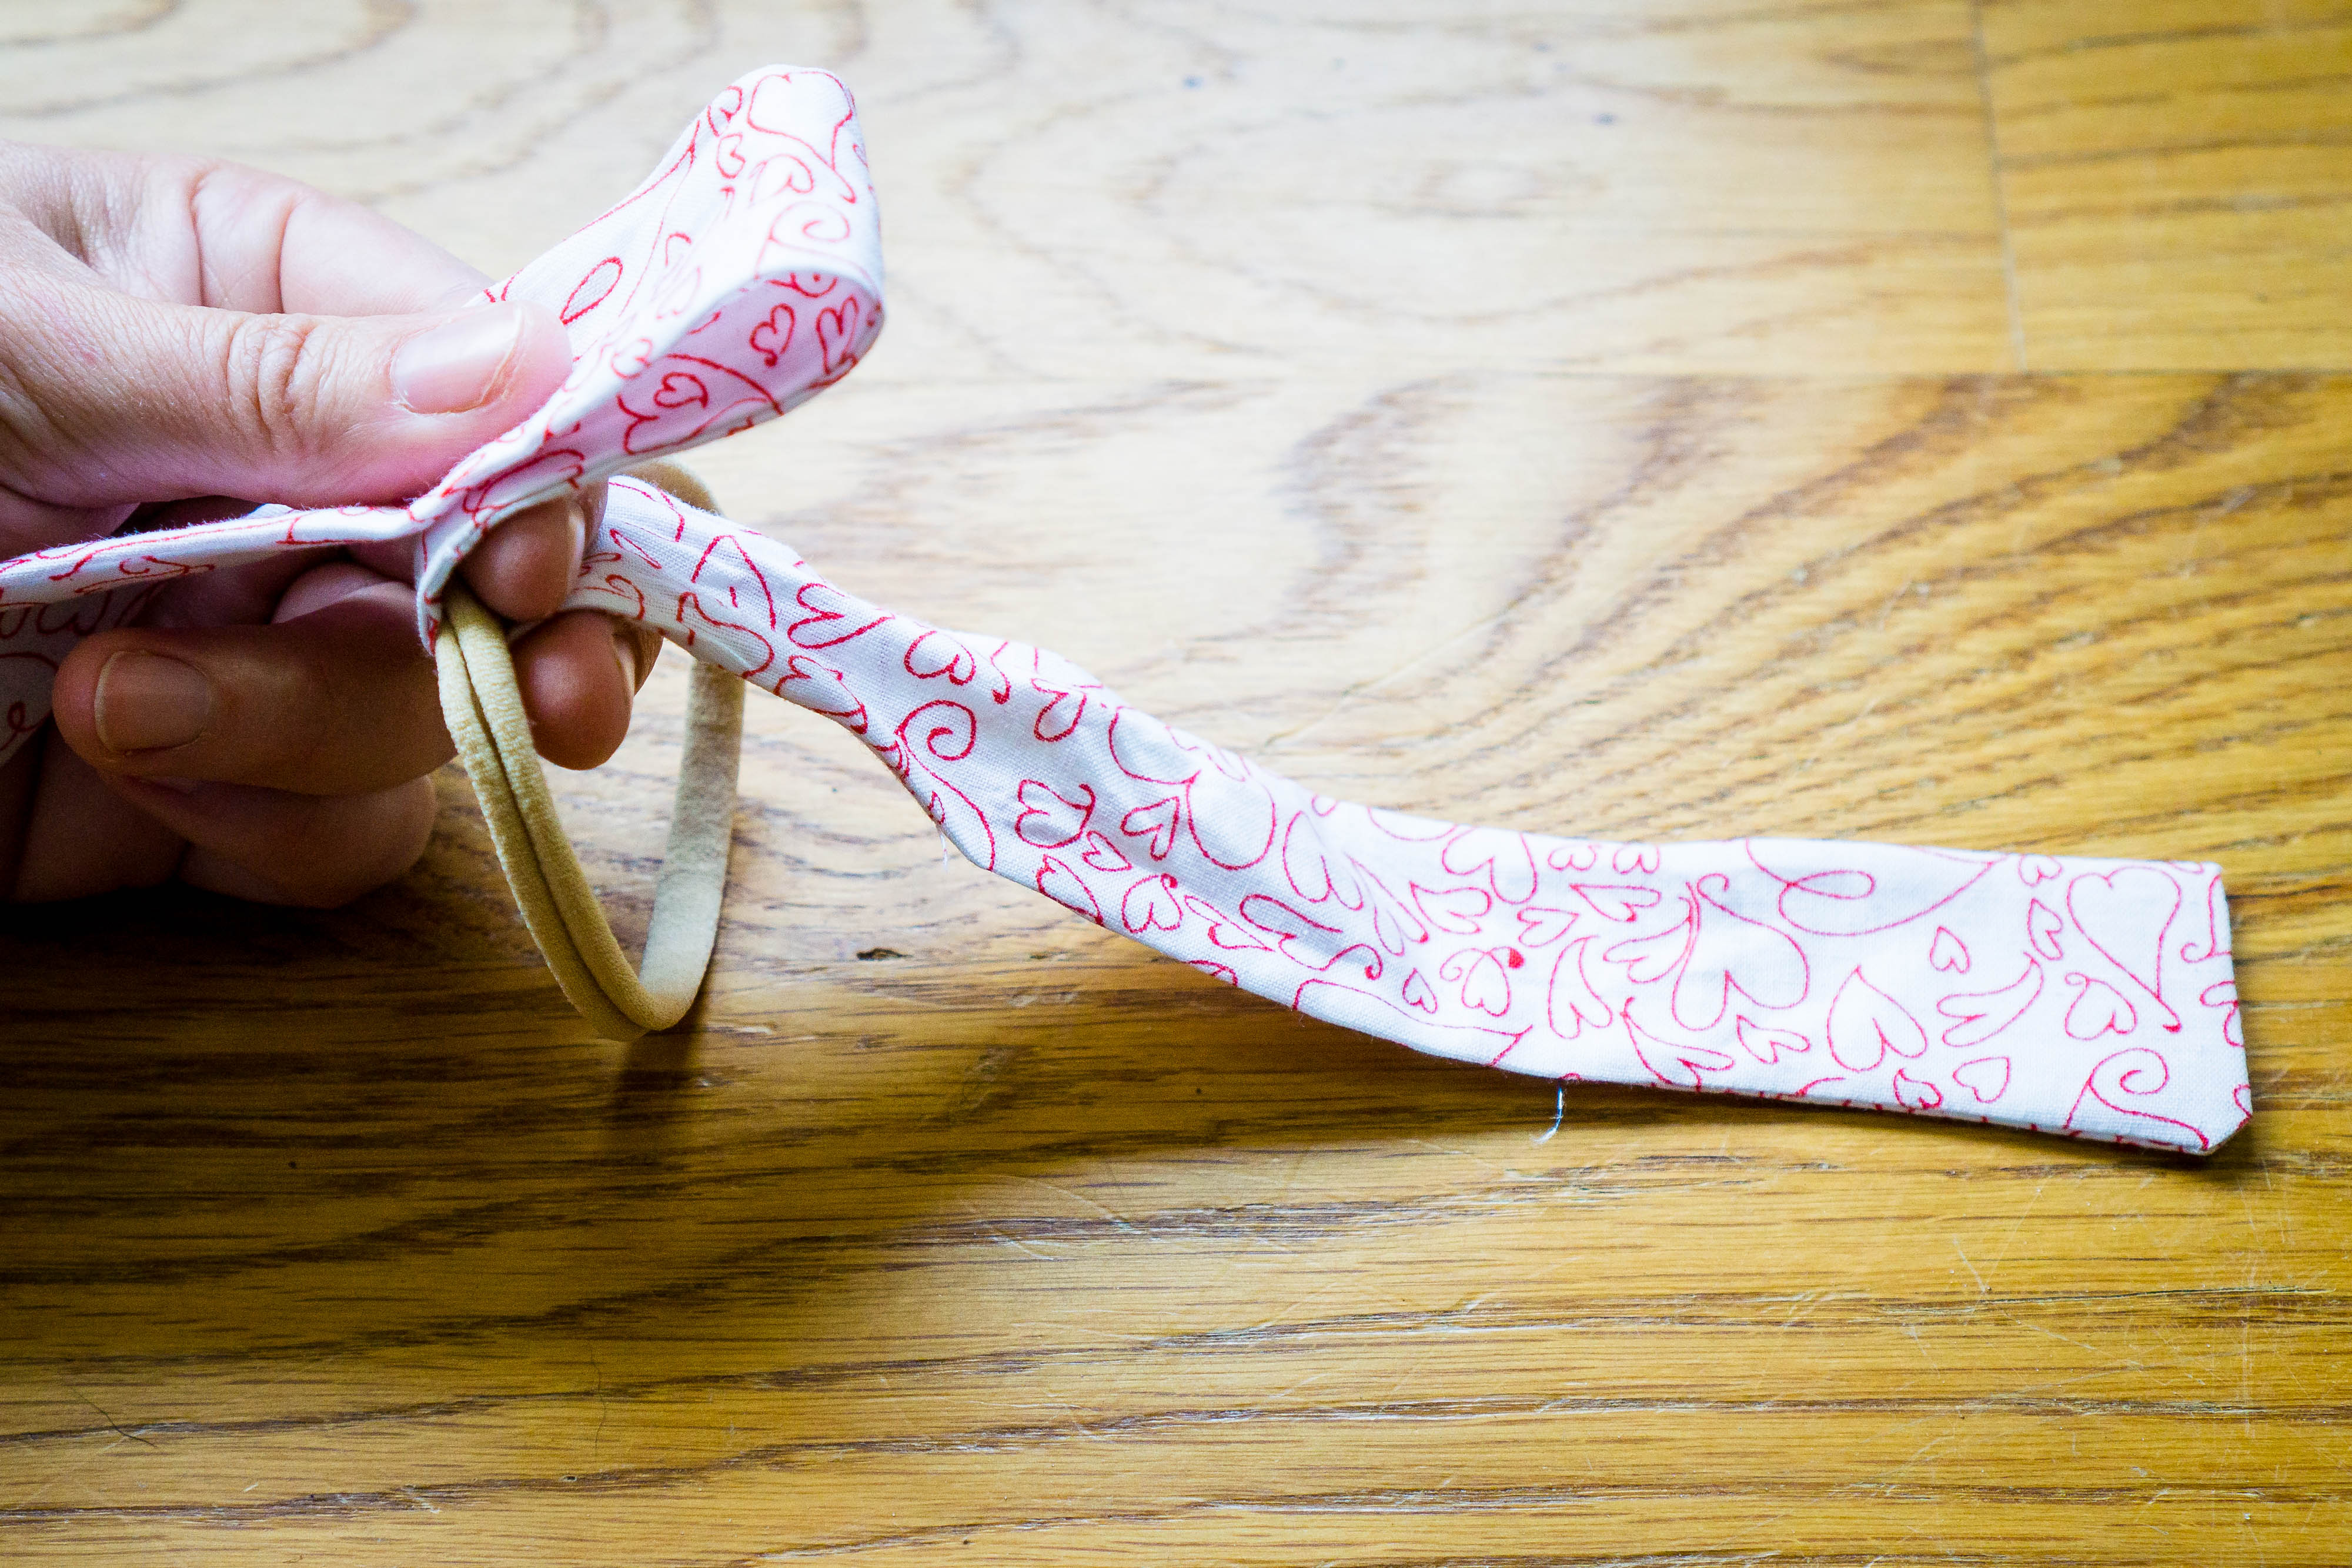
Next, take the headband and the strip of fabric and watch THIS VIDEO 100 times to tie your bow to your headband. I would try to describe this but I can’t. I don’t understand knots I wear flip flops so I don’t have to tie my shoes…just kidding LOL. For real though, I watched the video so many times and it’s the best one I found. She’s doing a different style bow but the tying part, specifically the bit where she pulls the tail all the way through then tucks it back, is exactly how you want to tie your fabric strip onto your headband.
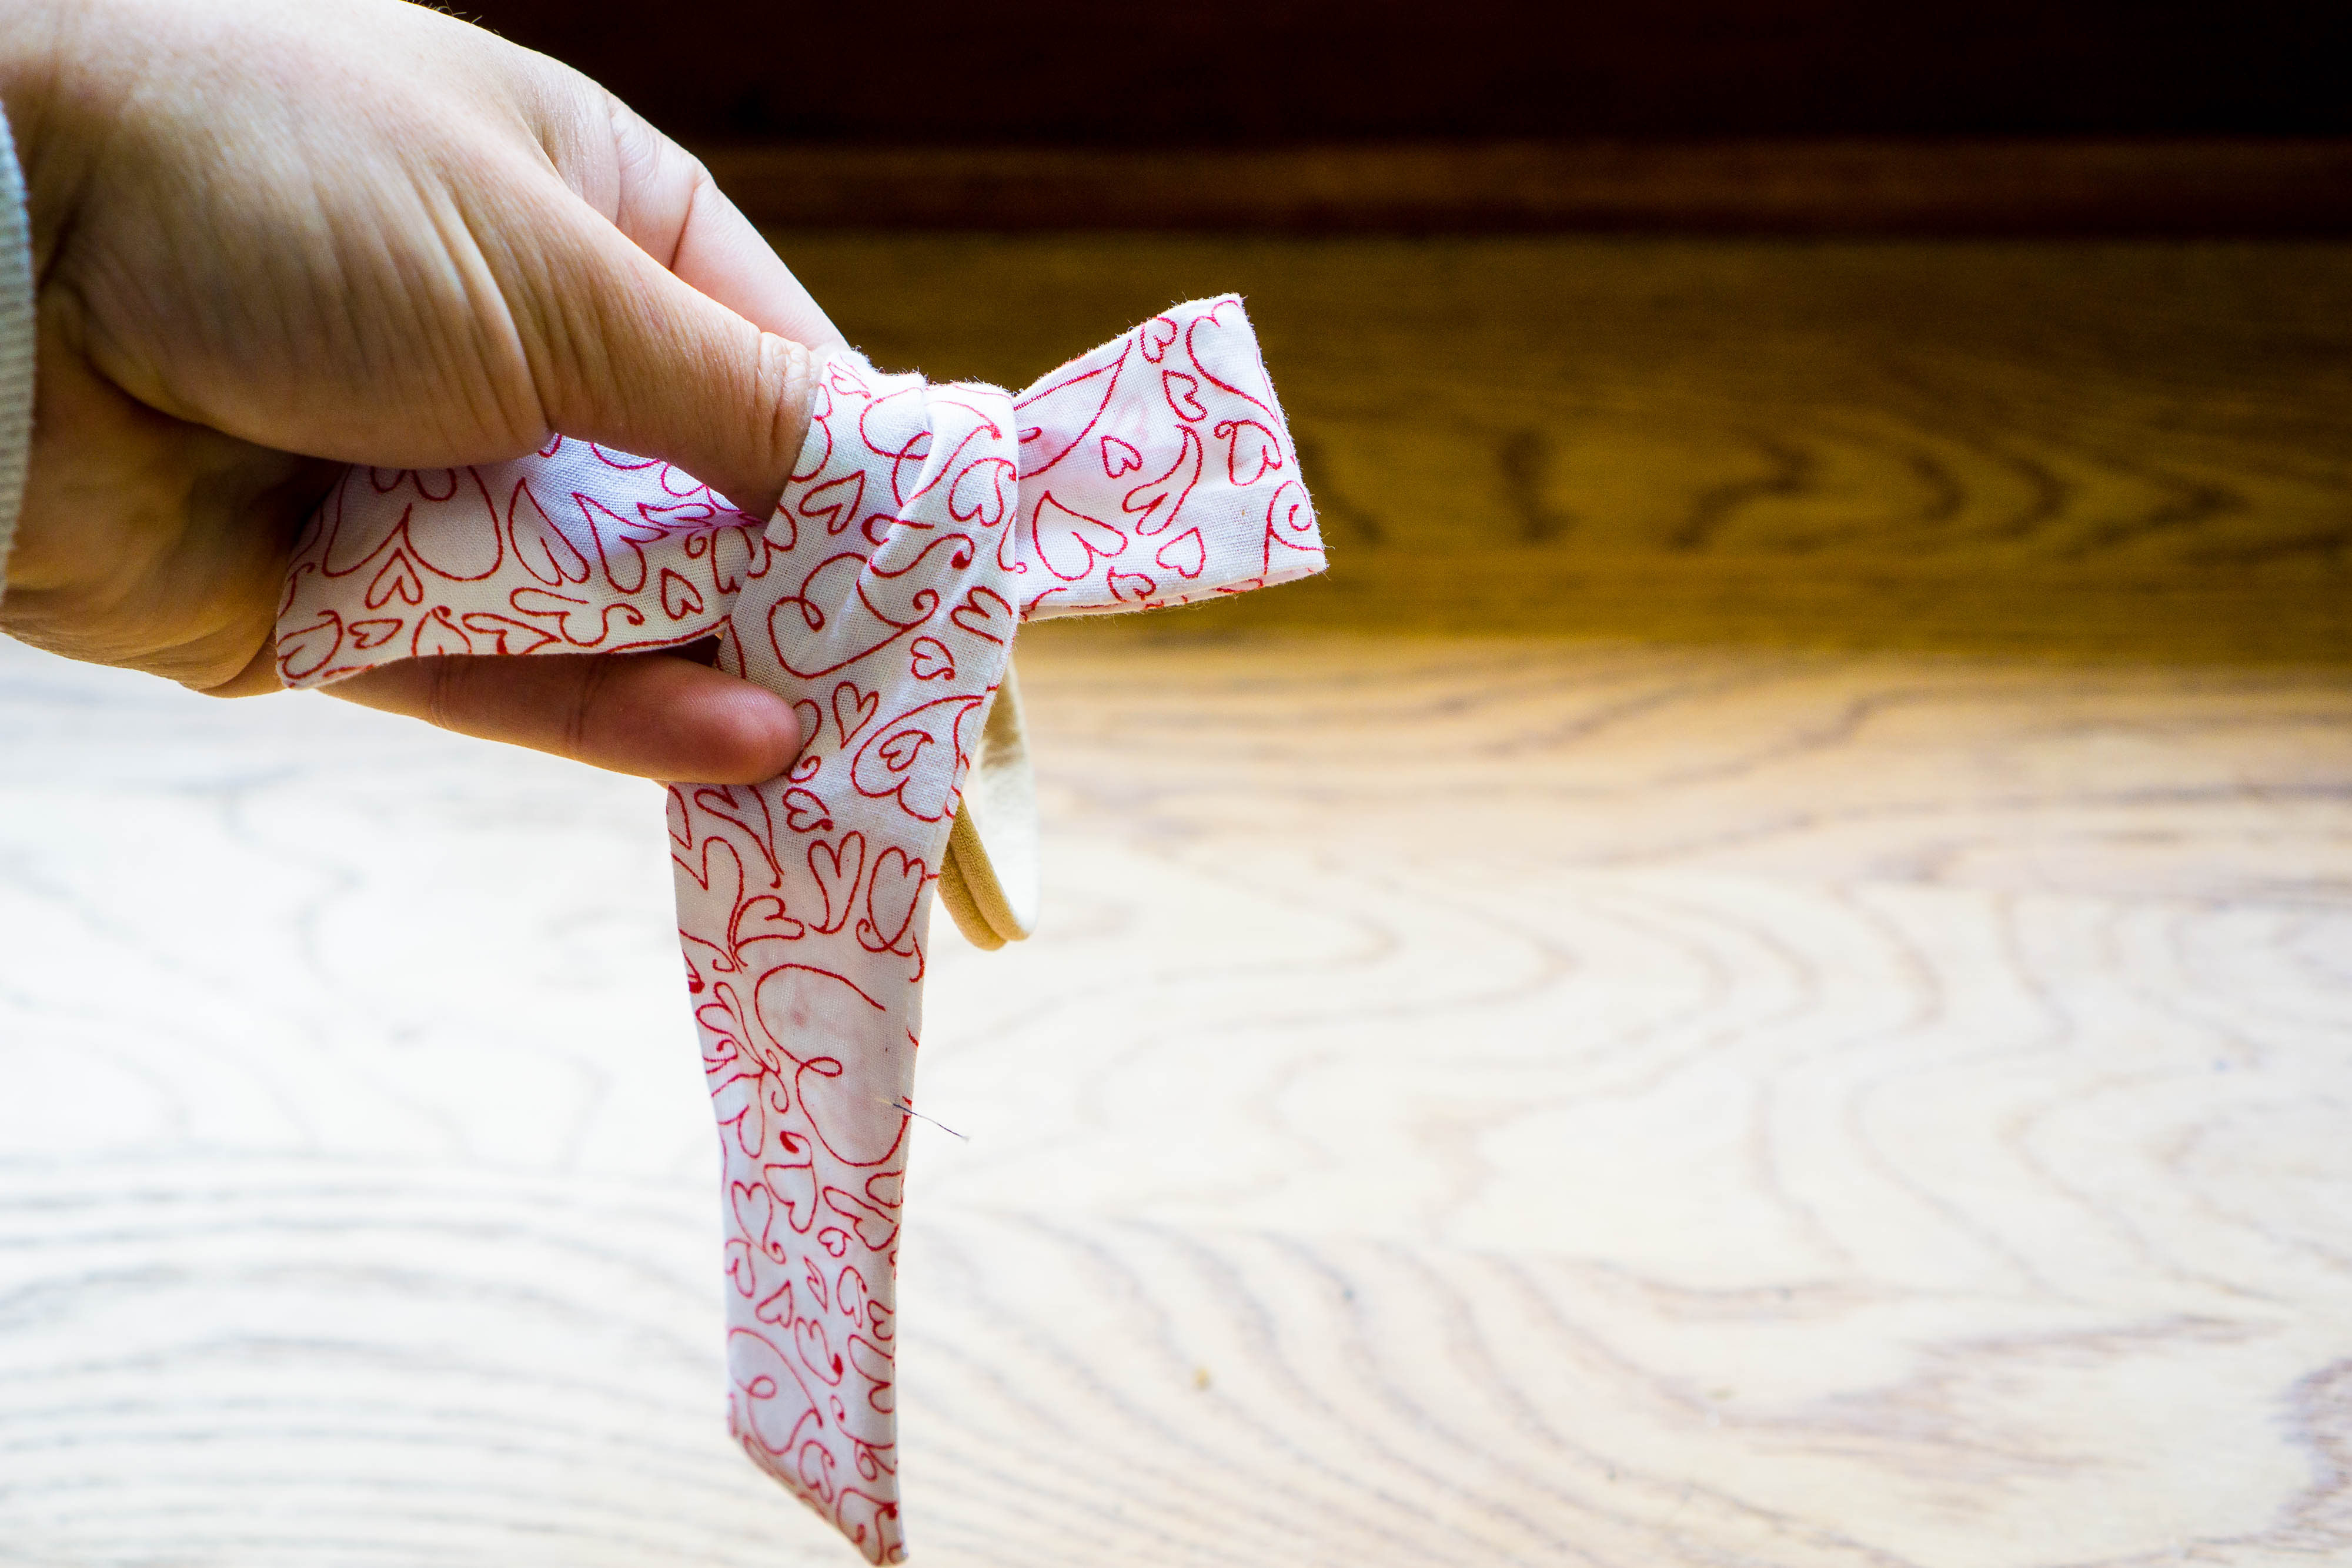
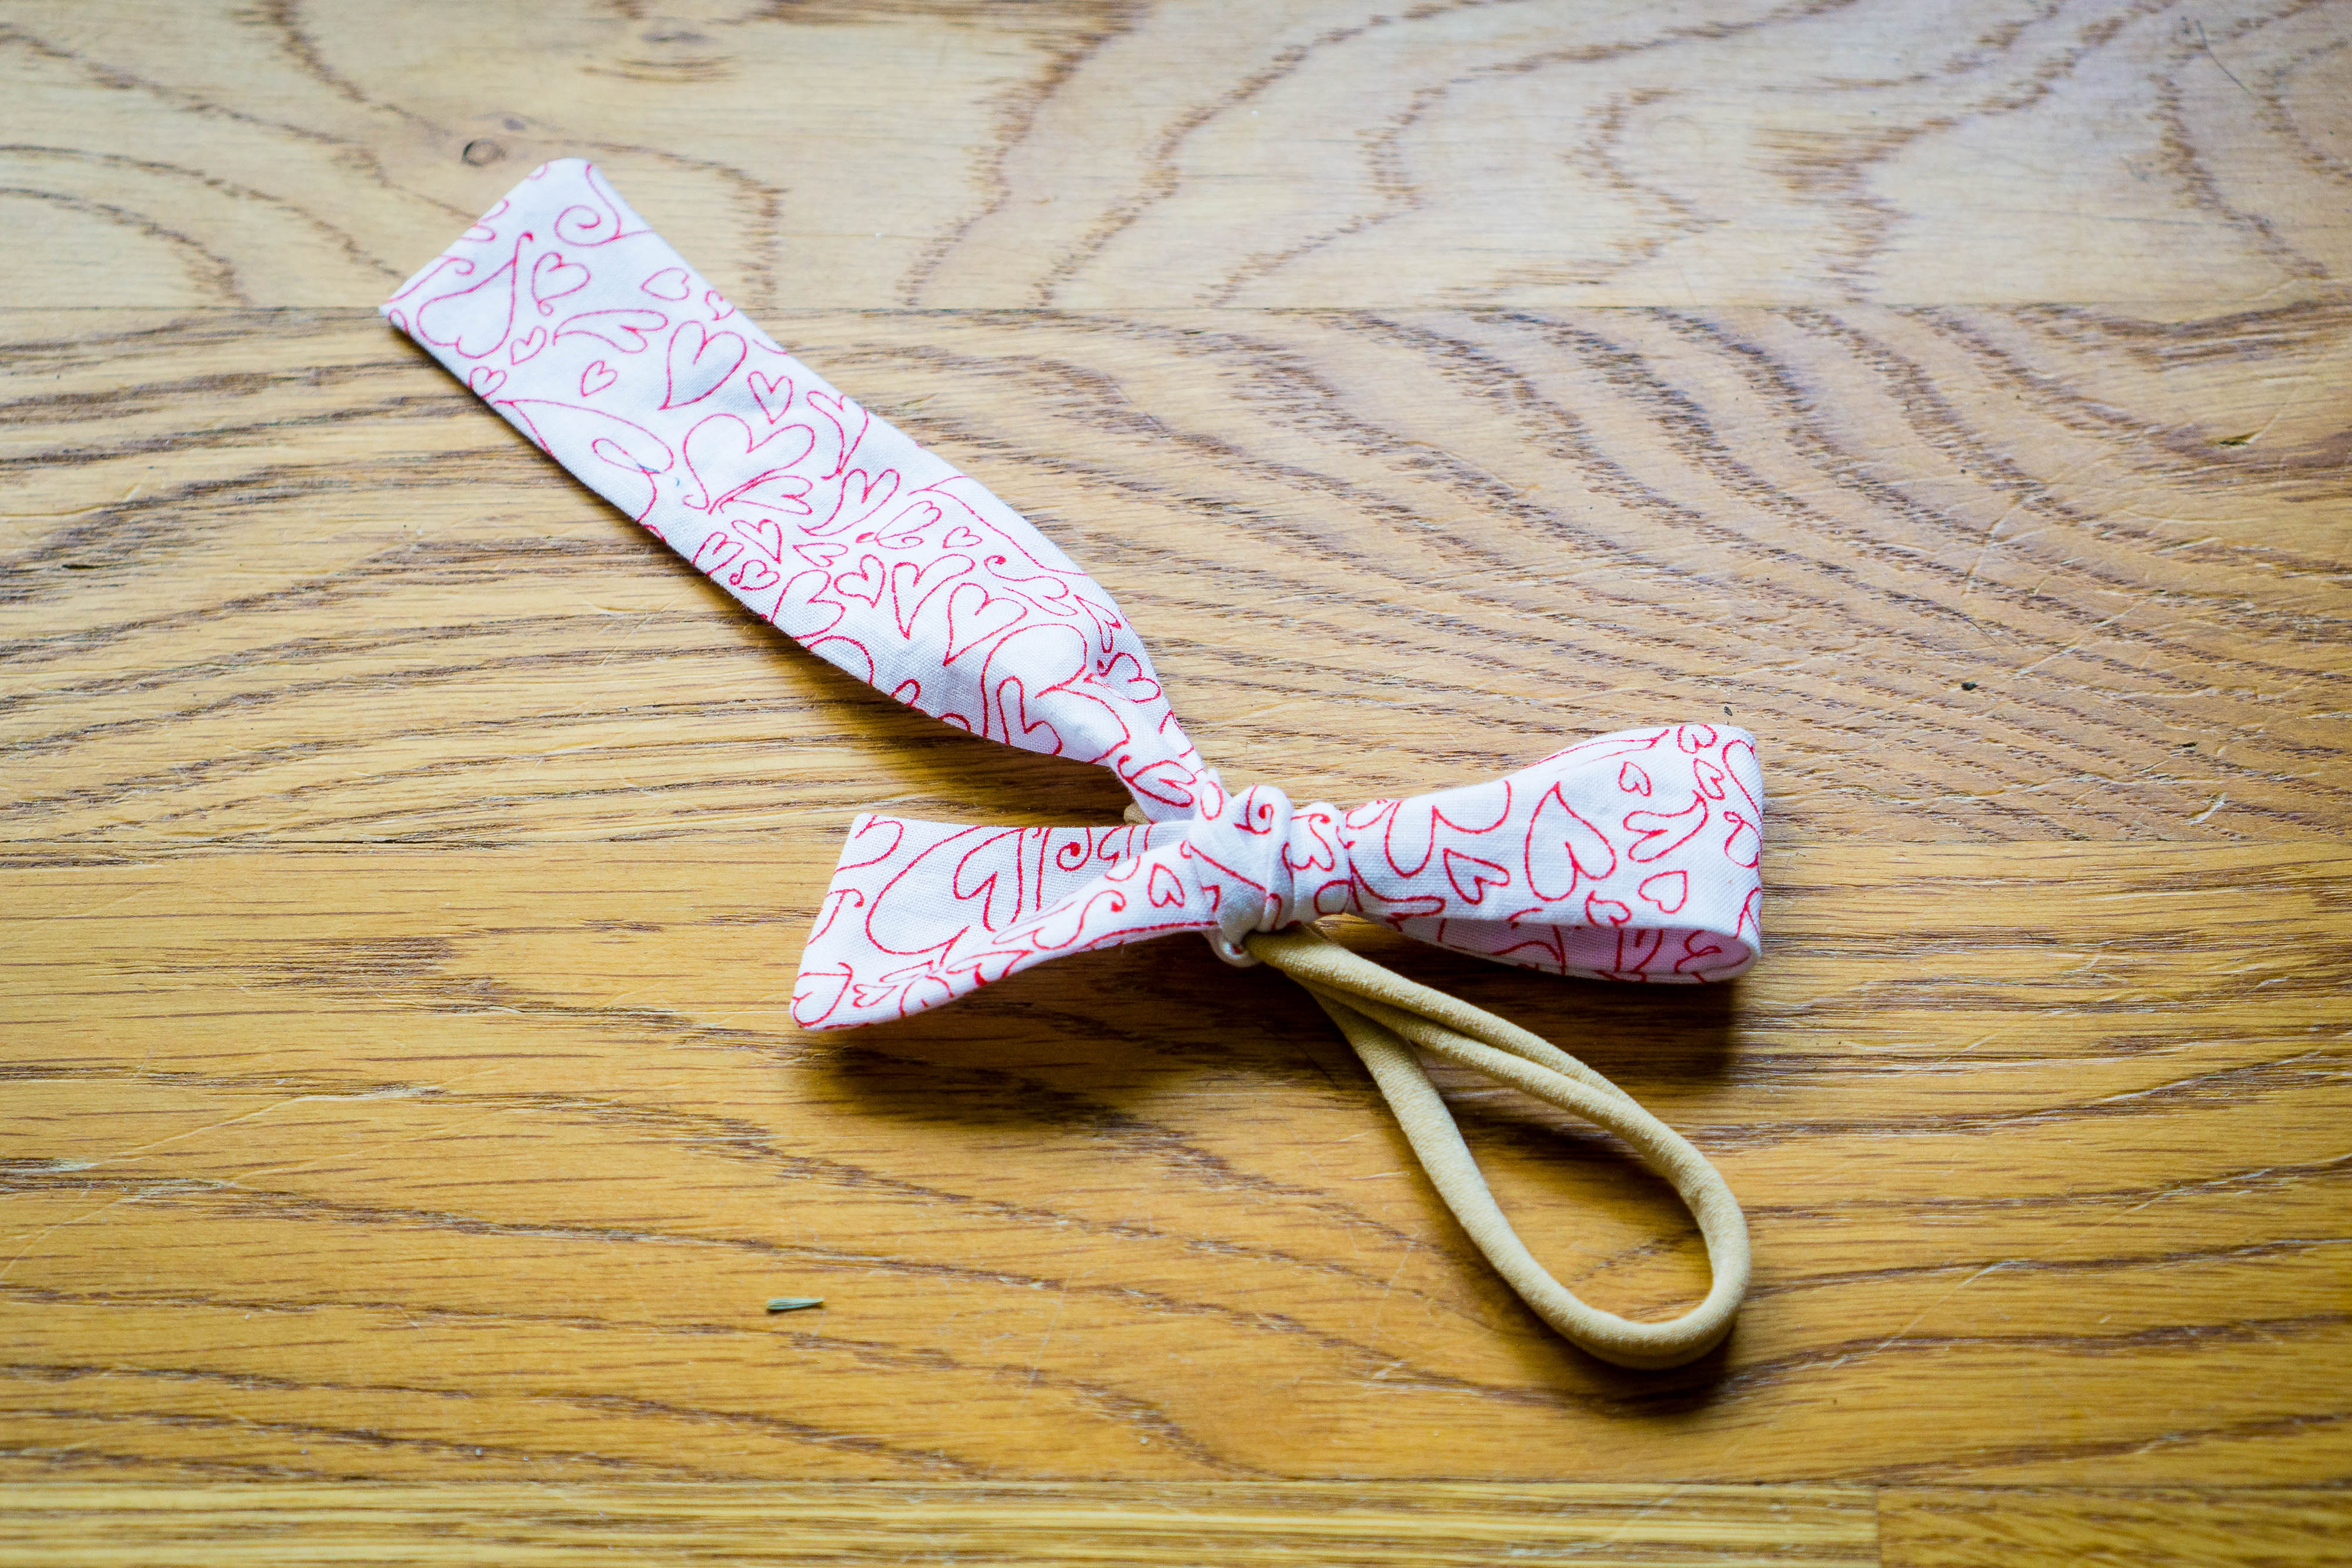
It takes some practice and it helps if you put everything in place then start slowly tightening. It took at least 15 minutes for me to tie the blue bow and that was right after I did the red and white one.

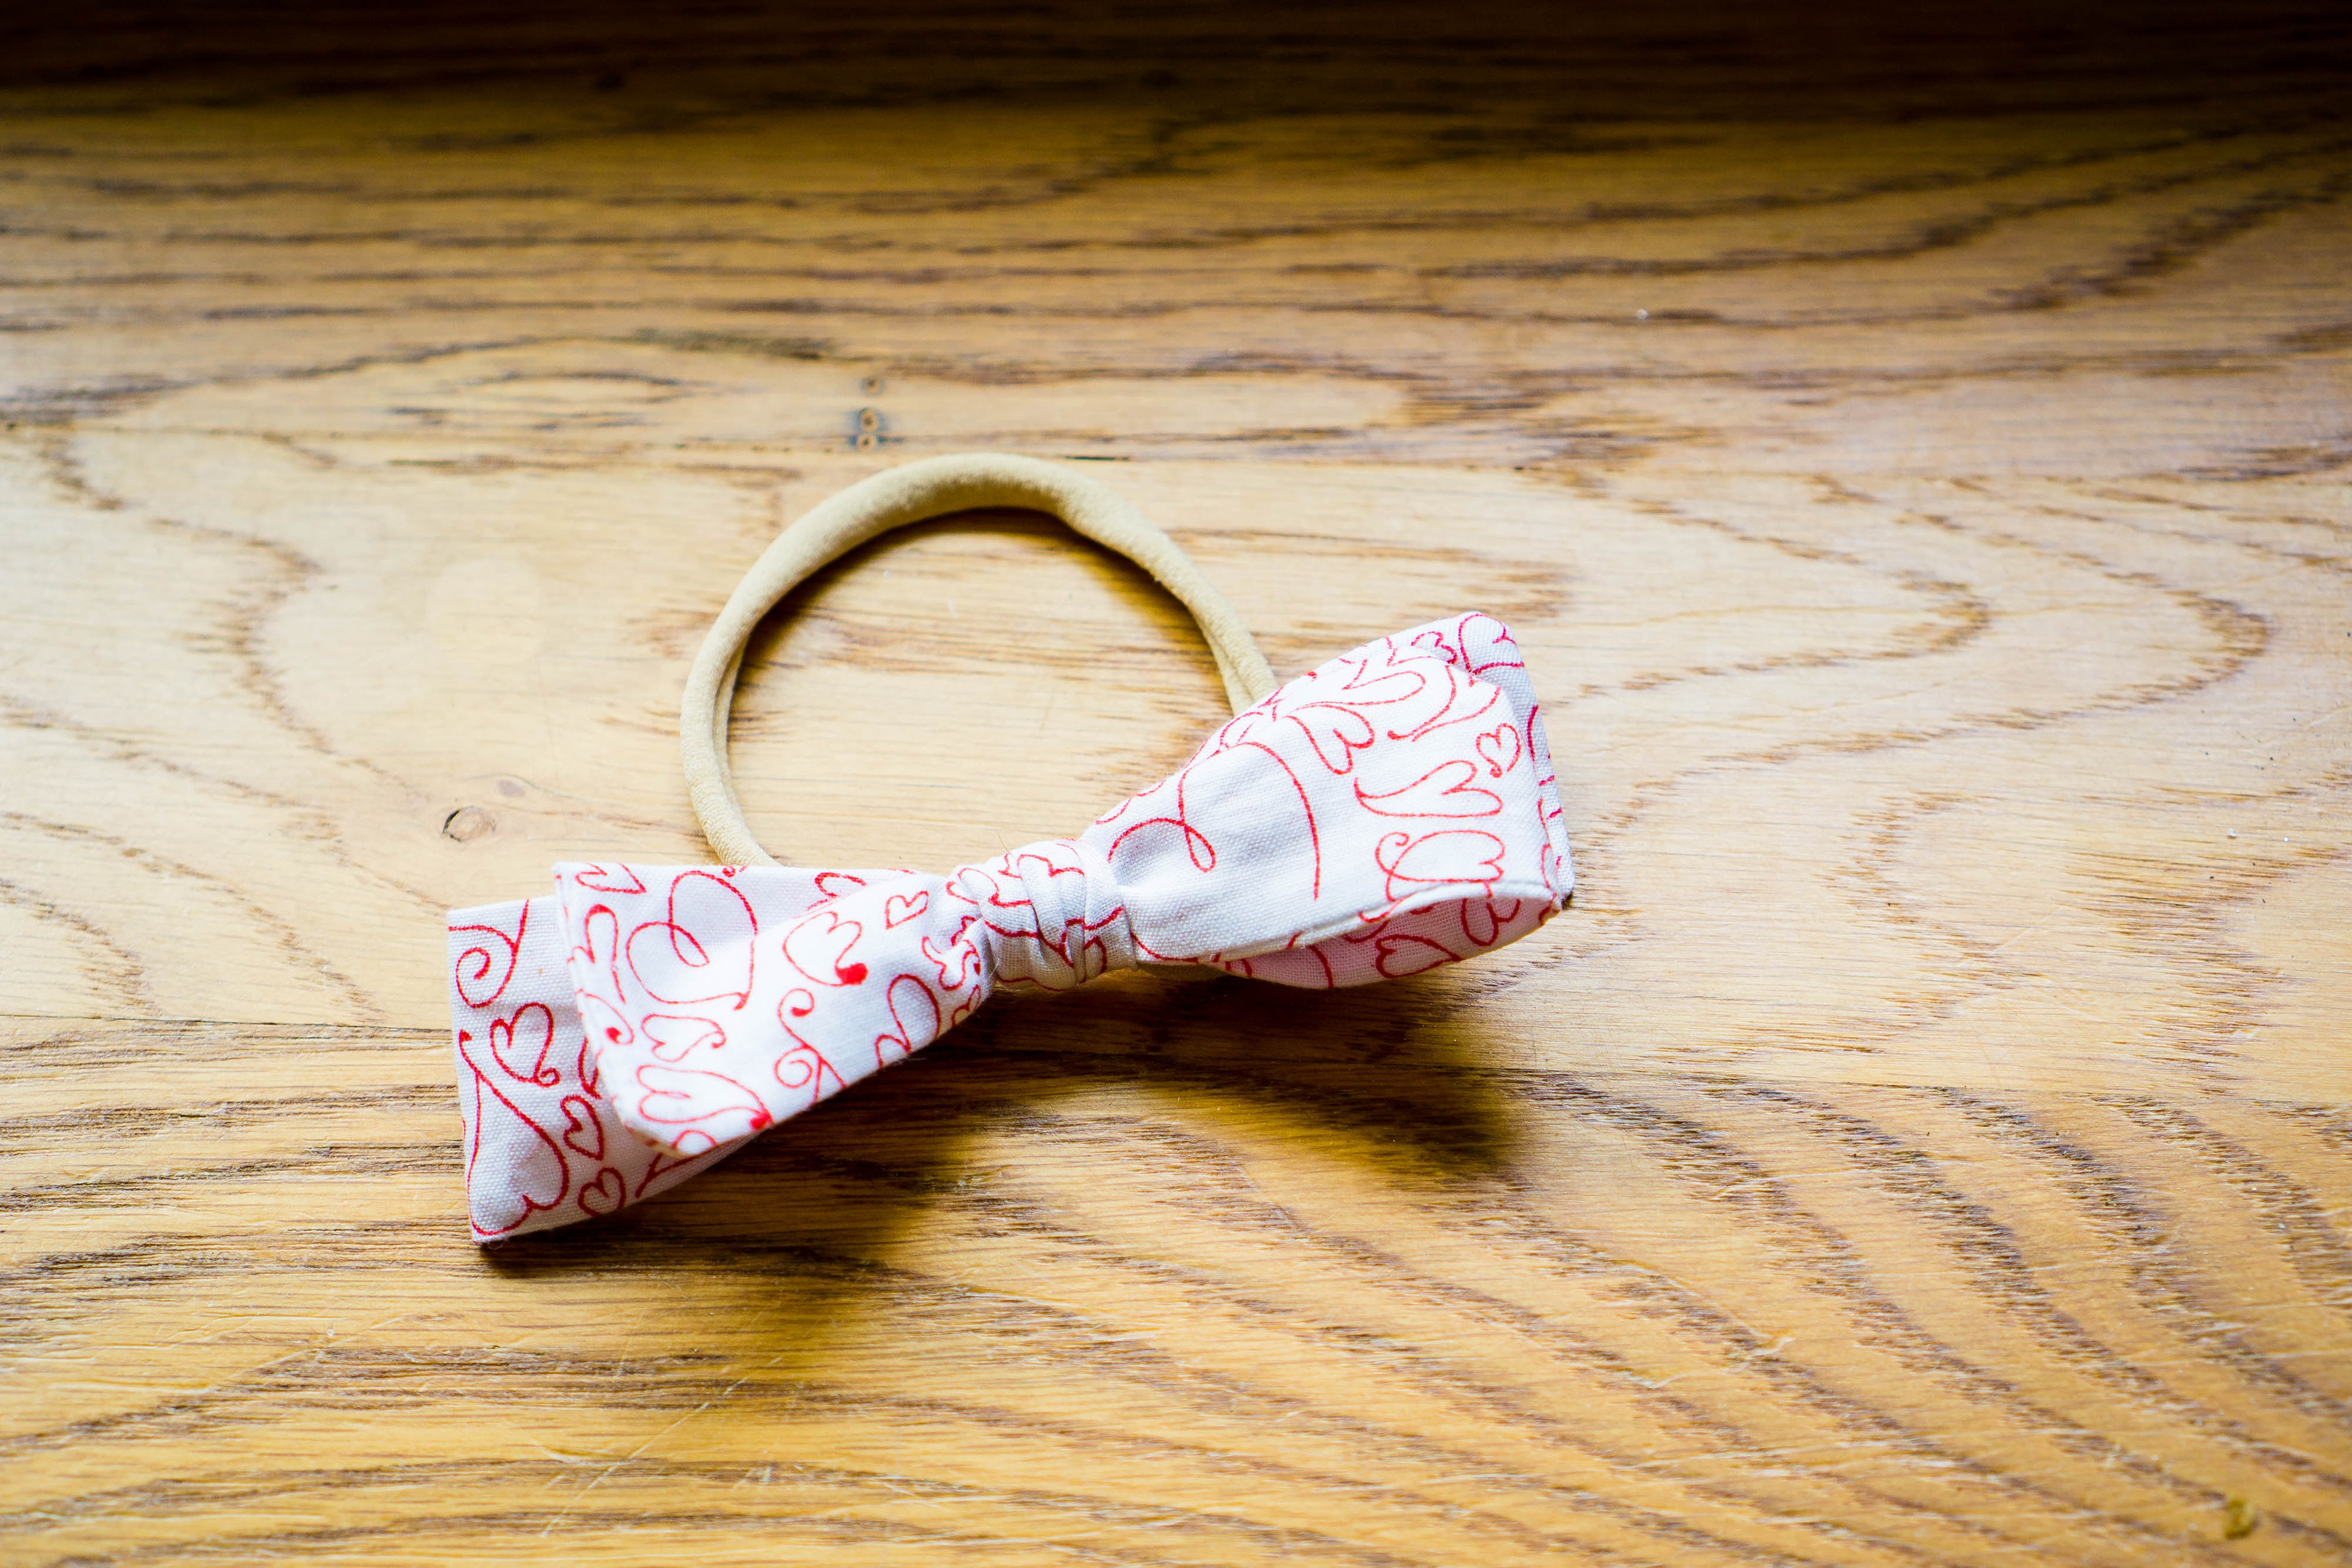
Now you’re finished! Find a cutie and test out your work!!


Be the first to comment